
I. Intro
You can send Lark messages to your collaborators automatically using Base's automated workflow. You can add buttons to these messages, which users can click to go to a link, add a record, edit a record, or trigger an automated workflow directly from the message without having to open the base.
Supported button actions
- Redirects: Directs to a view or record in a base or a link.
- Add a record: A record will be added to a specified table. Who clicked the button and the time it was clicked can be recorded in the base.
- Edit a record: The specified record in the table will be edited. Who clicked the button and the time it was clicked can be recorded in the base.
- Link automated workflows: Triggers automated workflows that have been configured in the base.
II. Steps
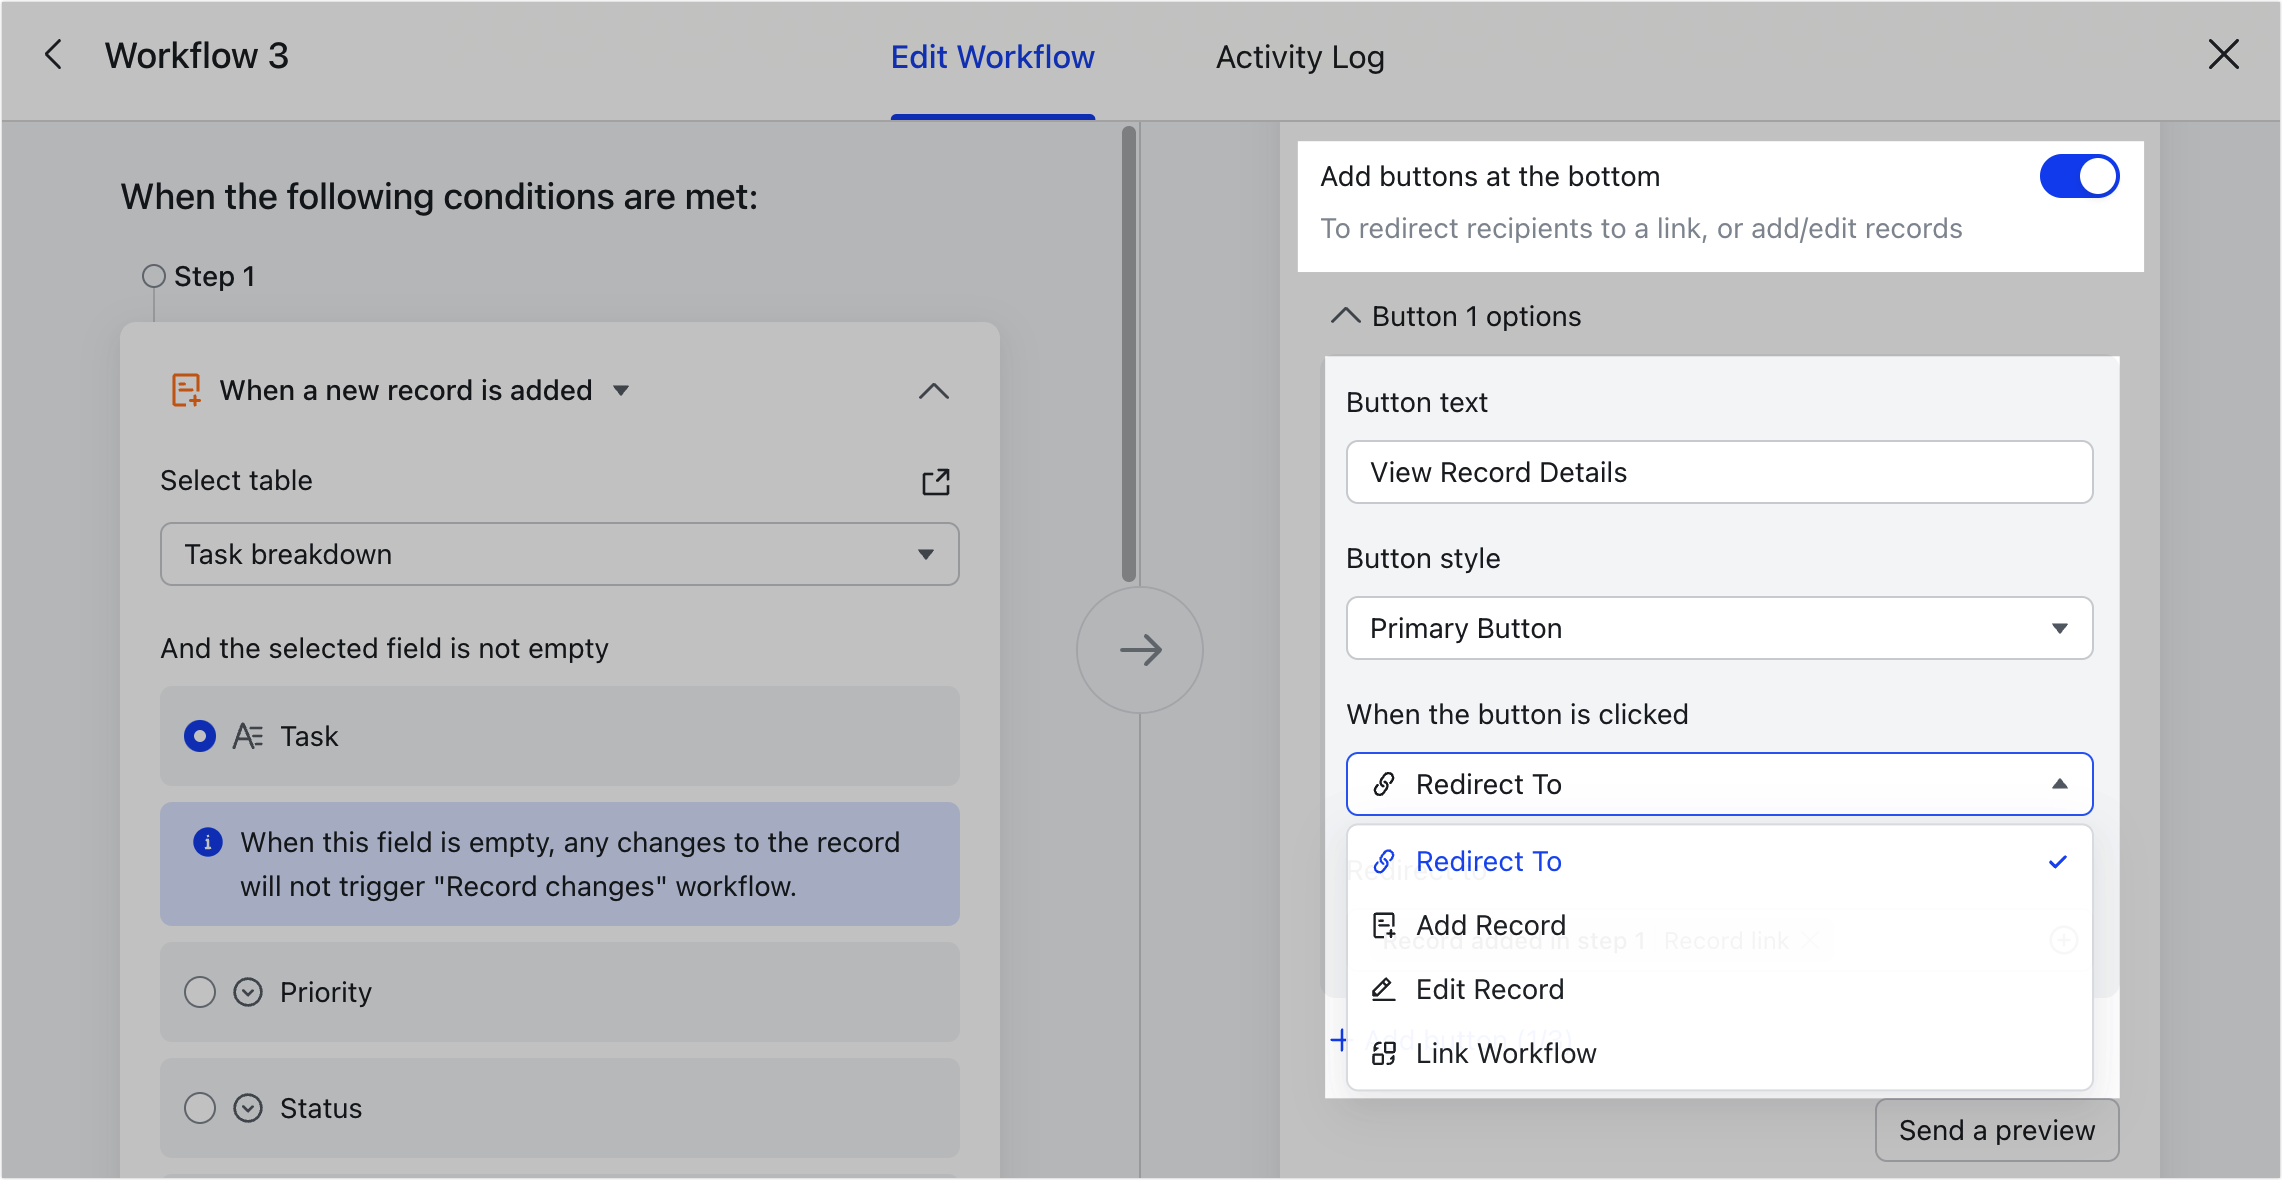
Open the base and click Automations in the upper-right corner. Set the trigger conditions, select the action to perform as Send a Lark message, and turn on Add buttons at the bottom.
Configure the buttons
- Button text: Set what text to appear in the button.
- Button style: Choose from one of the three options available.
- When the button is clicked: Select Redirect To, Add Record, Edit Record, or Link Workflow.
Note: If you select Custom bot as the sender, then the only available action for the button is Redirect To. If you need to add records, edit records, or link workflows, use Base Assistant, the base, or other identities as the sender instead.
Button action description
250px|700px|reset
- Redirect to: Redirects users to the specified page when they click the button. You can directly enter the link or reference links, texts, other field content, or Base properties (Base link, table link, or view link).
Note:
- The referenced field content must be in the correct link format, otherwise the automated workflow may fail to run (You'll get an error message for content verification failed).
- Text fields and link fields that contain the correct link format are supported. Formula fields with the HYPERLINK function are not supported.
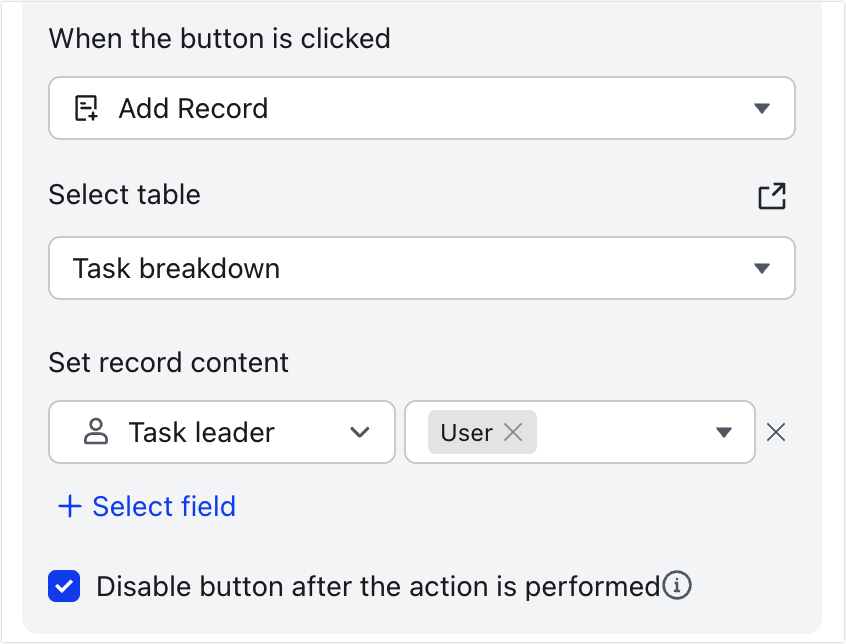
- Add Record: A new record will be added to the specified table when users click the button.
- You can select any table in the base and set what content to be auto-filled. At least one field value must be preset.
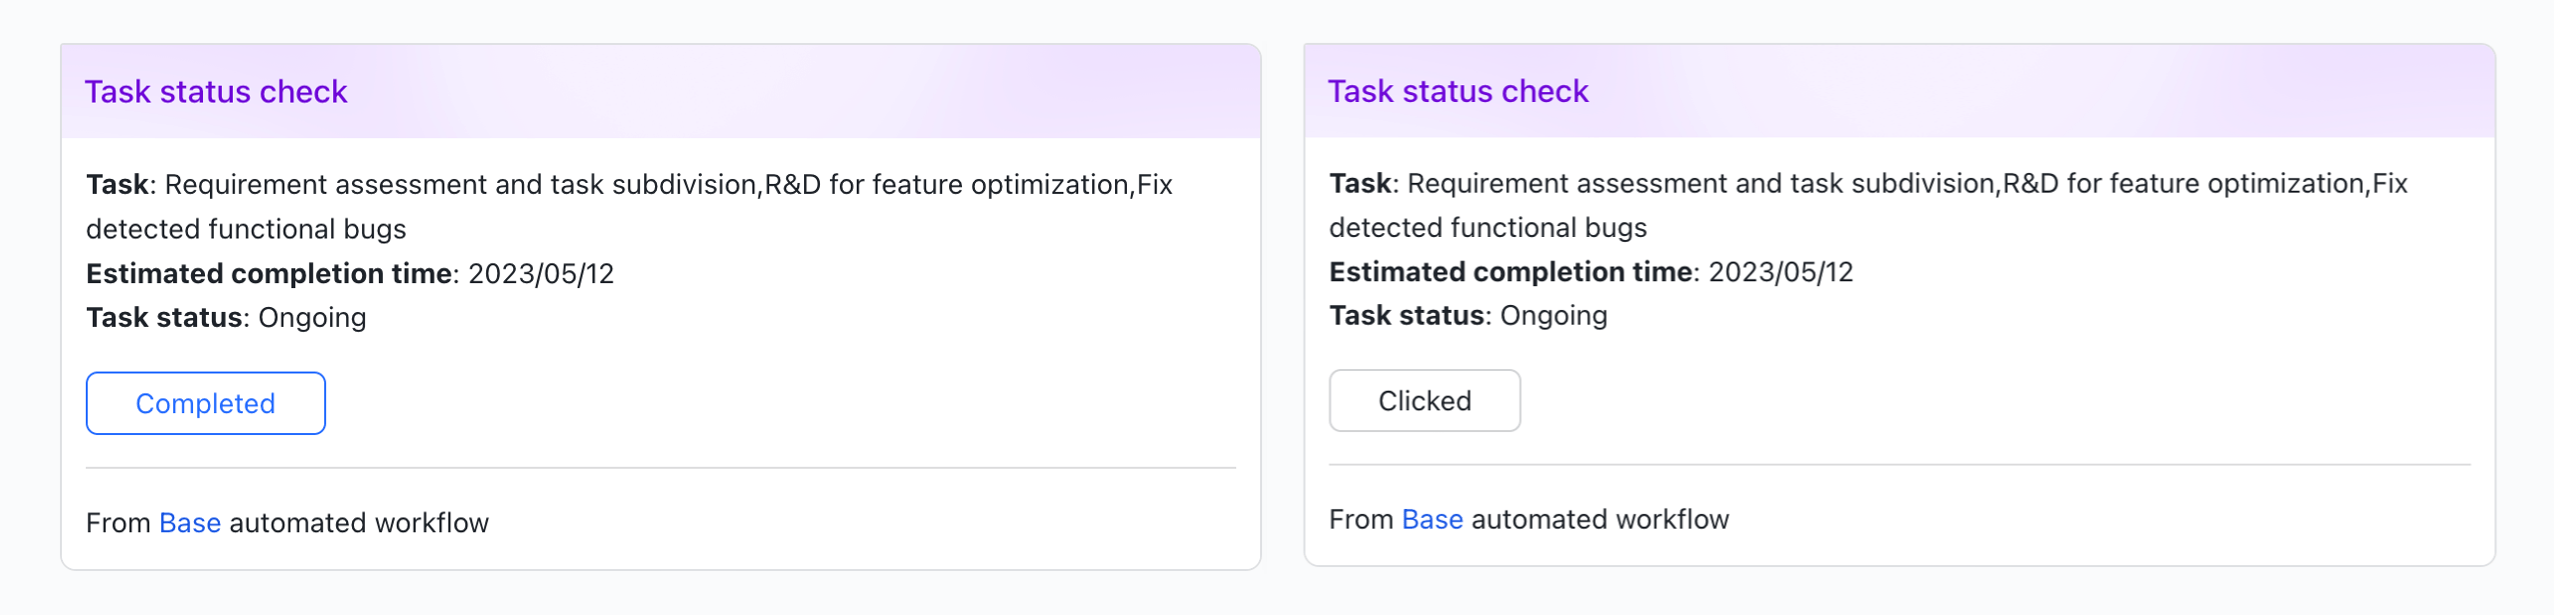
- Select Disable button after the action is performed as needed. When selected, each user can only click the button once. After the button is clicked, the text on the button in the message card will change to "Clicked". Note that if the automated message is sent in a group or other places with multiple people, then everyone who sees the message can click the button once, which may cause the action to be triggered multiple times. The button being disabled after the action is performed only prevents a user from clicking more than once, but does not restrict the button from being clicked multiple times by different people.
250px|700px|reset
250px|700px|reset
- Edit Record: This is only available when a table has been selected in a trigger condition. After the user clicks the button, the record in the selected table will be modified.
- You can set what content to be auto-filled. At least one field value must be preset.
- Select Disable button after the action is performed as needed. When selected, each user can only click the button once. After the button is clicked, the text on the button in the message card will change to "Clicked". Note that if the automated message is sent in a group or other places with multiple people, then everyone who sees the message can click the button once, which may cause the action to be triggered multiple times. The button being disabled after the action is performed only prevents a user from clicking more than once, but does not restrict the button from being clicked multiple times by different people.
- Note: If the trigger condition is At scheduled time or the trigger condition is When a button is clicked and the button type is button block, then the Edit Record action won't be available as no table has been selected in any trigger conditions.
- Link Workflows: The linked automated workflow will be triggered when users click the button.
- Only automated workflows that are enabled and have the trigger condition as When a button is clicked can be selected.
- At the same time, it is also subject to the restrictions of the trigger conditions of the current automated workflow. For details, please refer to the following table:
If the trigger condition of the current automated workflow is | Then workflows you want to link must meet the following conditions |
When a new record is added | The automated workflow is enabled; the trigger condition is When a button is clicked, and the button type is Button block. 250px|700px|reset The automated workflow is enabled; the trigger condition is When a button is clicked, and the button type is Button field; the button field is in the table that is selected as the trigger condition for the current automated workflow. 250px|700px|reset |
When a record changes | |
When a new or updated record meets conditions | |
At record's trigger time | |
At scheduled time | The automated workflow is enabled; the trigger condition is When a button is clicked, and the button type is Button block. 250px|700px|reset |
When a button is clicked, and the button type is Button block | |
III. Scenarios
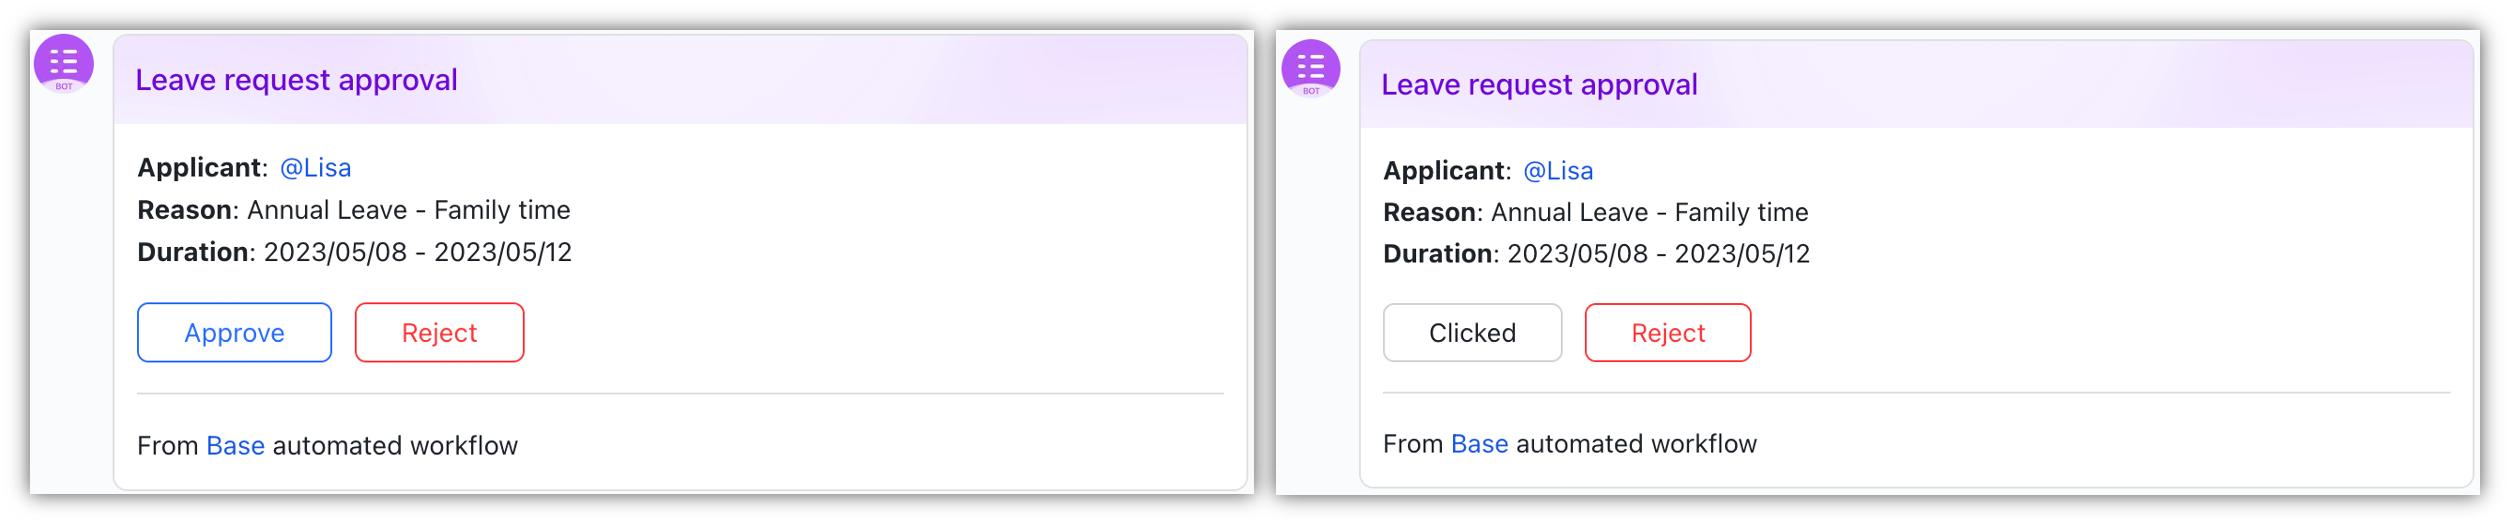
Approval report
Scenario: When a member submits a leave request, the approver can click a button to approve or reject the request.
Process:
- Submit request: A Base form is shared with members, which they can use to submit leave requests.
- Send approval notification: Set an automated workflow in which the approver receives a notification when a member submits a leave request.
- Review request: The approver will receive a message that contains buttons they can click to approve or deny the request. The approval result is automatically recorded in the Base and the requester will receive a notification of the result.
250px|700px|reset
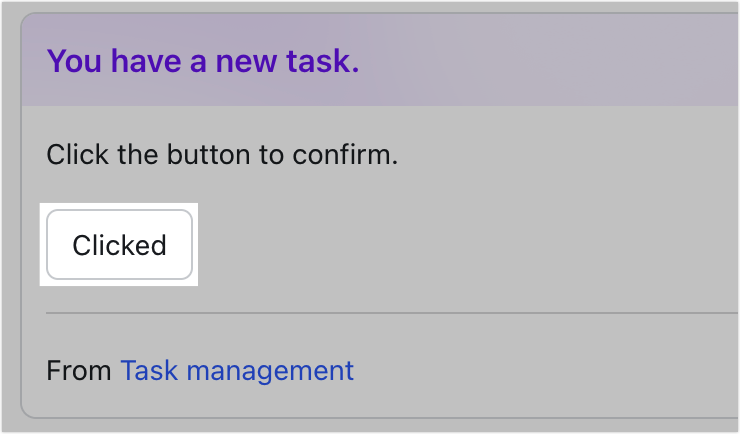
Task supervision
Scenario: If a manager needs to confirm whether a task has been completed, they can send a notification to the owner, which they can click to confirm completion.
Process:
- Send reminder: If the deadline has arrived and the task is still in progress, a reminder will be sent to the task owner.
- Confirm completion: The owner will receive a reminder, and they can click the button in the message to confirm the task status, which is automatically updated to the base.
250px|700px|reset
Status check
Scenario: When planning a team-building event, you can send the event details to a group chat and include a button in the message to check who has read the message.
Process:
- Send a notification: Send a notification to participating department groups.
- Check status: Group members can click the button in the message in the group chat, and their read status is sent to the base.
IV. FAQs