
I. Intro
Calendar view is commonly used for managing events, scheduling projects, and arranging activities. Collaborators are able to see the event schedule and duration at a glance, and updates can be easily made to keep the whole team on the same page.
Note: To use calendar view on mobile, please update the Lark mobile version to 6.2 or above.
250px|700px|reset
Use cases
- Project management: Easily check the project schedule as well as project details.
- Task management: Plan ahead to ensure all deliverables are finished before the deadline.
- Resource planning: Avoid schedule clashes with other priorities to streamline operations.
II. Steps
1. Create a calendar view
There are two methods to create a calendar view:
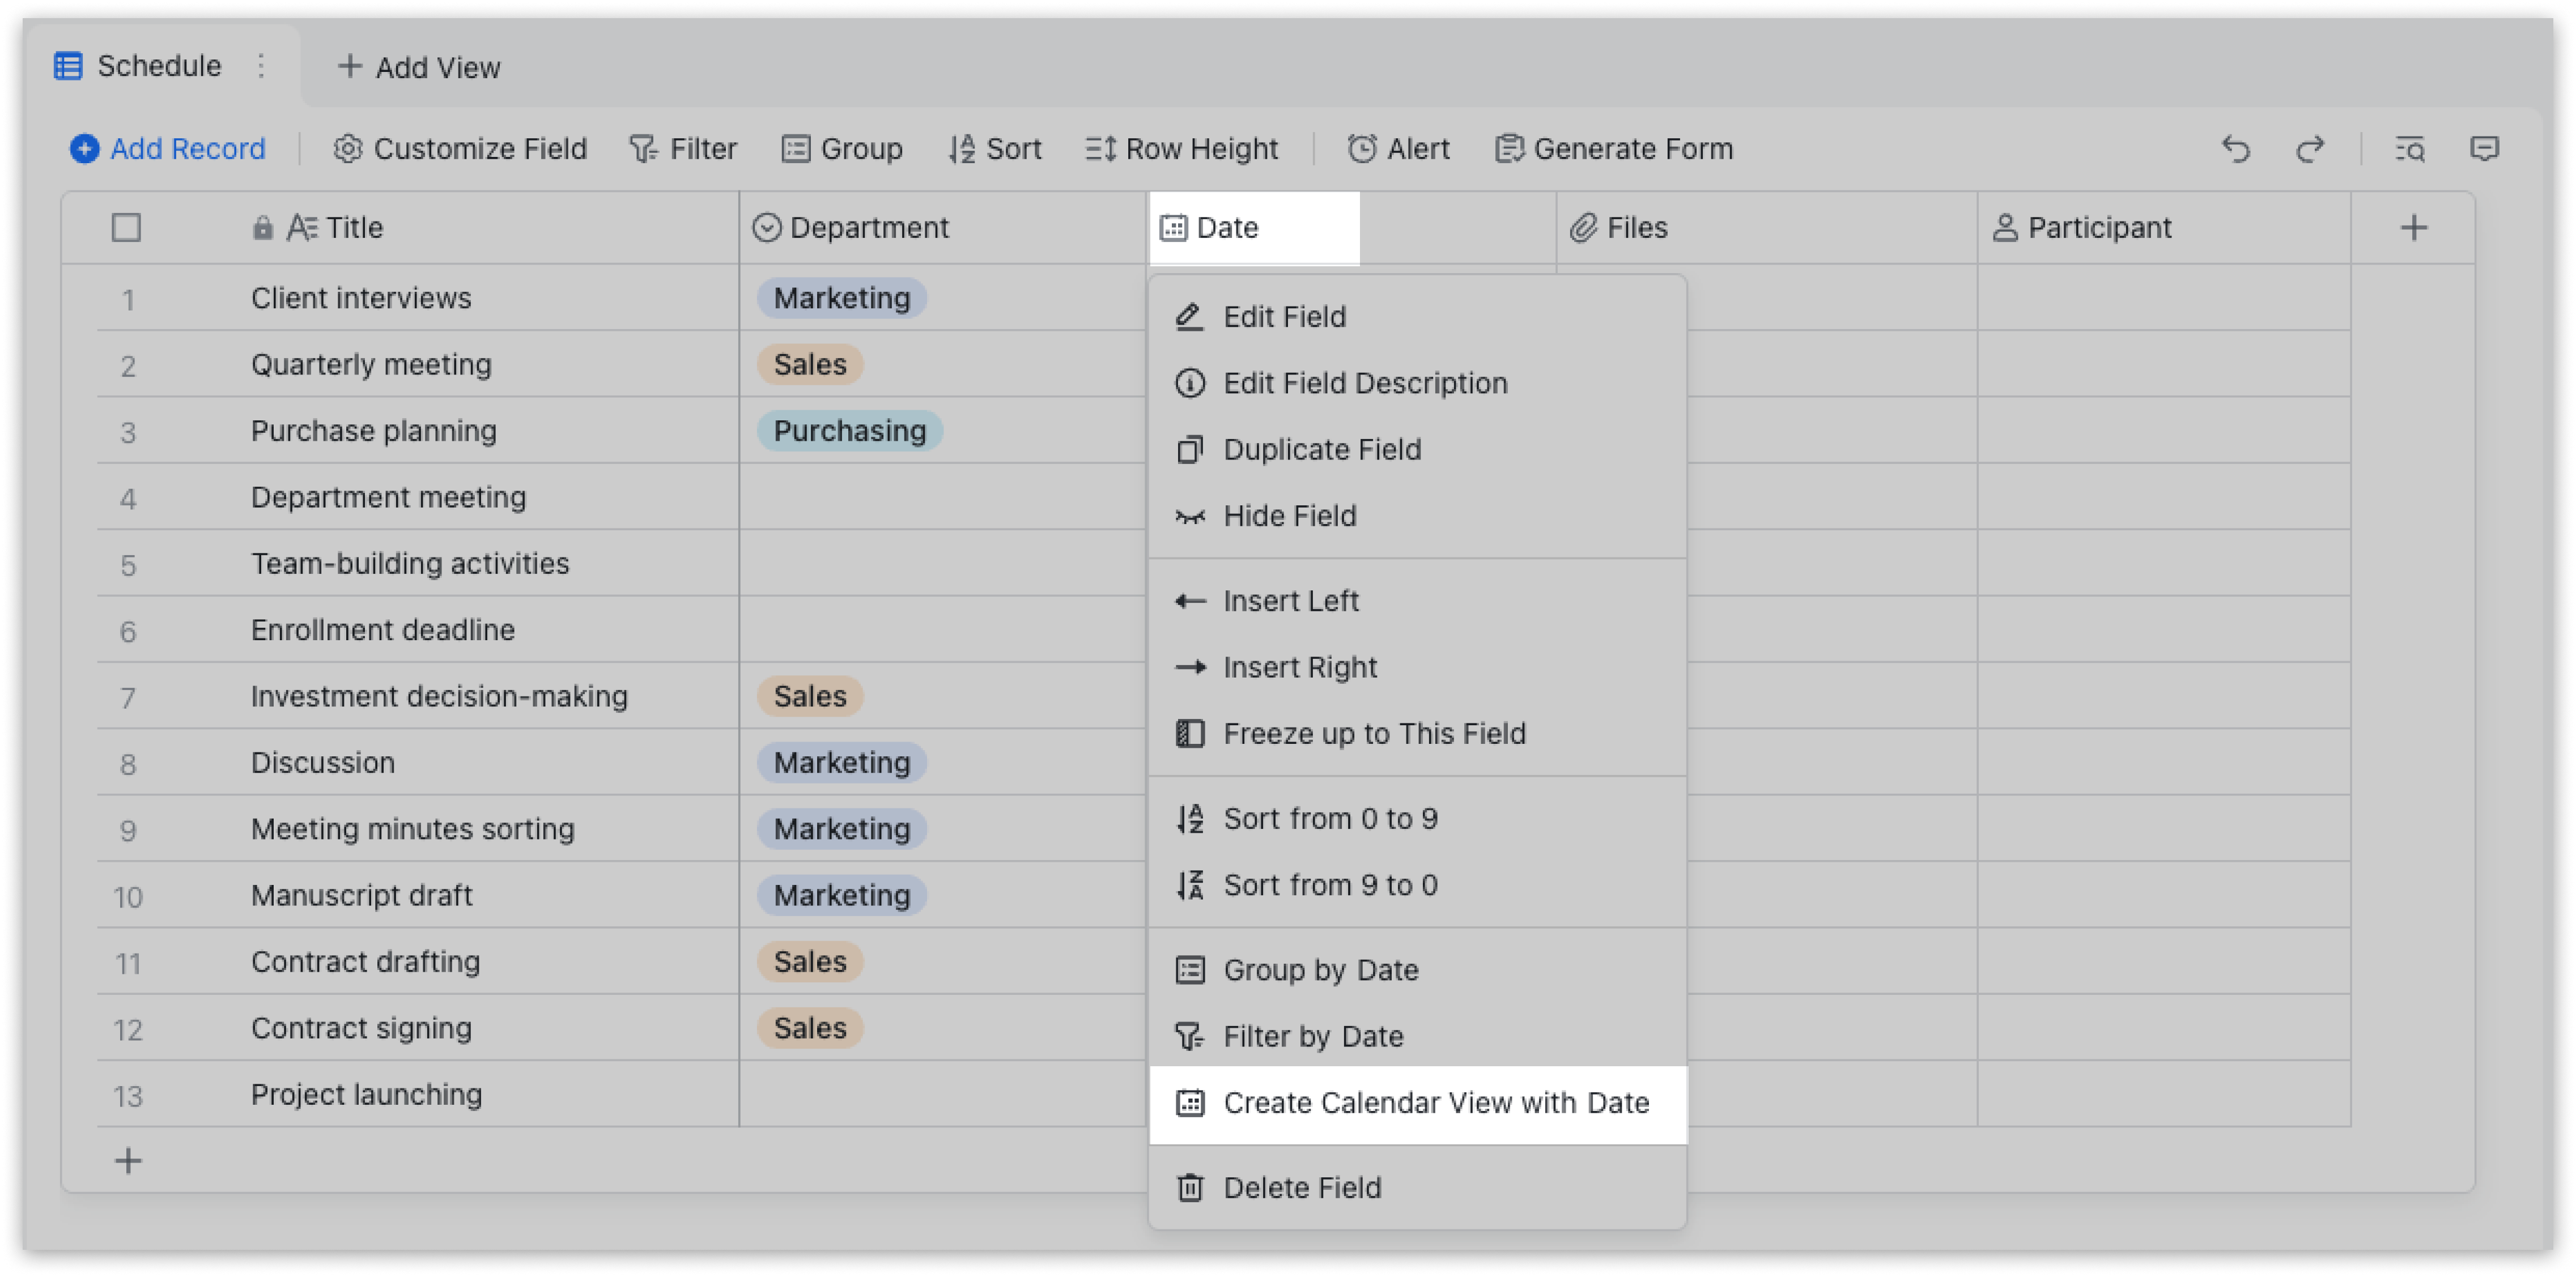
Method 1: Use existing date ranges
Right-click a date field and select Create Calendar View with Date. This field will be used as both the start and end date by default.
250px|700px|reset
Method 2: Add a new calendar view
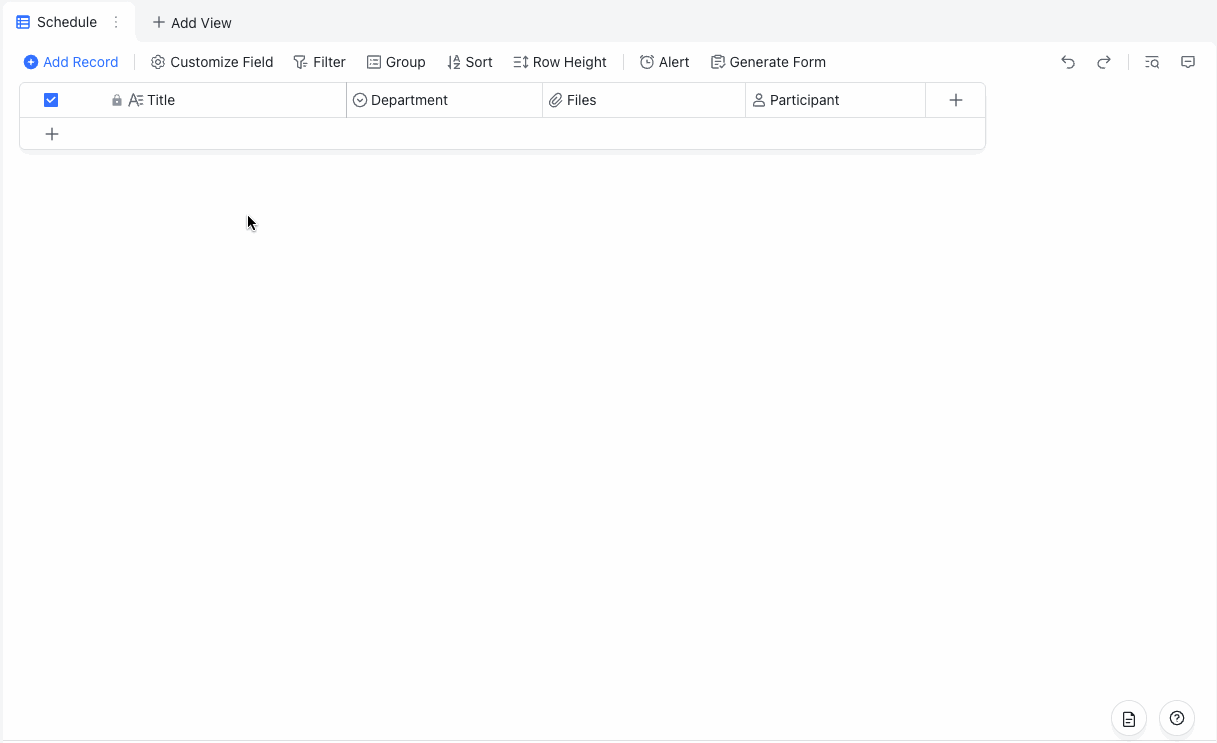
Click Add View at the top of the table, then select Calendar View.
If there are no date fields in the table, a new date field will be added when you create a record in calendar view, which will be used as both the start and end date.
250px|700px|reset
When you drag the edge of the record to change the duration to longer than one day, an additional date field will be created (called "Date 2" by default; can be renamed).

250px|700px|reset
2. Configure calendar view
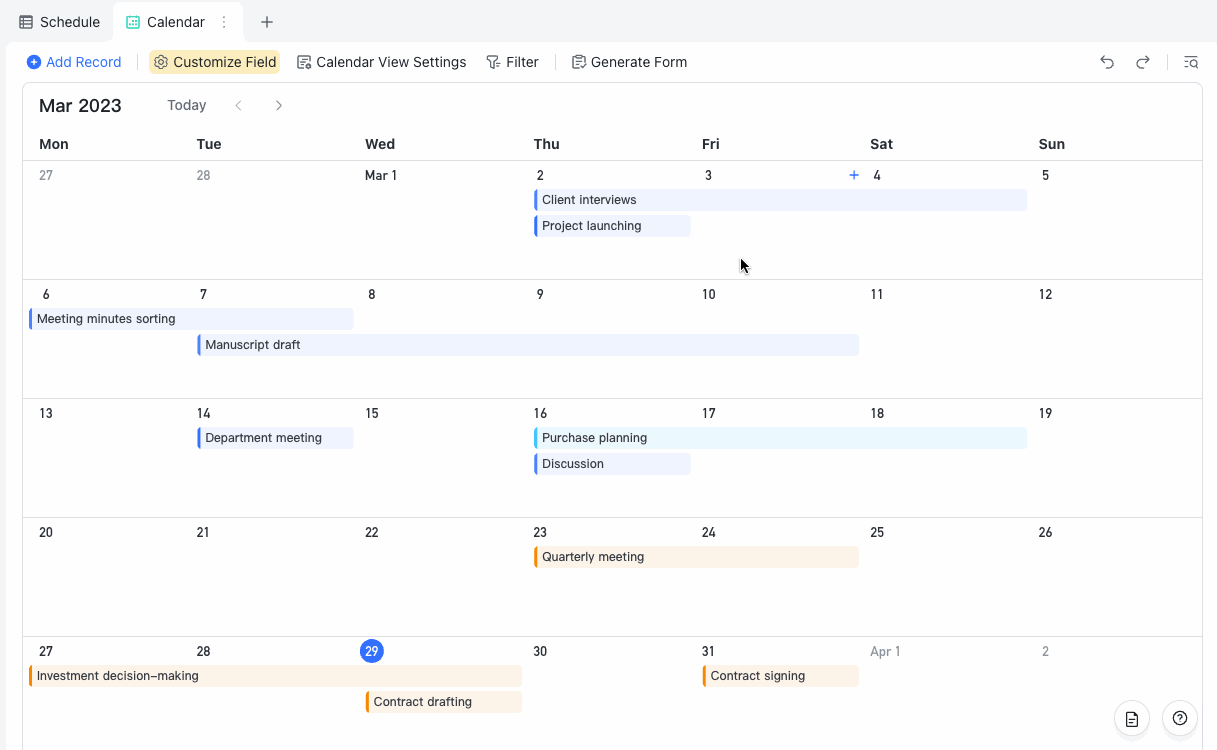
You can only view calendars by month.
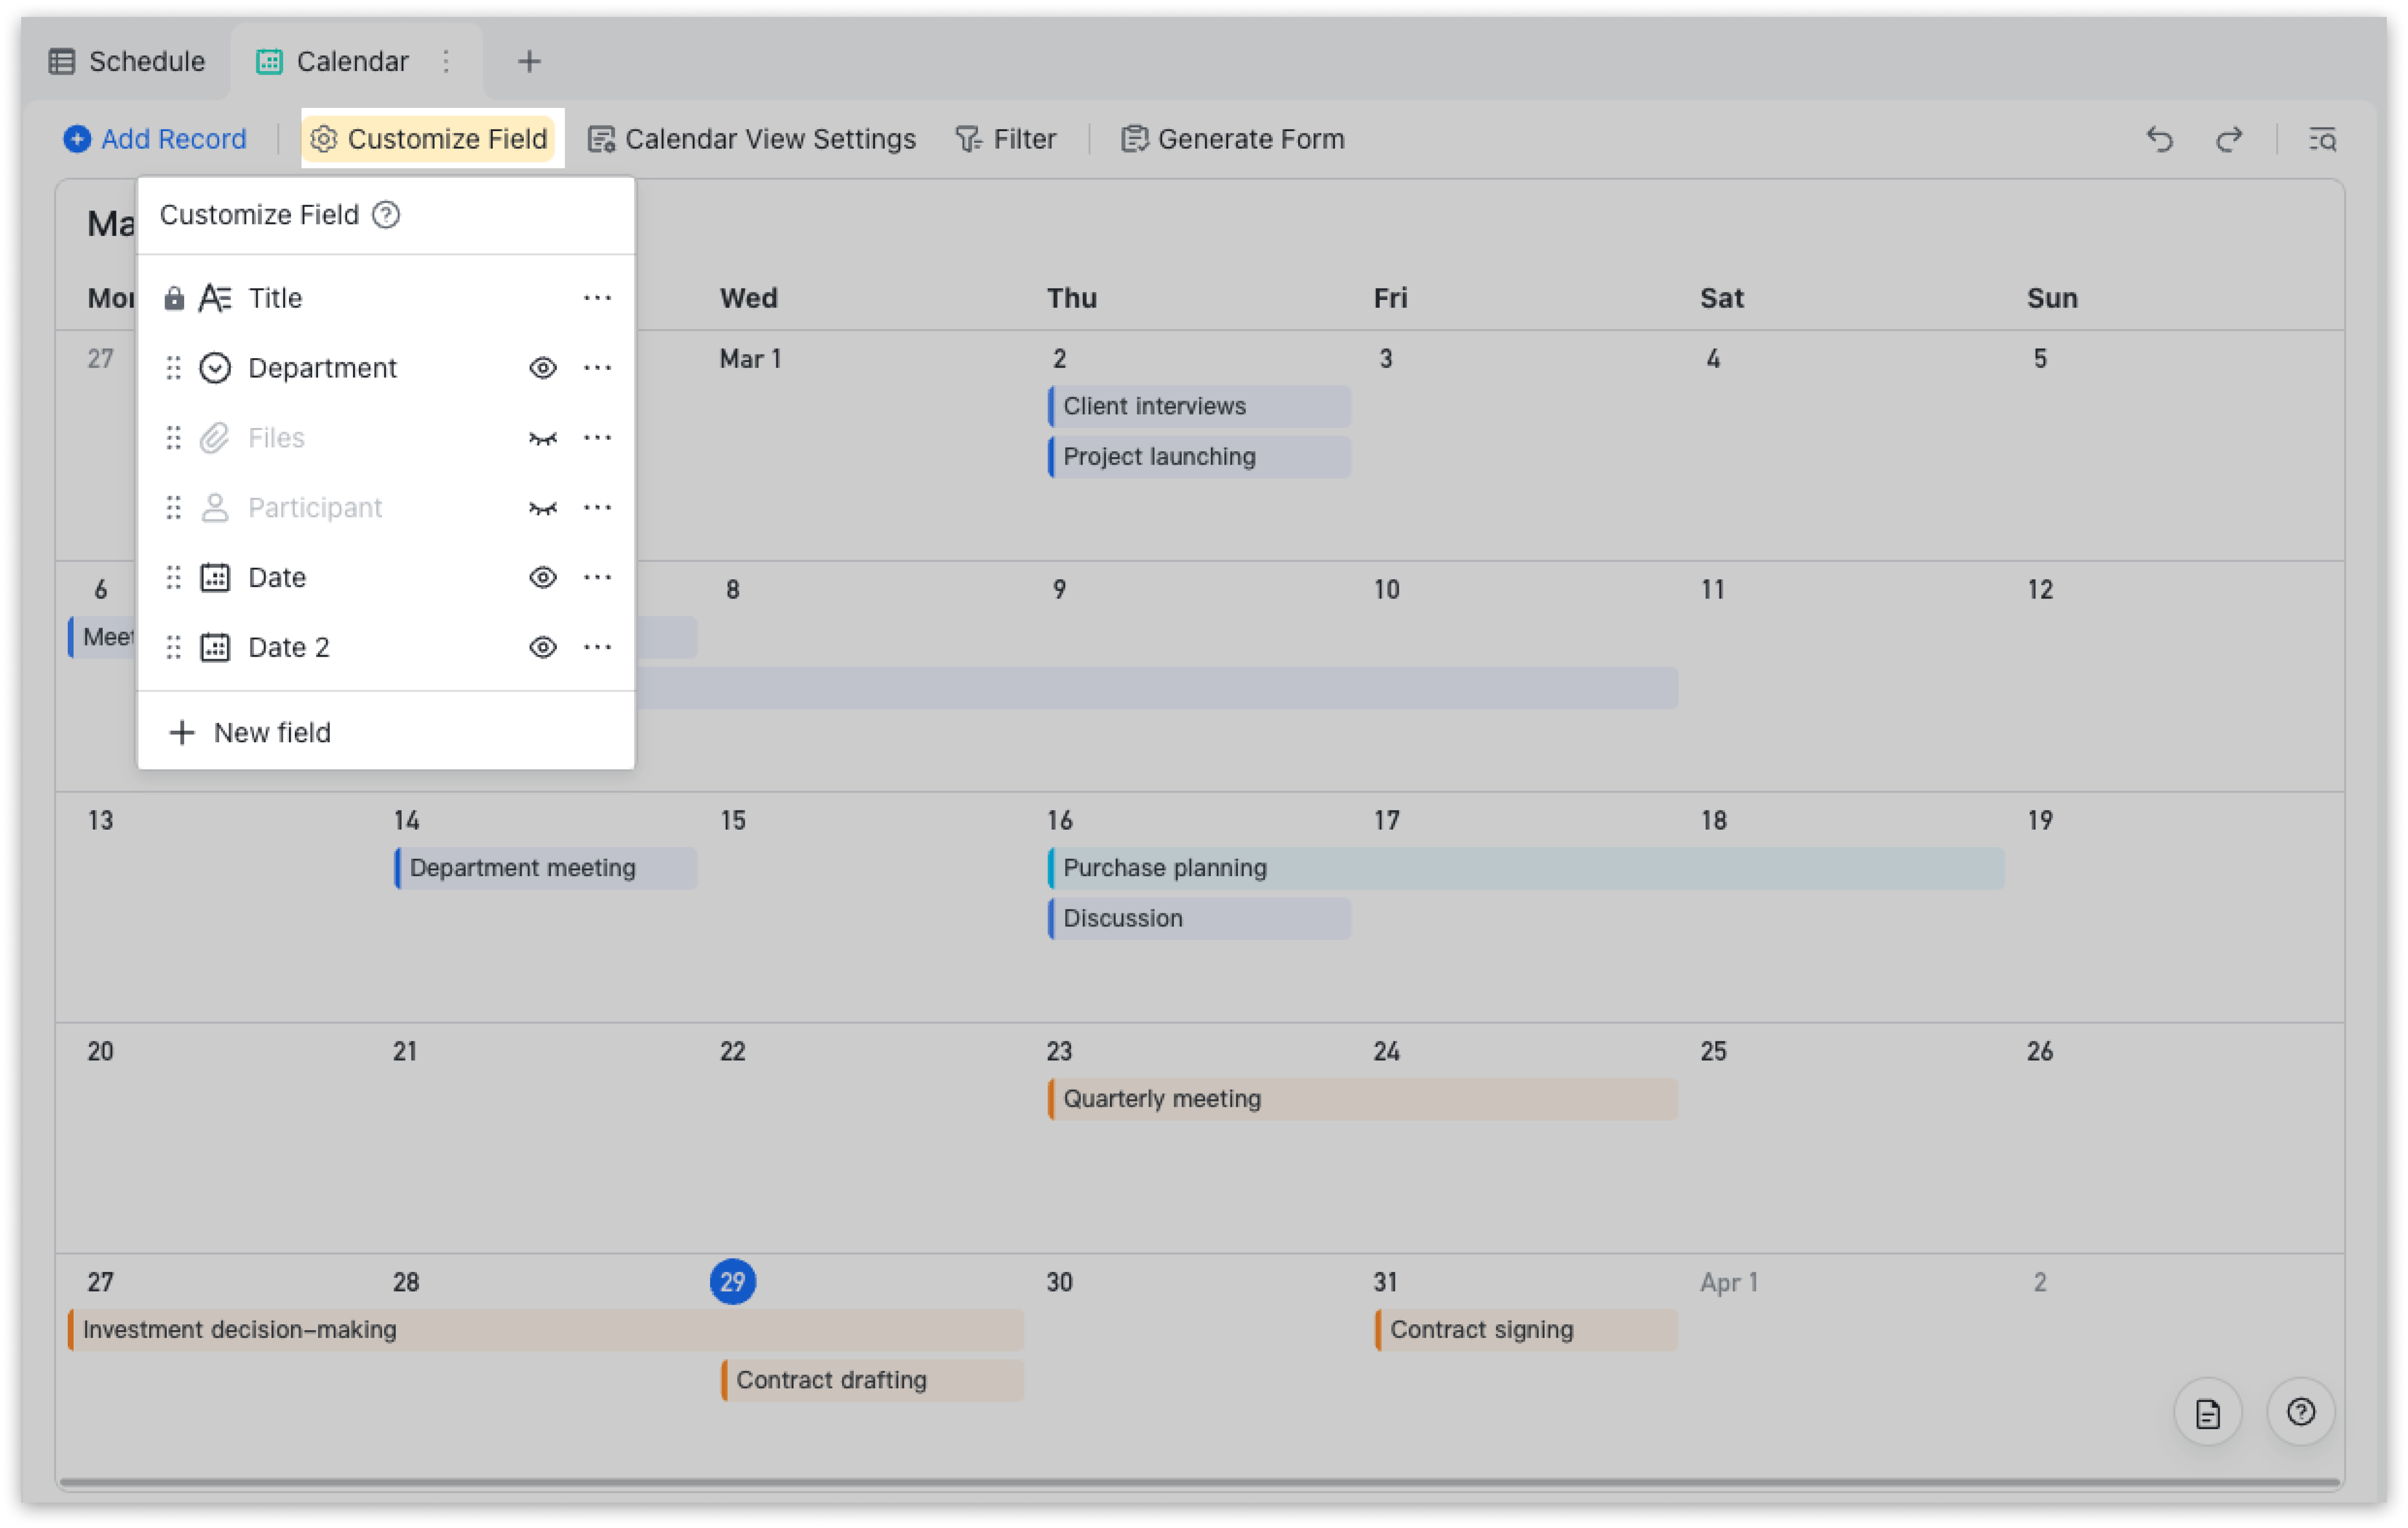
Customize fields:
Click Customize Field in the top toolbar to configure what fields to show in the details view. The display settings of these fields will not apply to other views. New fields added here will, however, appear in other views.
250px|700px|reset
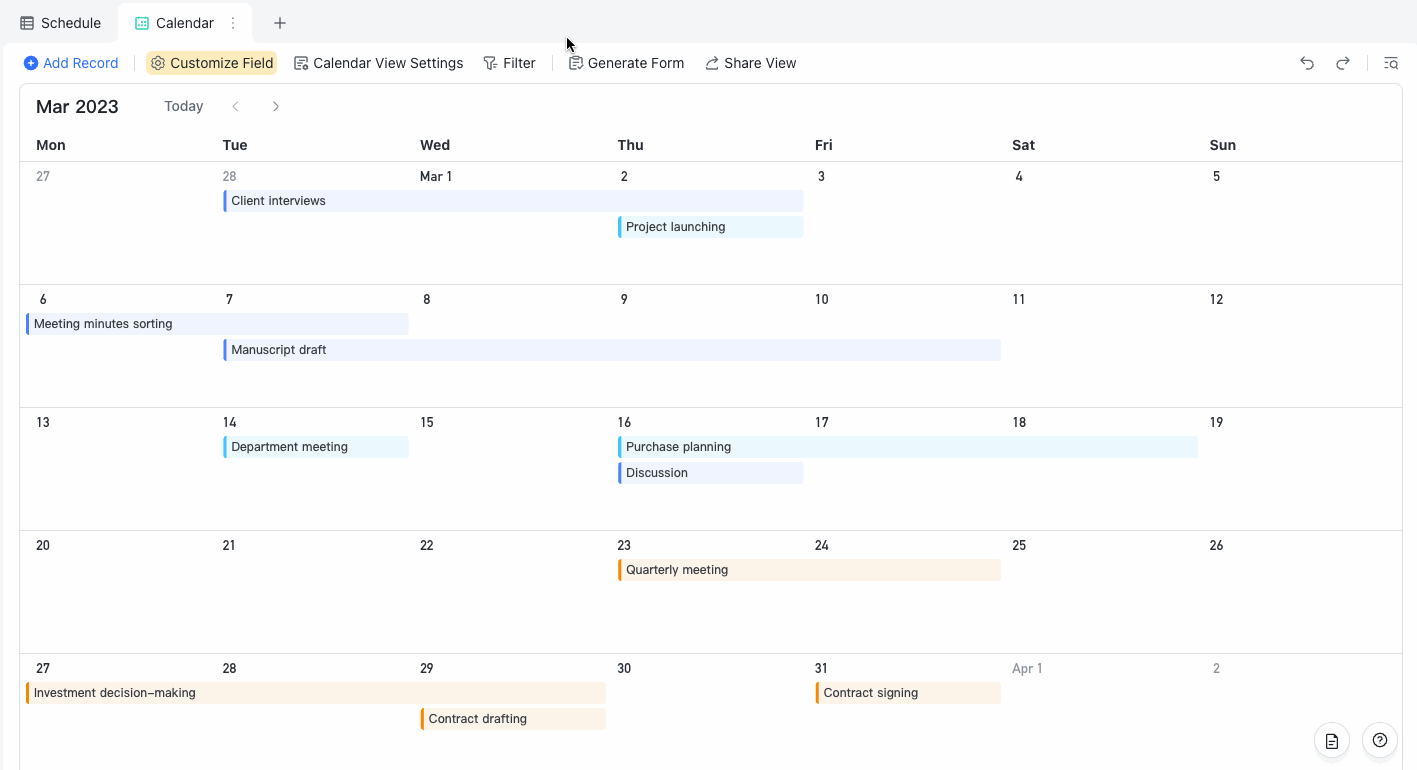
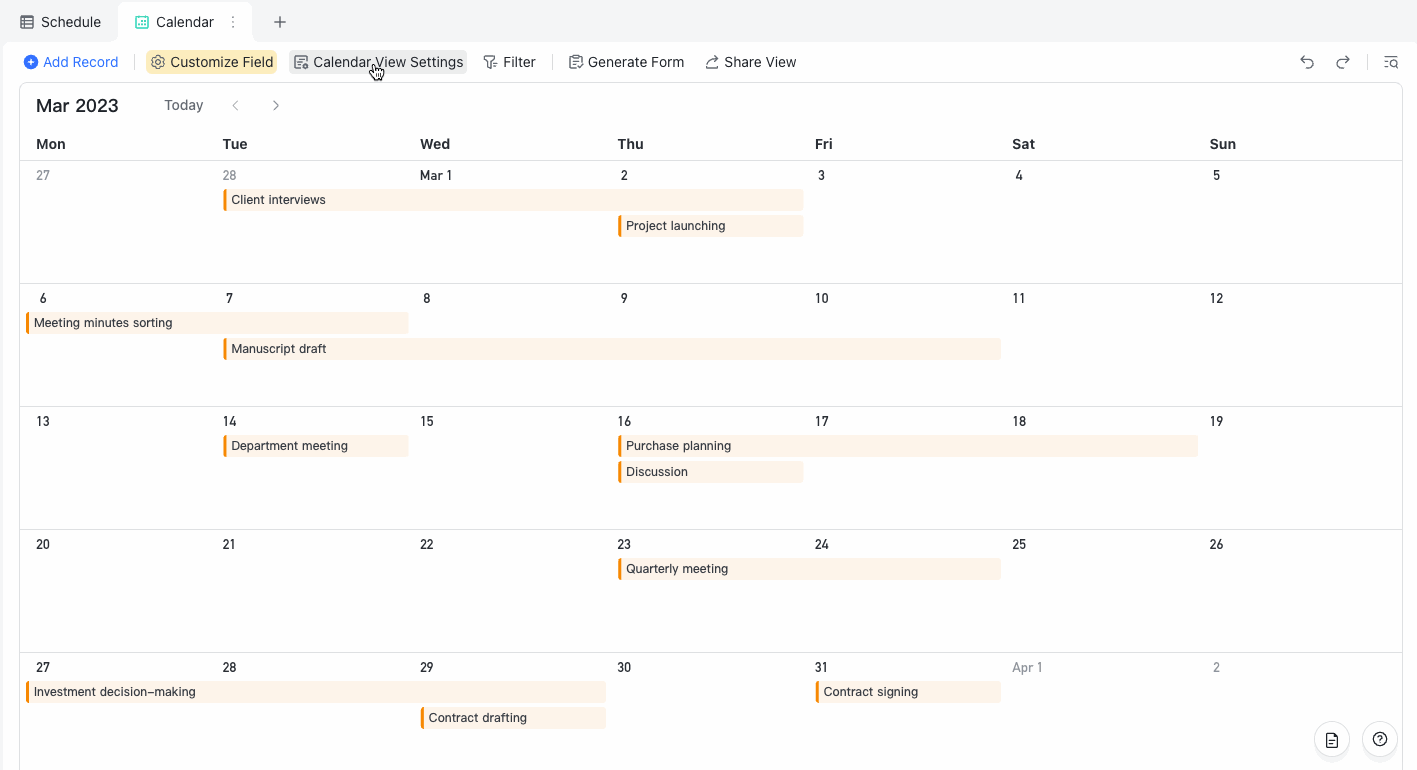
Configure calendar view settings:
Click Calendar View Settings in the top toolbar to change the fields used for start and end dates. You can also change the title, the display color, and time zone.
- Start and end dates: Date and Formula fields in date format, and Date Created fields can also be used as start and end dates. Last modified date field is not supported.
- Record titles: You can also change the title of the records by selecting a different field. Users with edit permission for the base can set record titles in the calendar.
- Note: All field types, except button fields, can be selected as a title.
250px|700px|reset
- Display color: You can choose Customize colors or Align with records. Only single option fields can be selected for this option.
250px|700px|reset
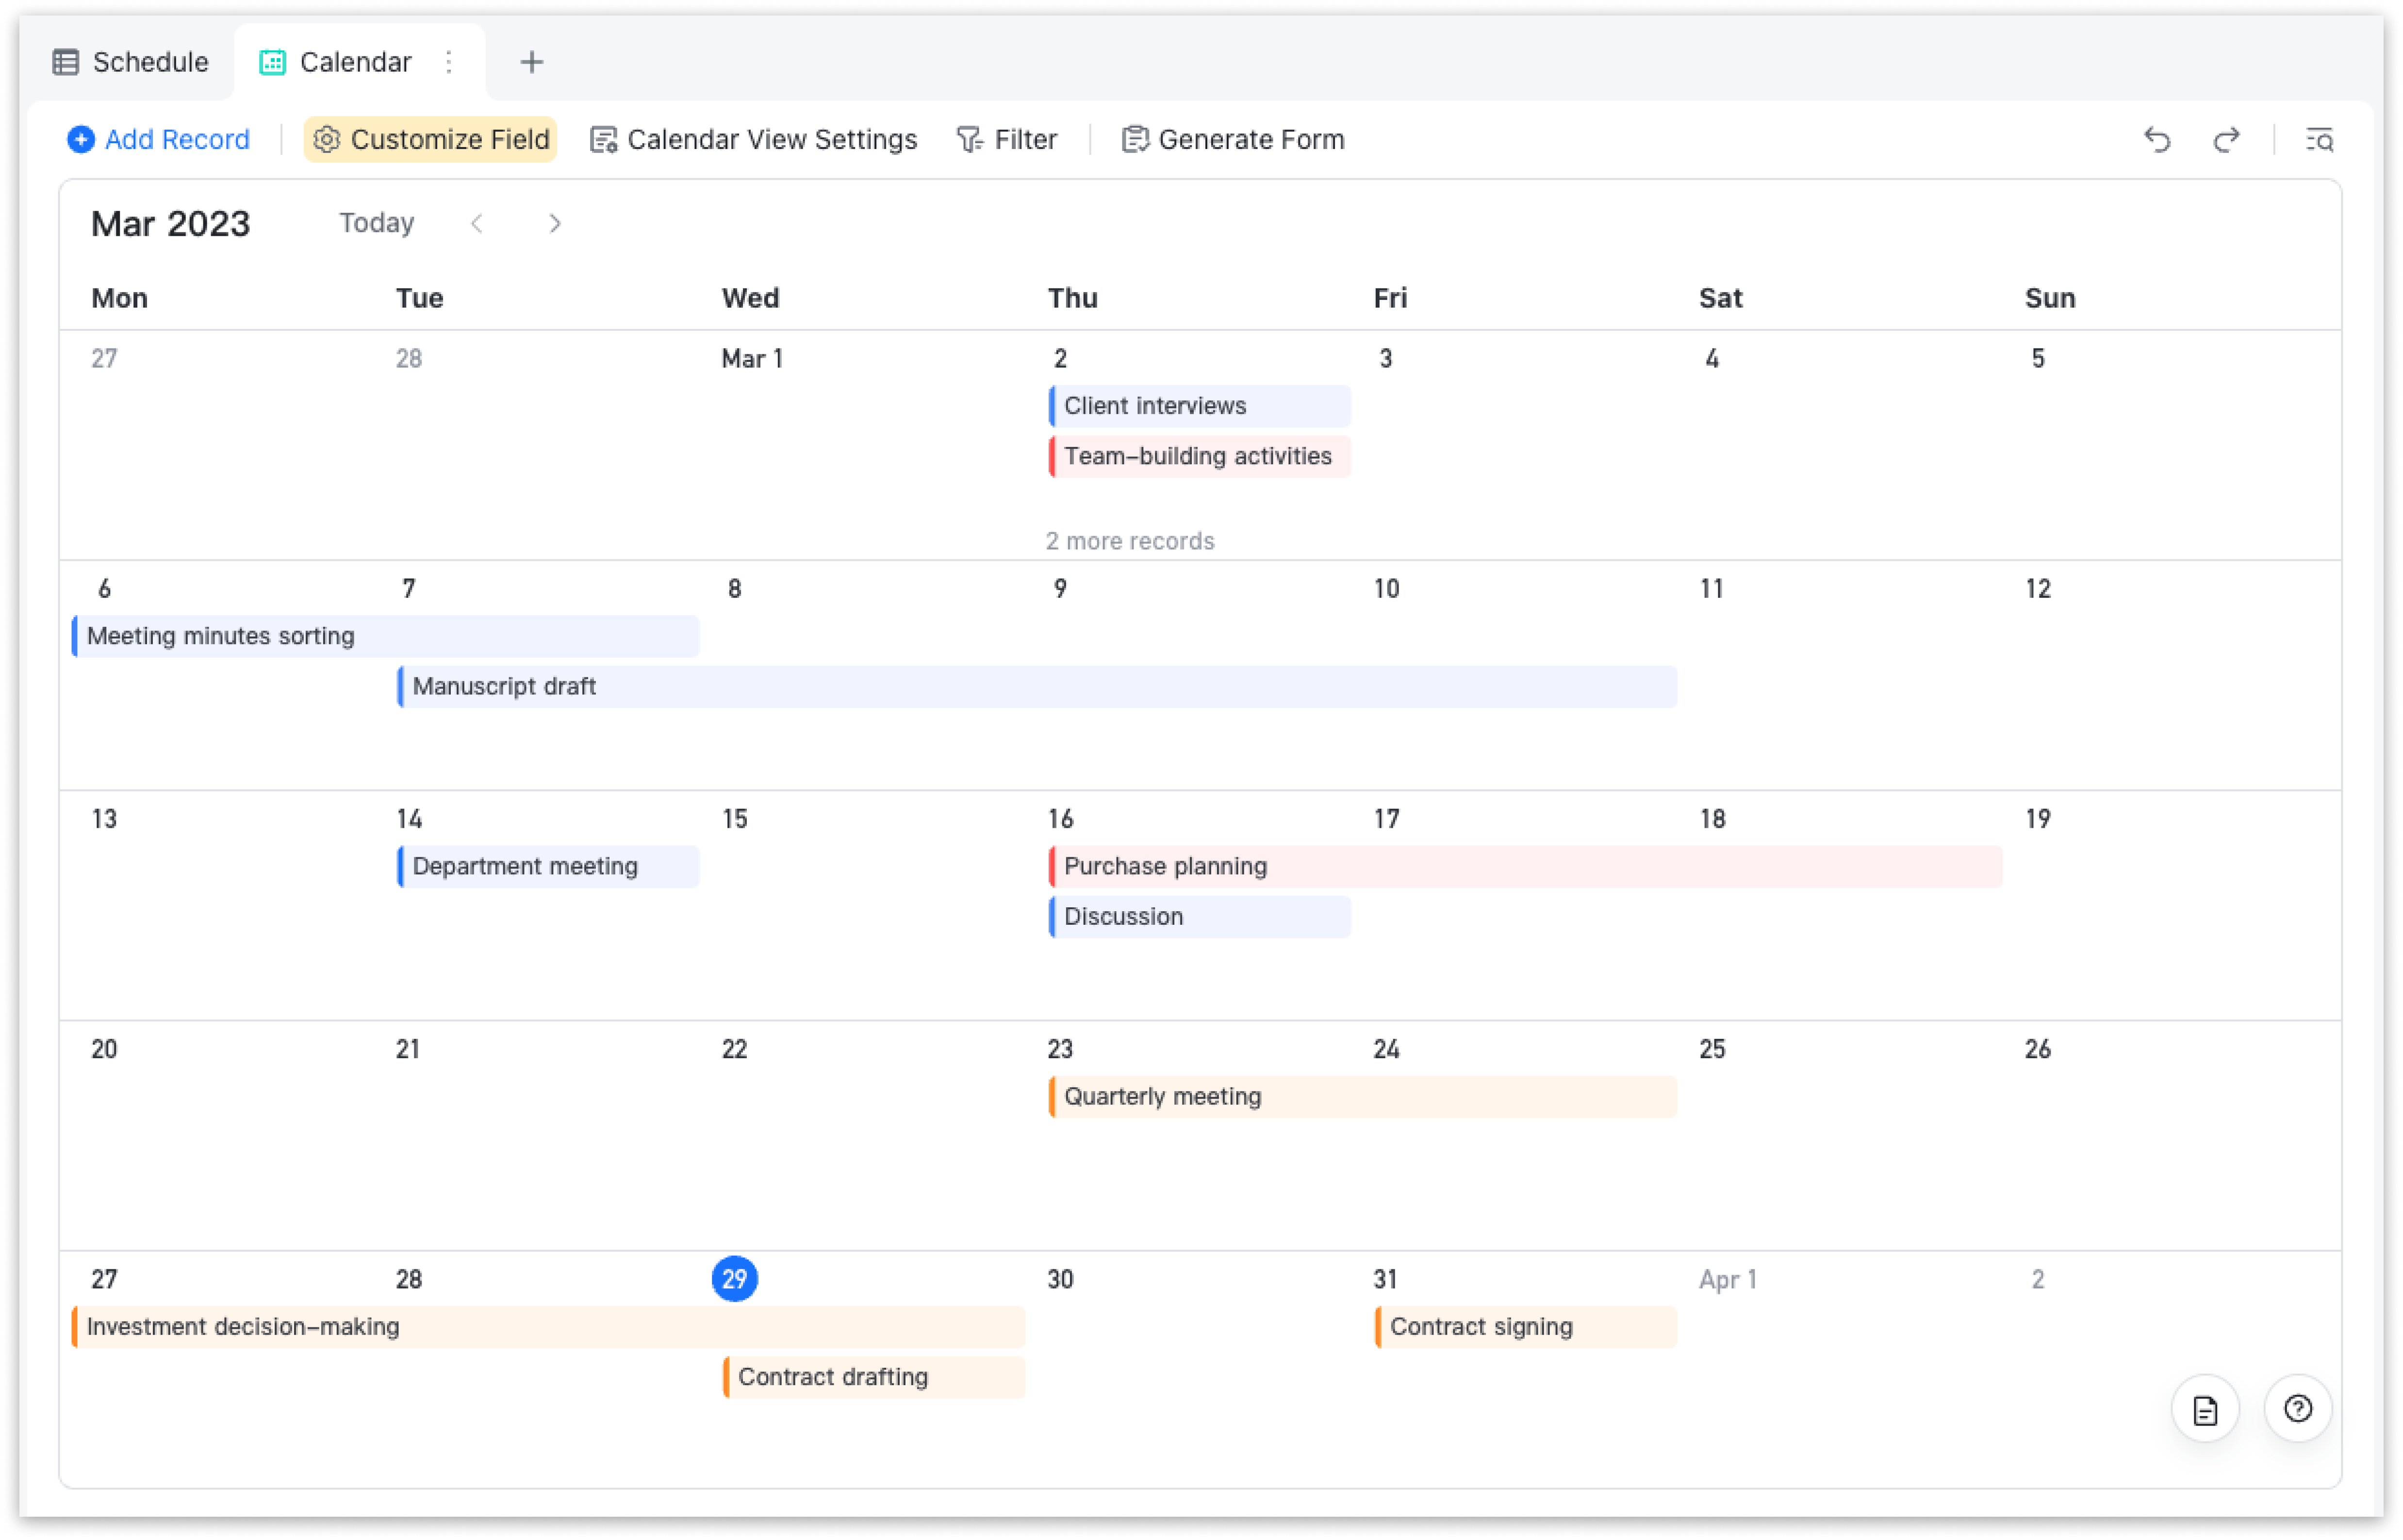
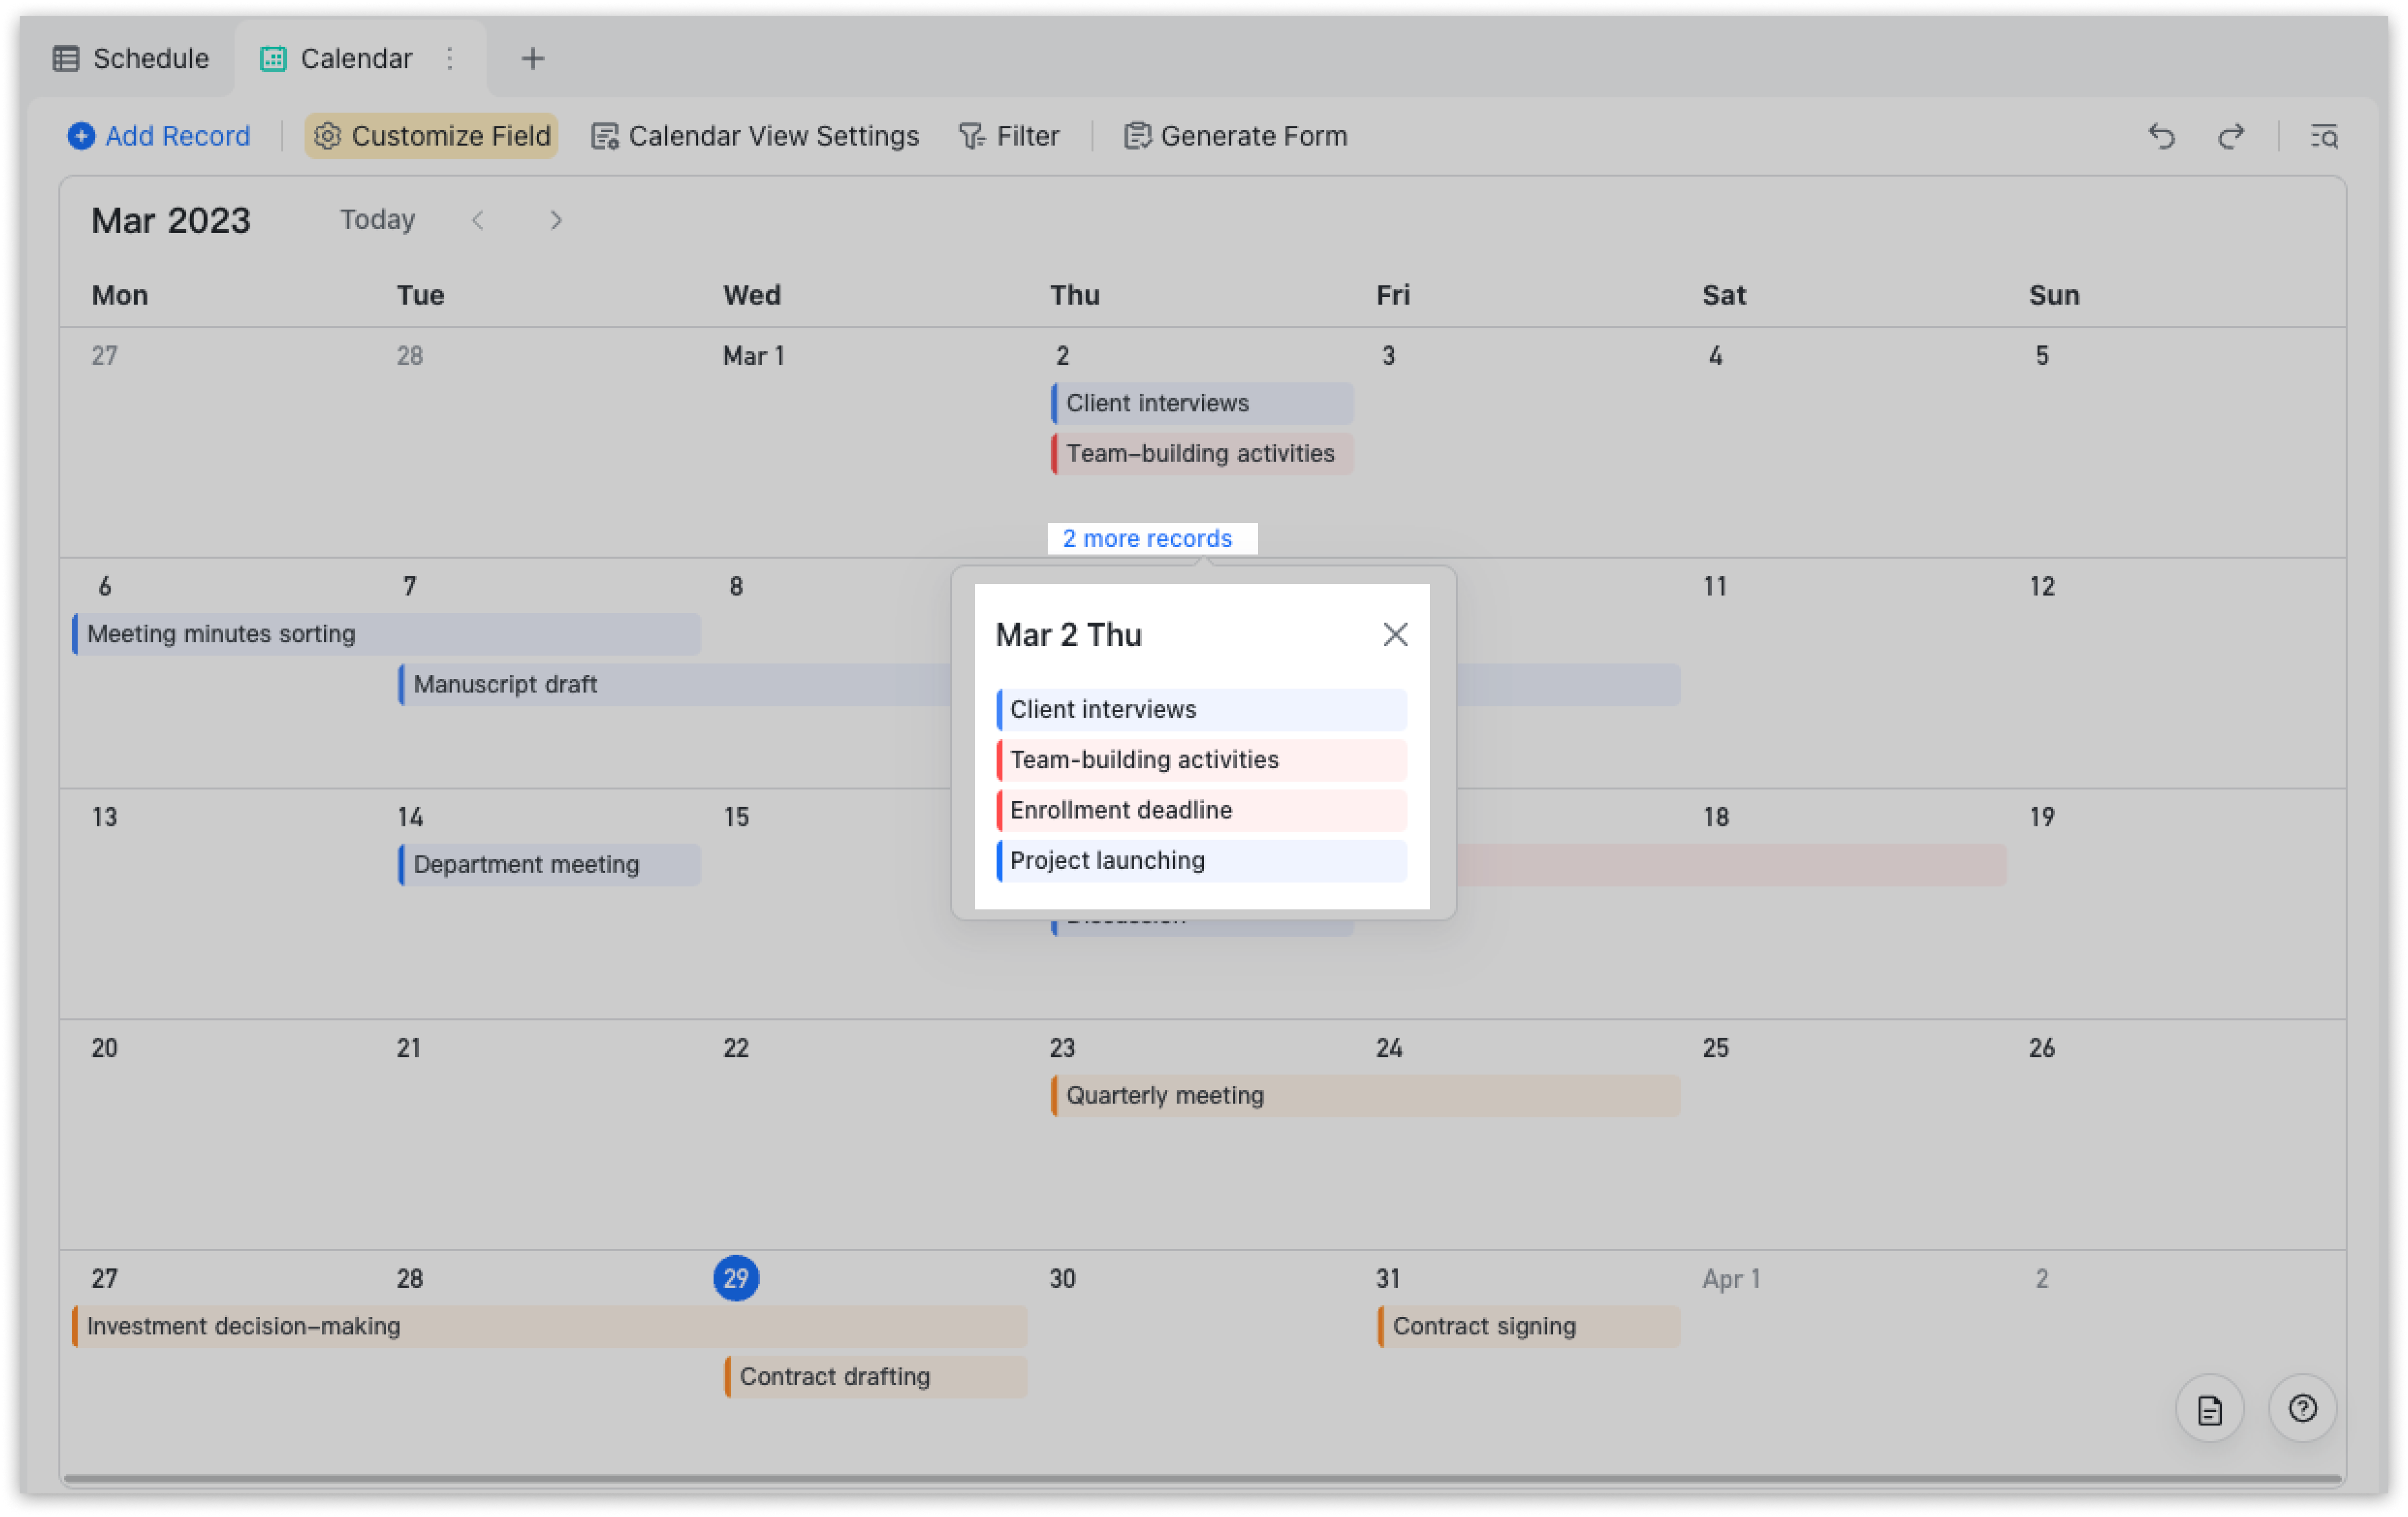
Only the color and name of the record will be shown in calendar view. To see more details, click the record.
If there are multiple records on the same day, click [Number] more records to see all records.
250px|700px|reset
3. Edit records
You can create and delete records in calendar view, and drag the edge of the record to change its start and end dates.
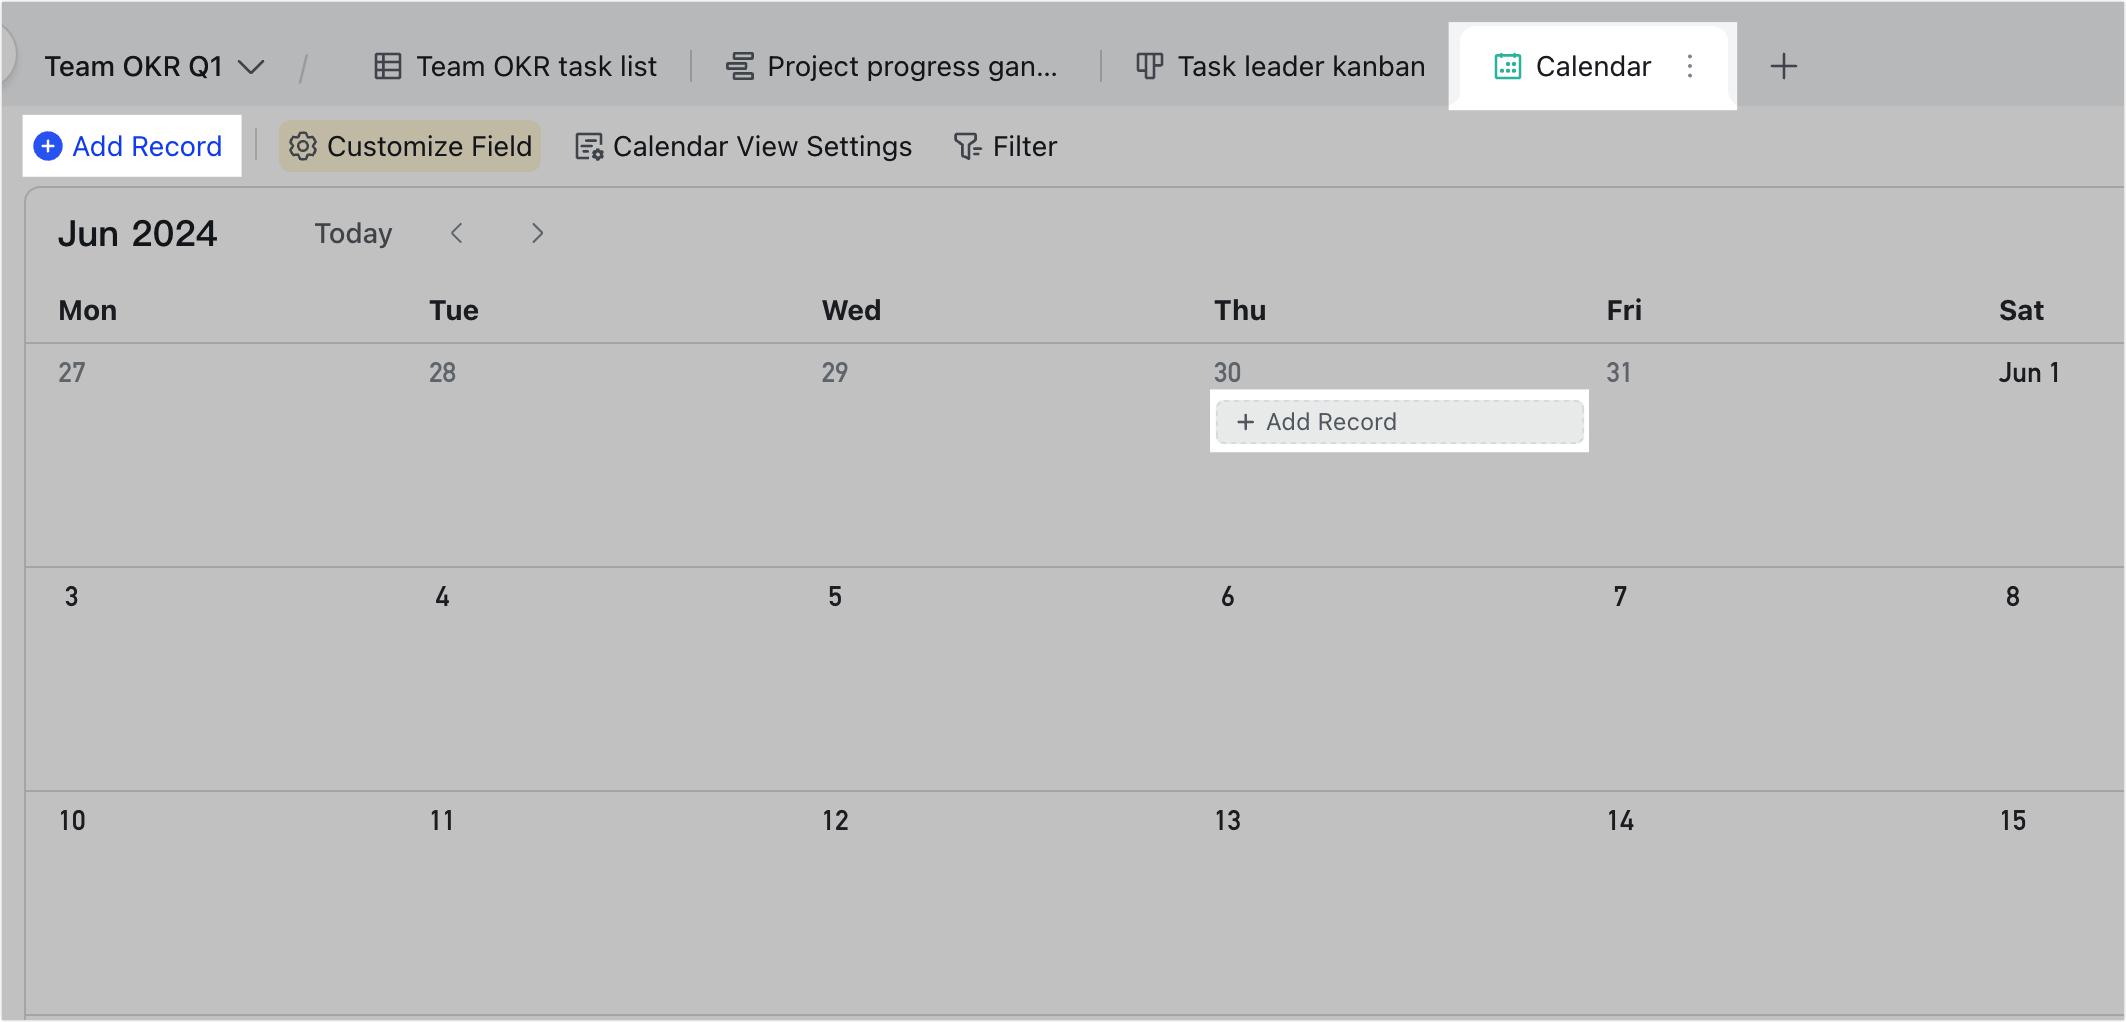
There are two ways to create a record in calendar view:
Method 1: Click Add Record in the top toolbar and enter the details in the pop-up window. By default, the start and end dates are today.
Method 2: Hover over a blank space in a date, click Add Record, and enter the details in the pop-up window.
Note: If you set the formula field in date format or the date created field as the start time or end time of calendar view, you will not be able to add a new record by hovering over a blank space (Method 2). You can only add a new record by clicking Add Record in the upper-left corner (Method 1).
250px|700px|reset
Modify a record:
- Drag the entire record to move both its start and end dates at the same time.
- Drag the edges of the record to change its start and end dates separately.
Note: If you set the formula field in date format or the date created field as the start time or end time in calendar view, you won't be able to modify the time by dragging.
250px|700px|reset
III. FAQs