
I. Intro
You can sort records based on the conditions you set to organize information in the Base.
II. Steps
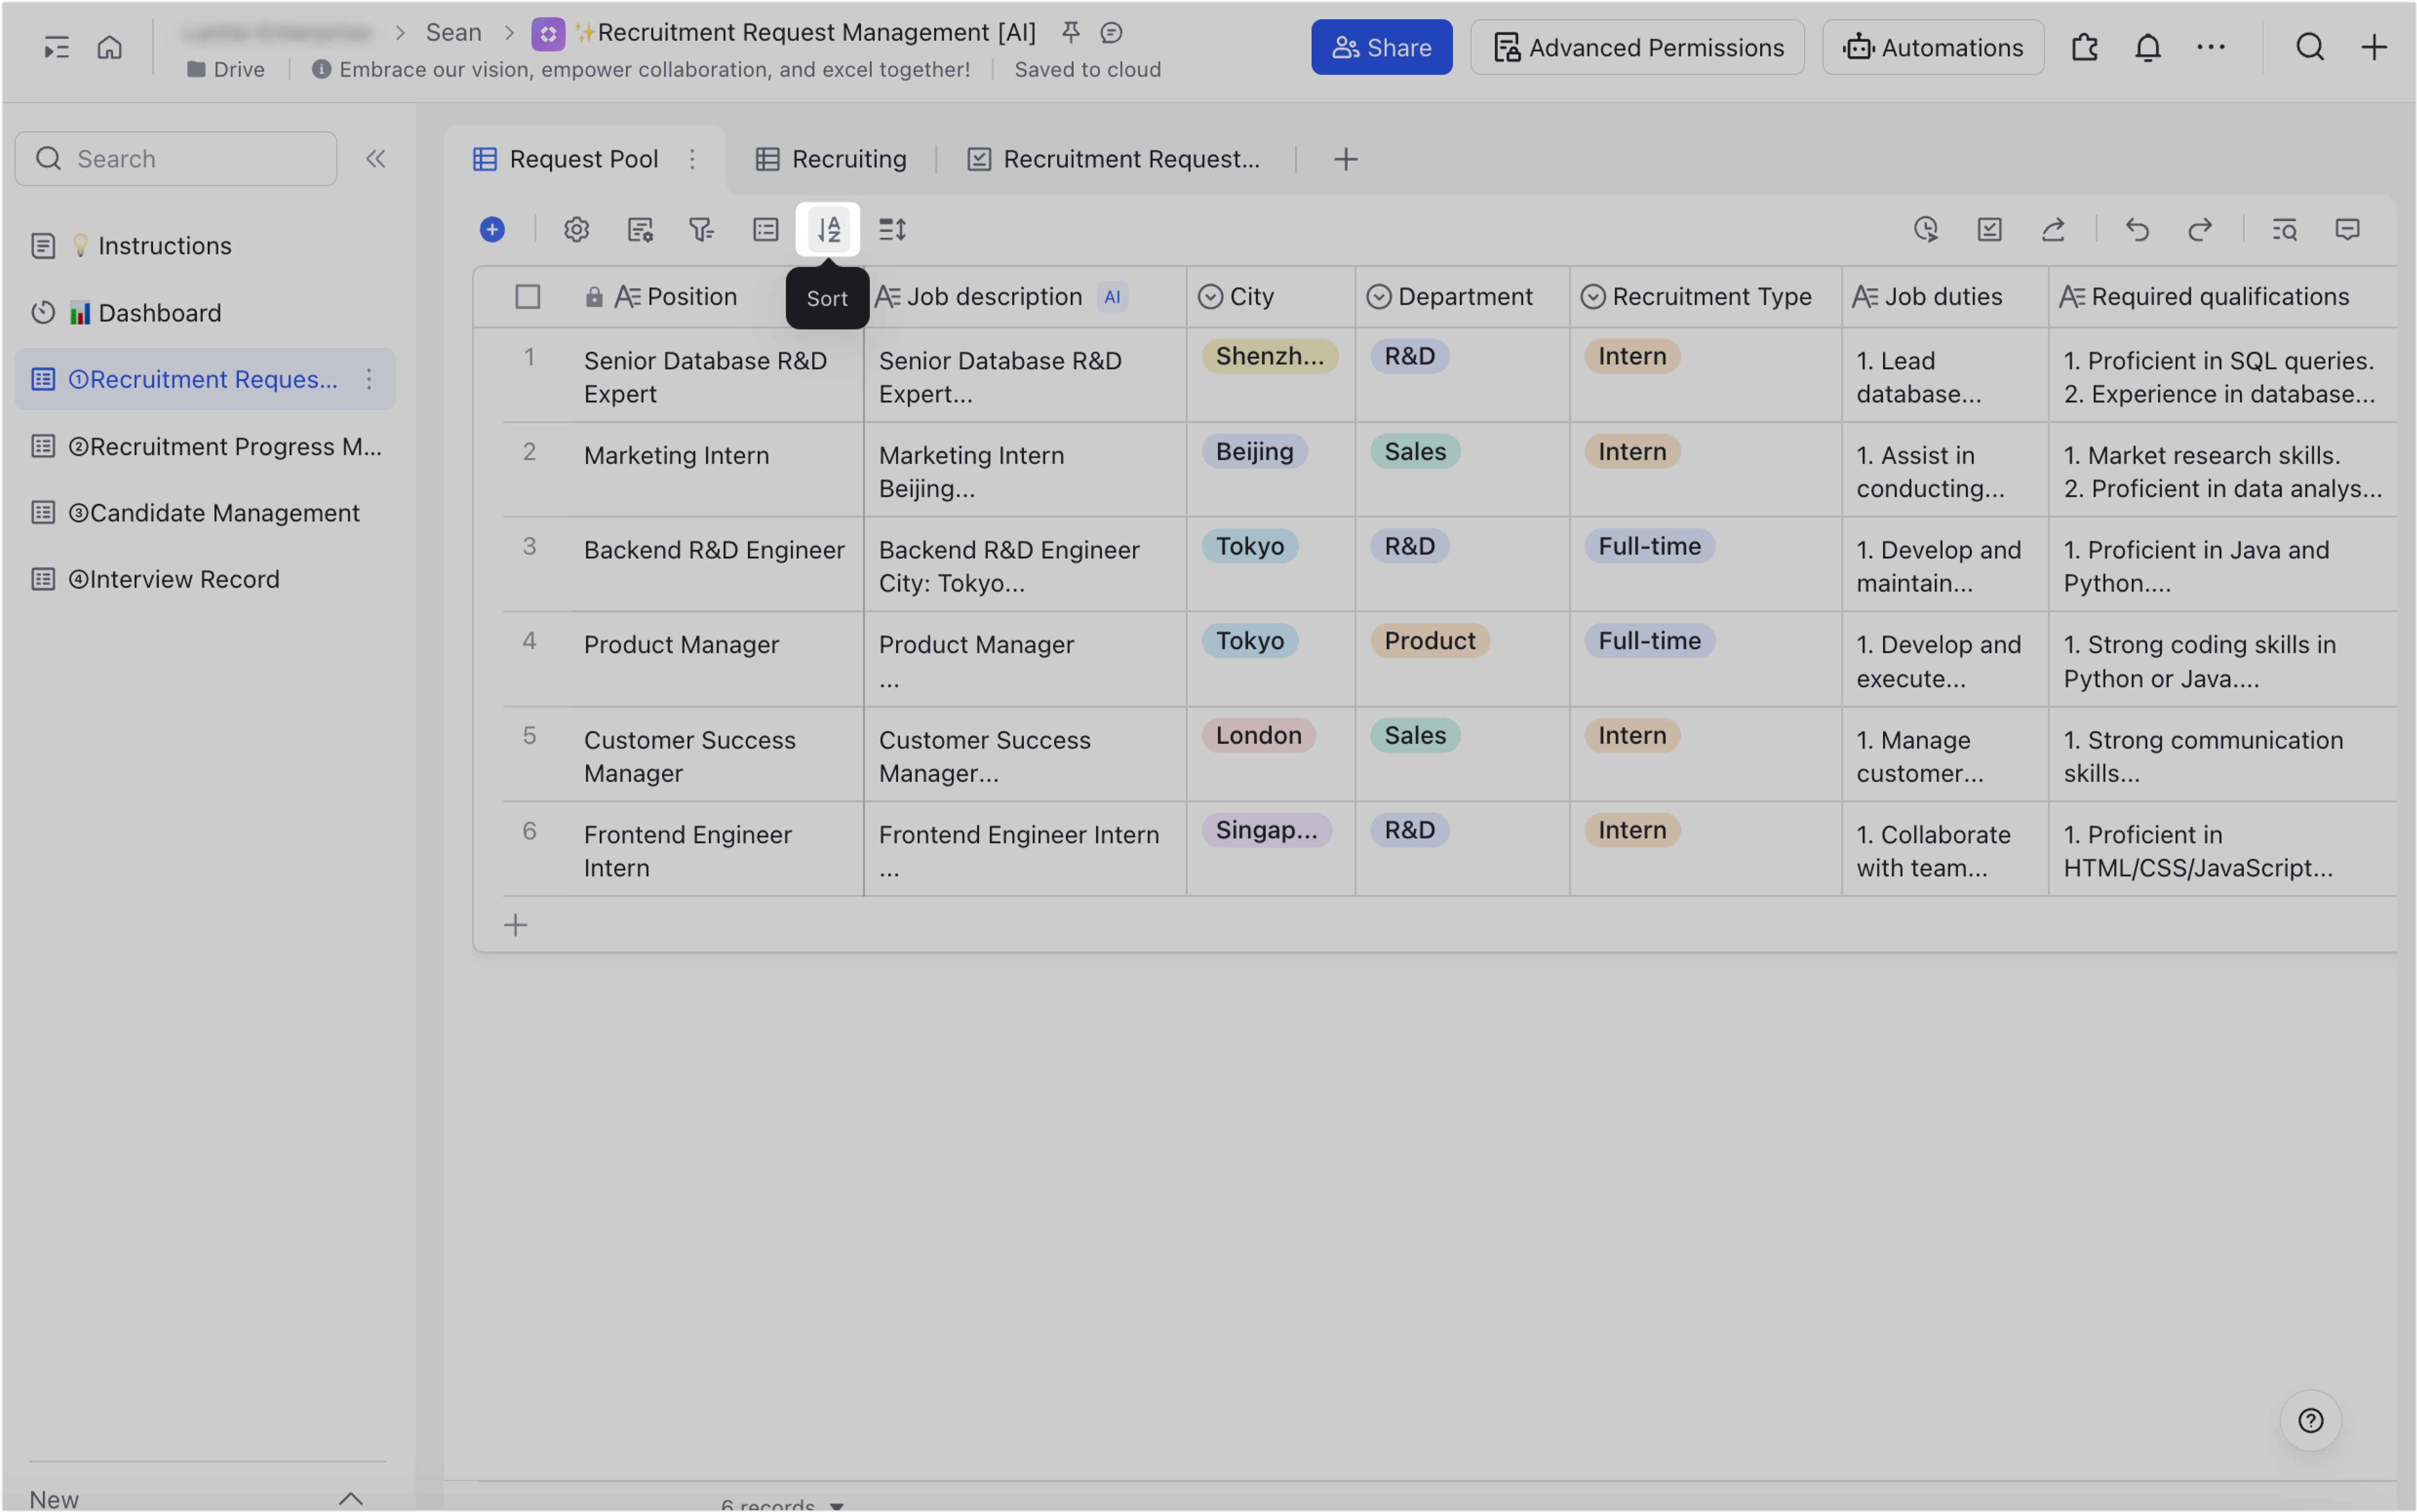
- Open the base and click Sort at the top.
250px|700px|reset
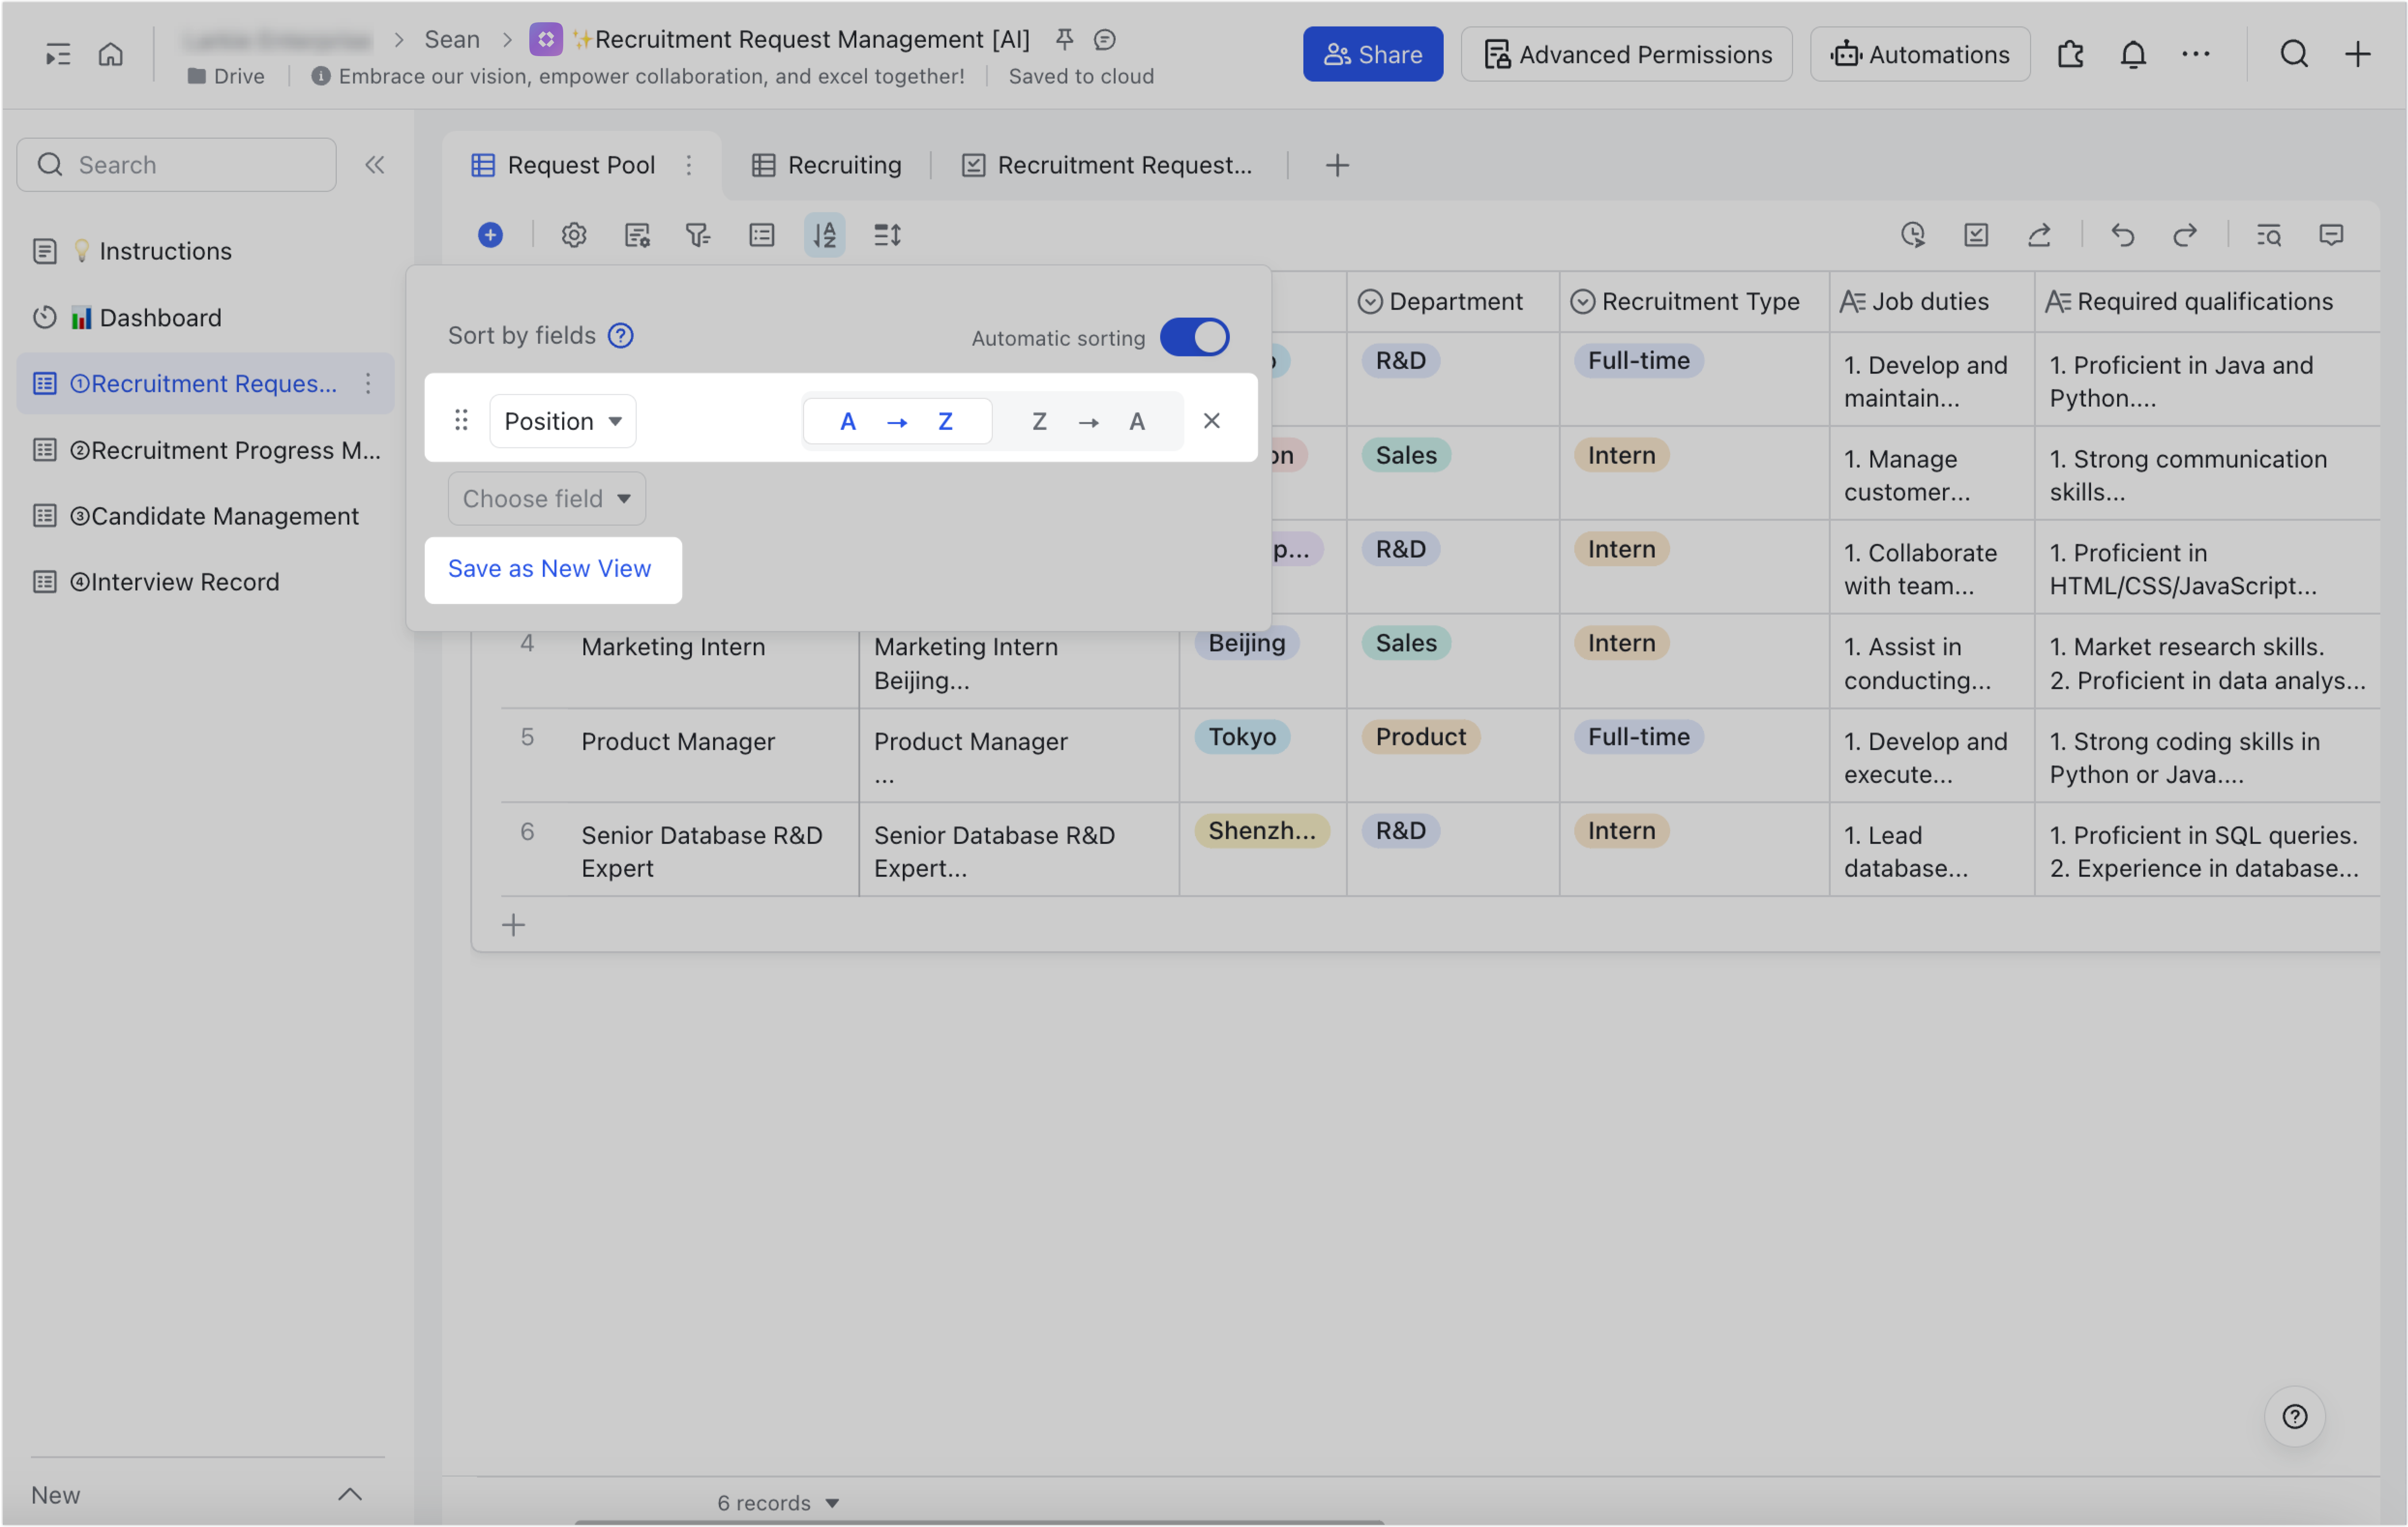
- Select a field to sort and choose the sort method, which includes: A → Z or Z → A, First → Last or Last → First, and 0 → 9 or 9 → 0.
- First → Last or Last → First: Available for single or multiple options fields. Sort based on first to last or last to first order.
- A → Z or Z → A: Available for fields that contain text. Sort based on alphabetical or reverse alphabetical order.
- 0 → 9 or 9 → 0: Available for fields that contain numbers or dates. Sort based on ascending or descending order.
Click the X icon on the right side of the sort condition to delete it. You can also click Save as New View at the bottom of the panel to save the sorted results as a new view.
Note: If records are grouped, sorting will only take effect within each group.
250px|700px|reset
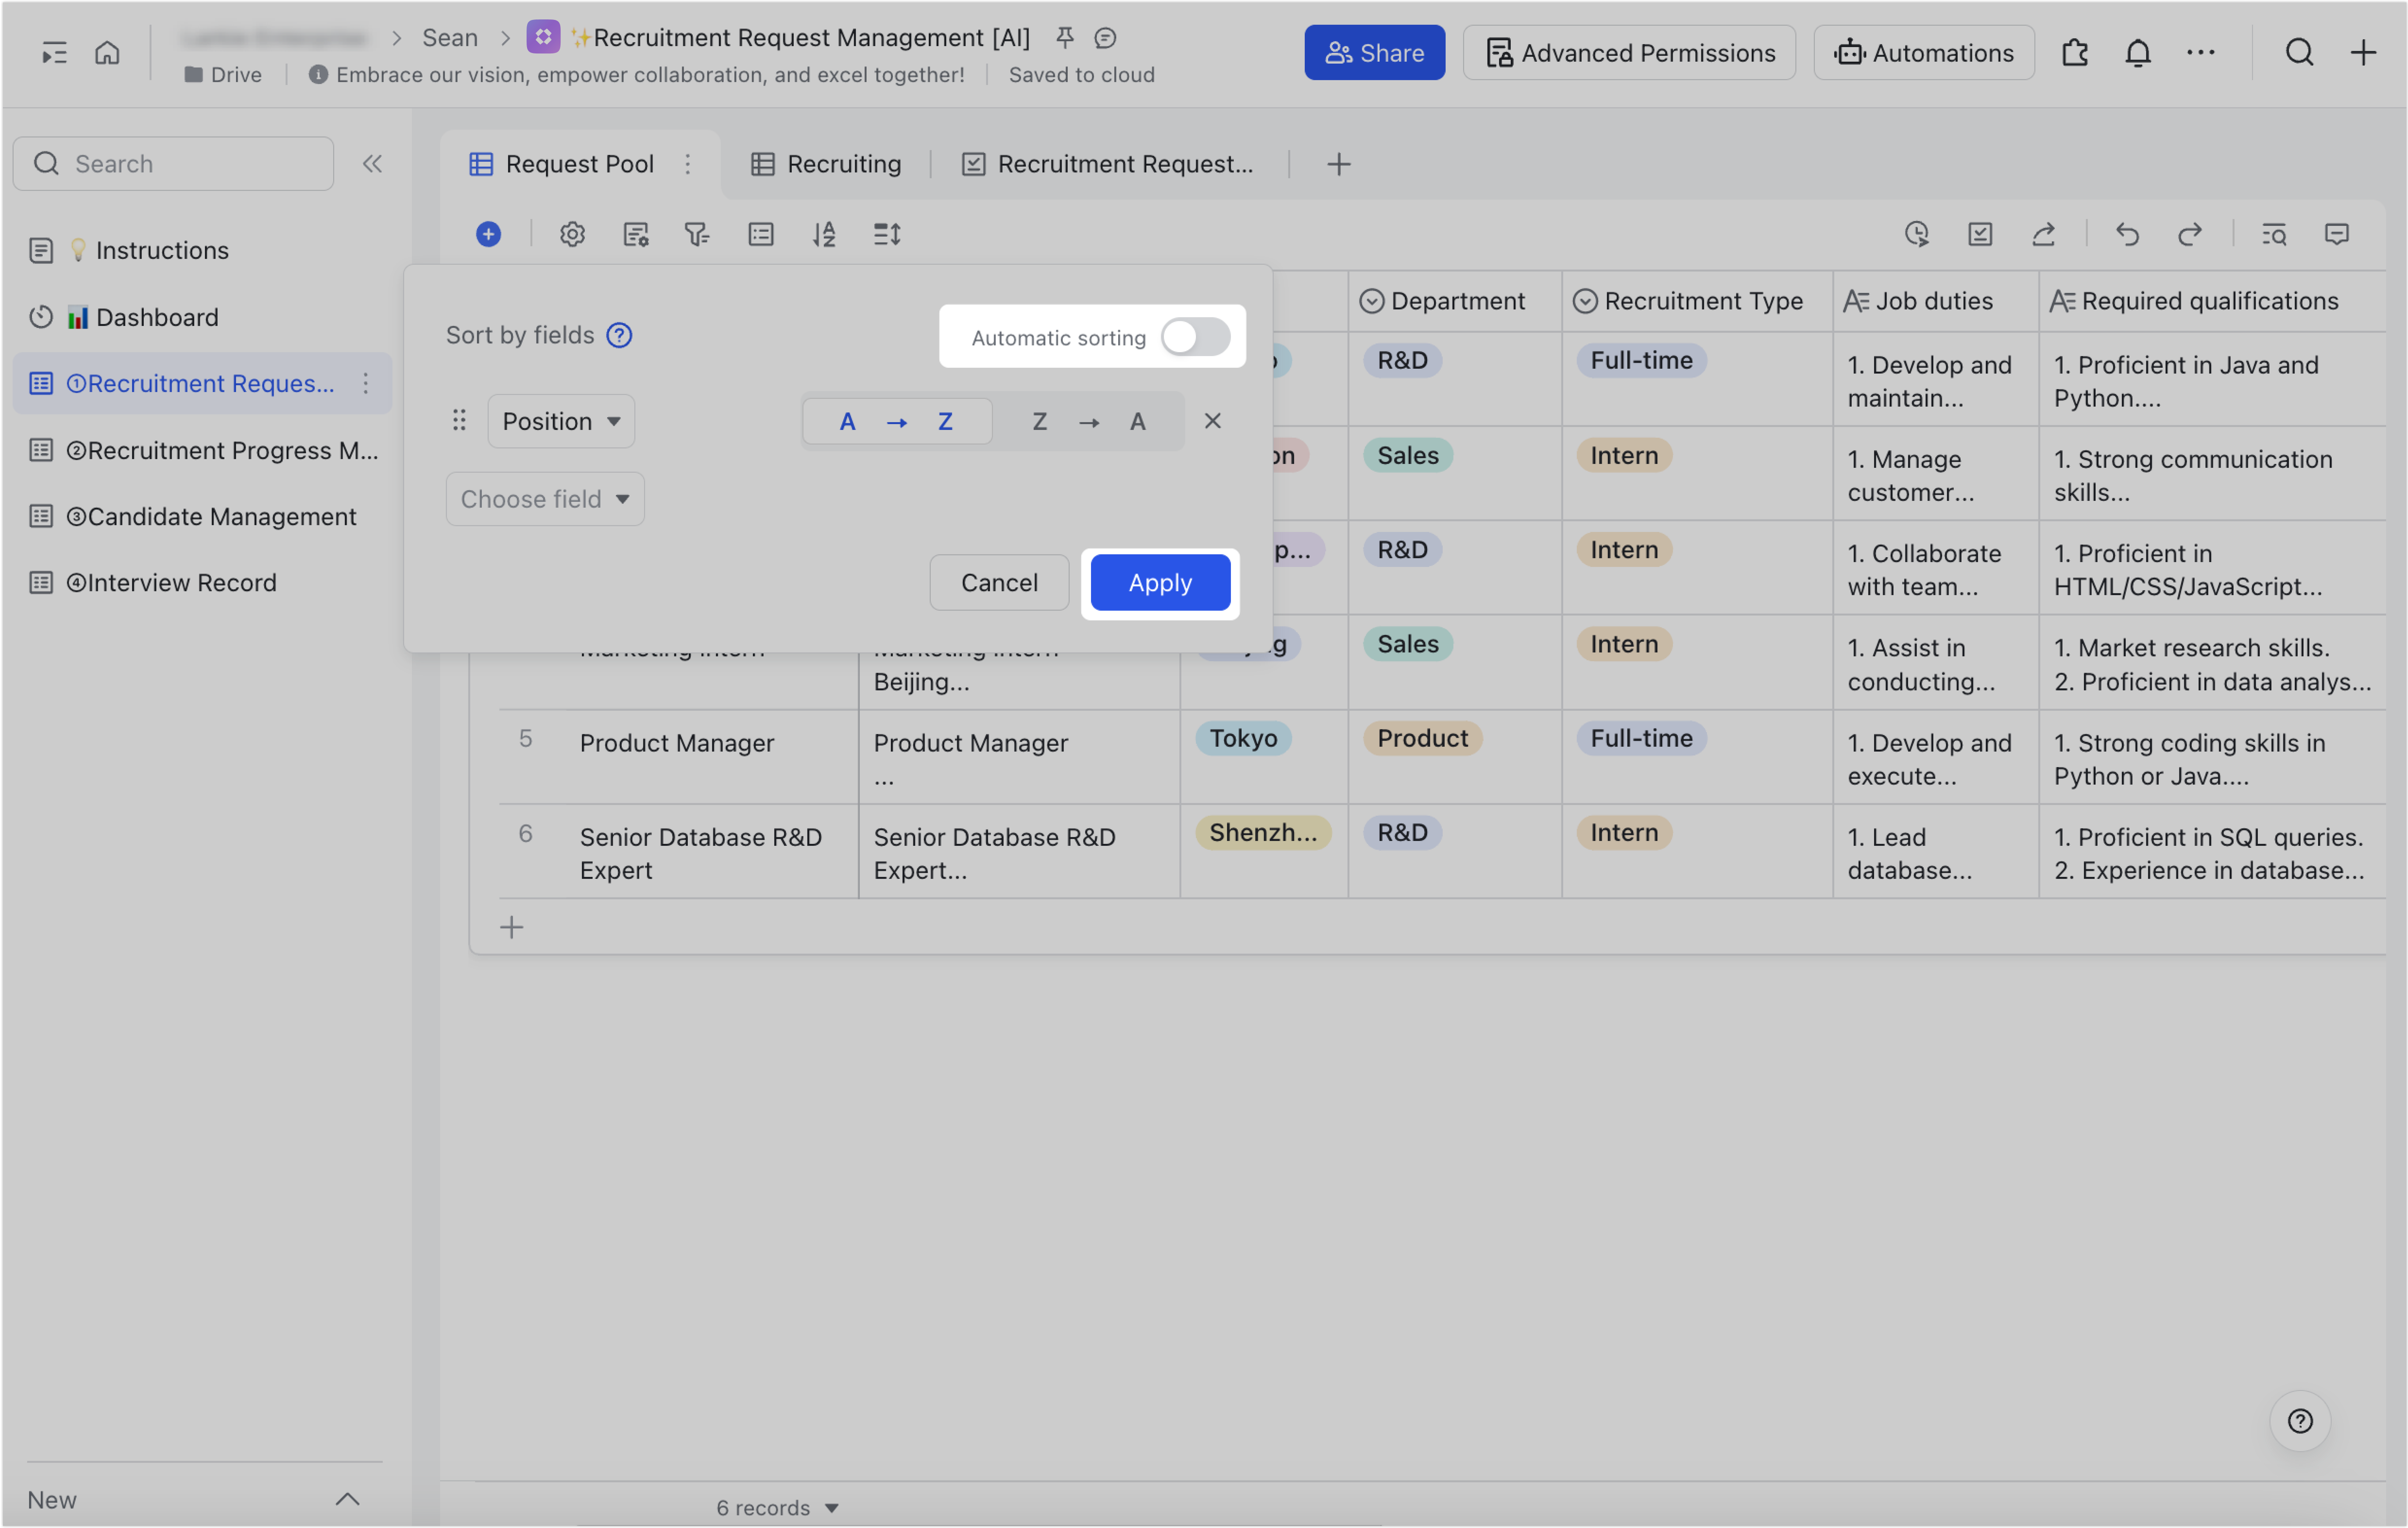
- After adding a sort condition, Automatic sorting will be turned on by default and records in the table will be sorted. You can turn off Automatic sorting as needed.
250px|700px|reset
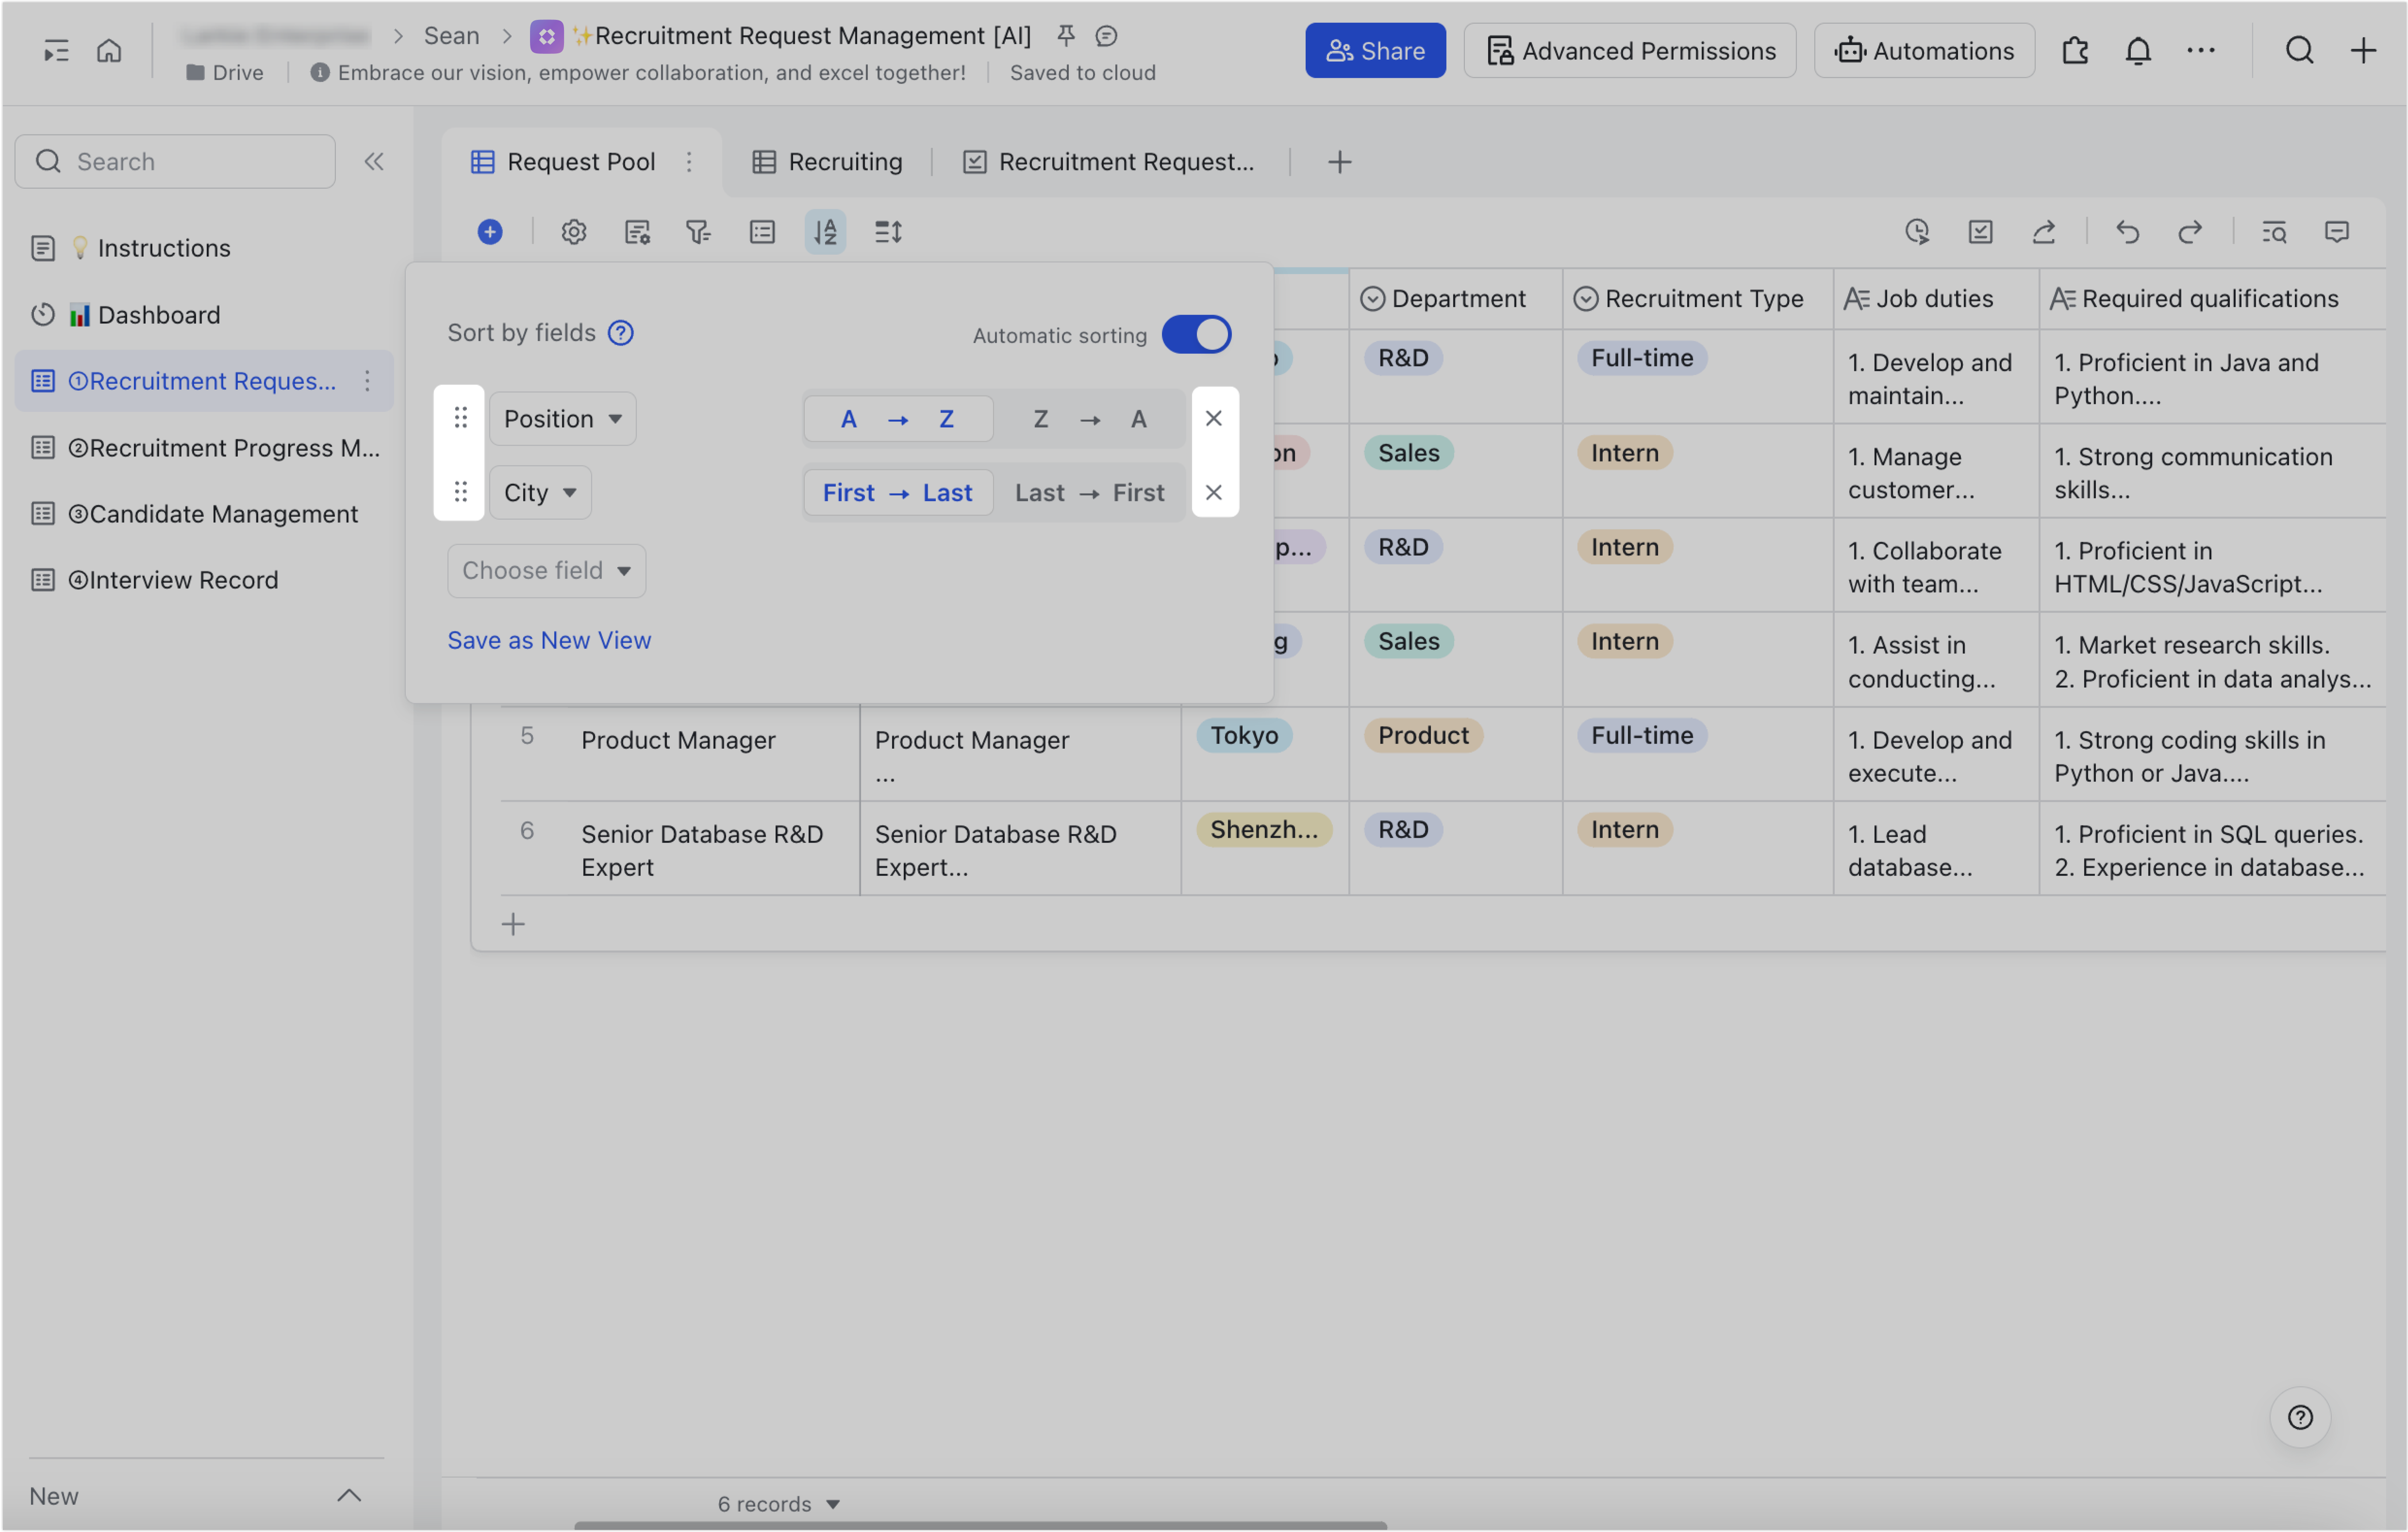
- You can add more sort conditions as needed, and data will be sorted based on the order of the sort conditions. Drag the ⋮⋮ icon on the left side of a sort condition to rearrange its order.
250px|700px|reset
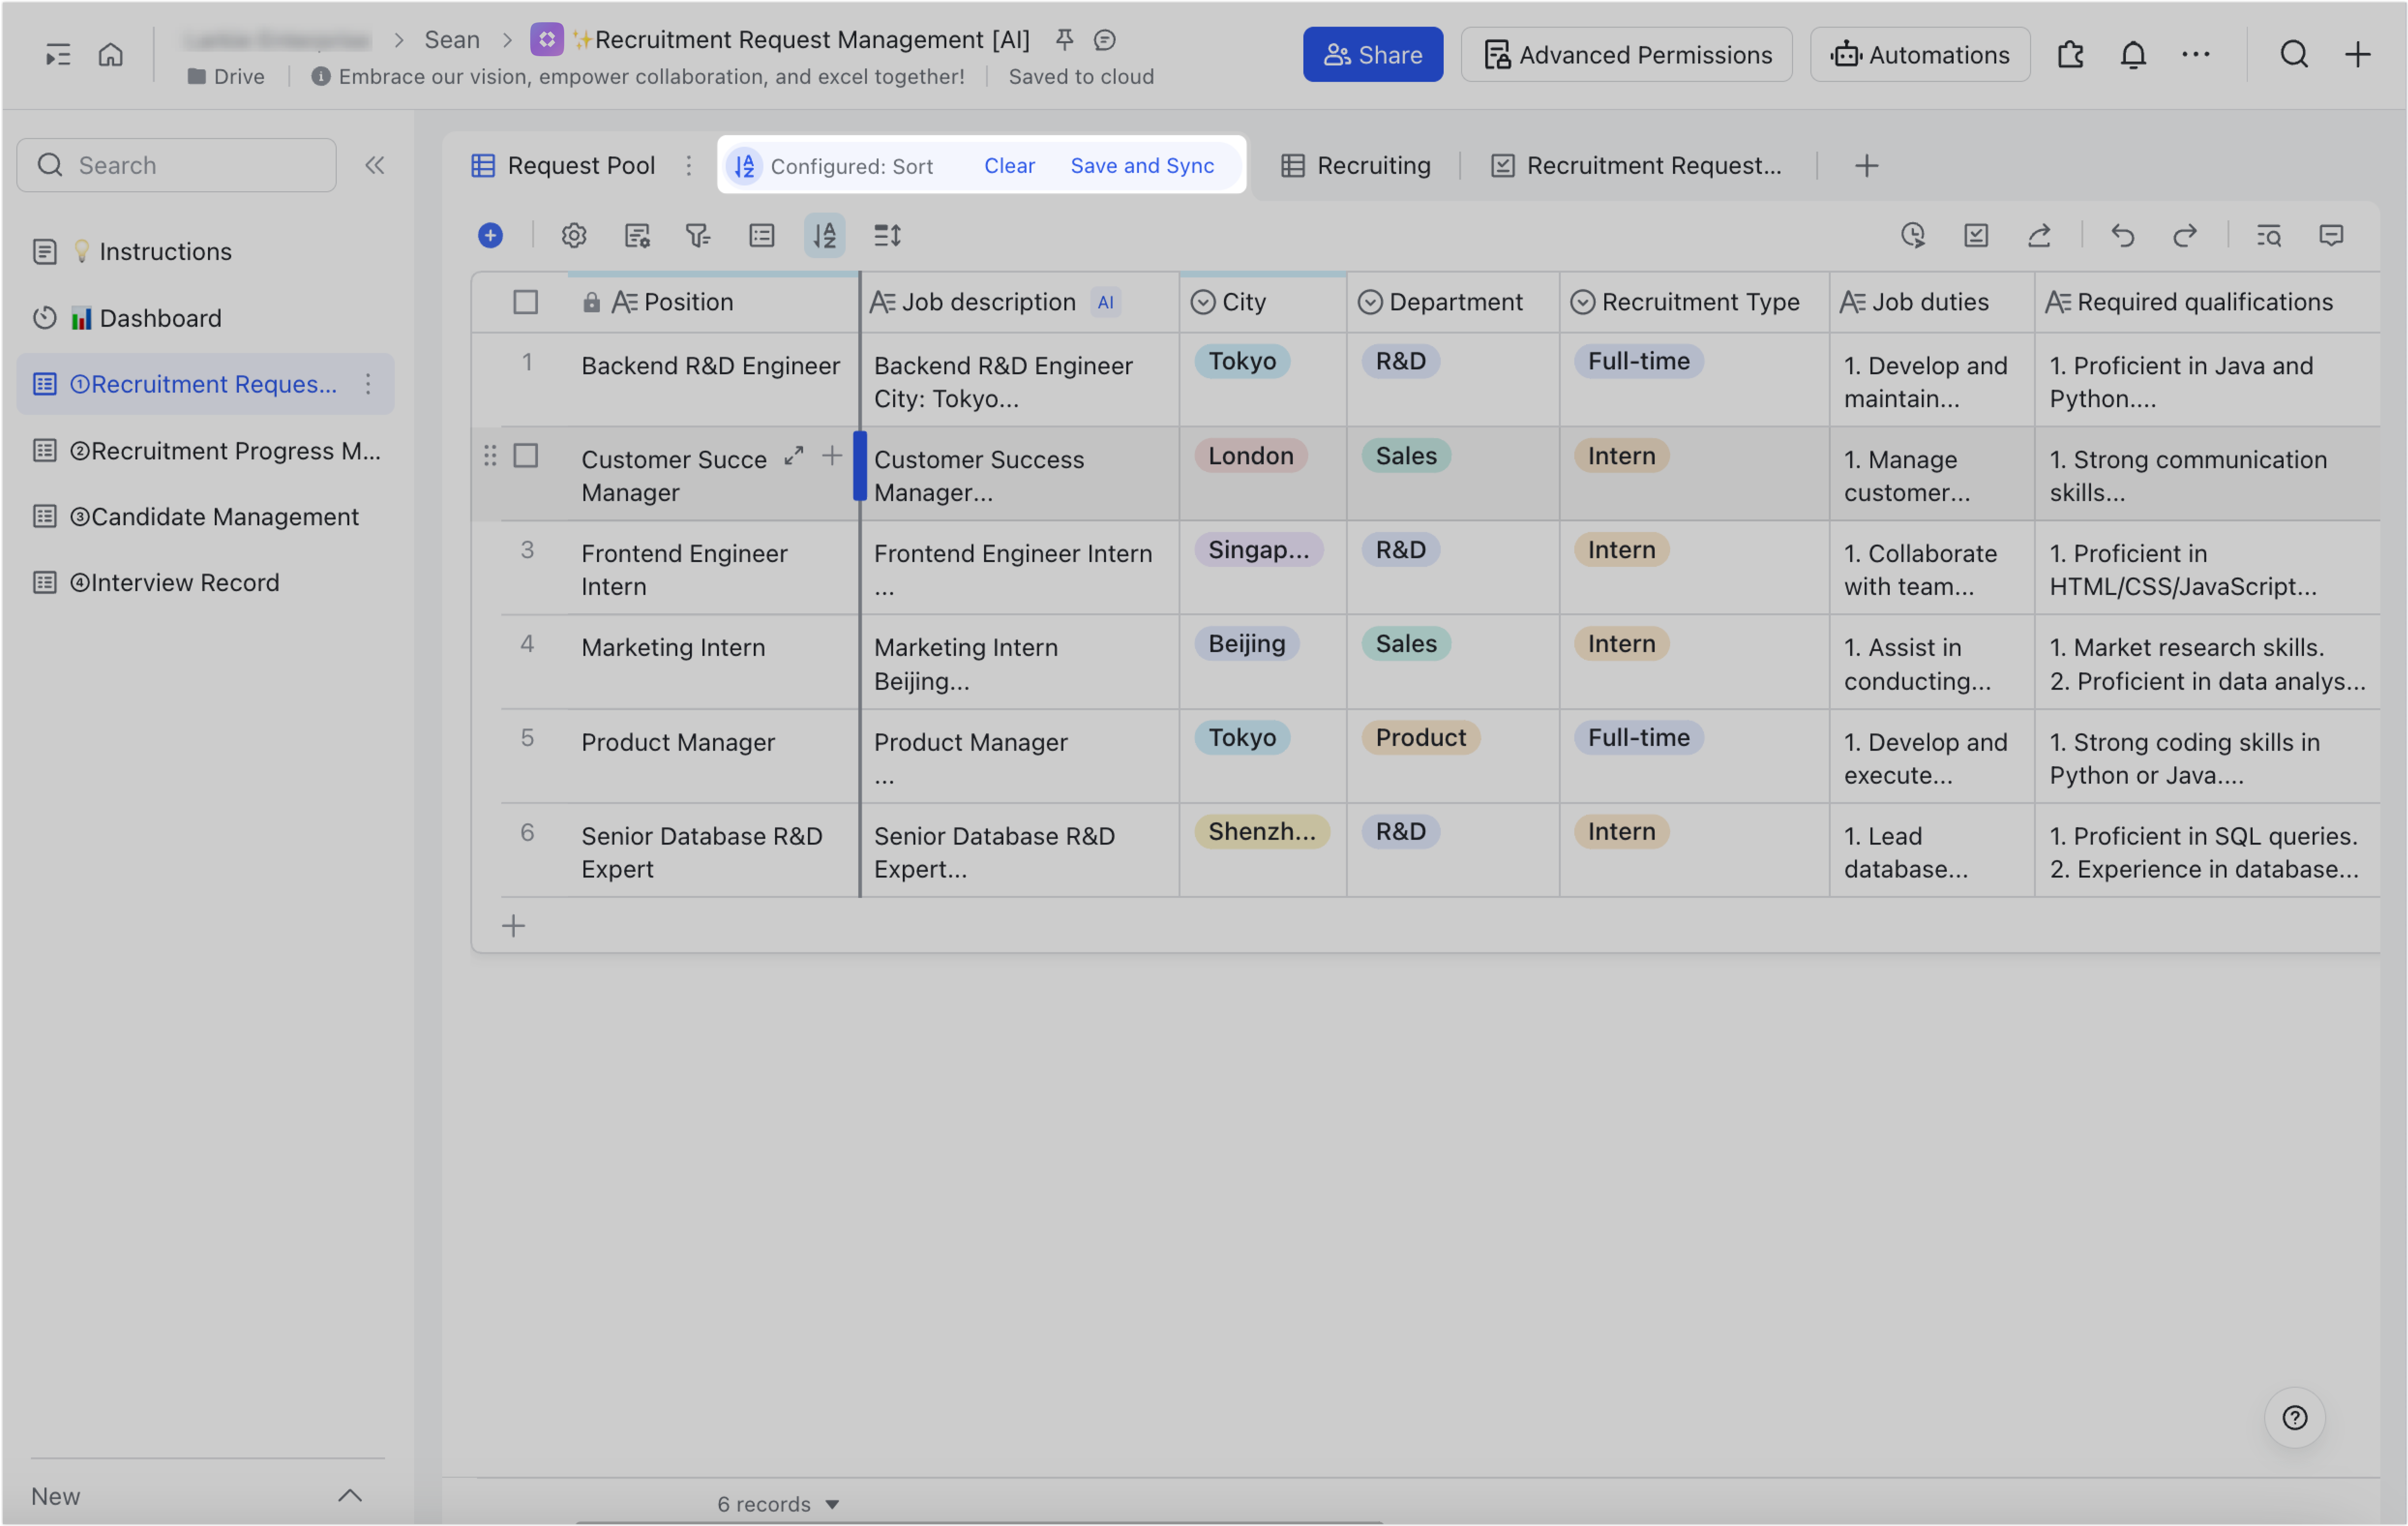
- Click anywhere in the base to close the sort panel. Two buttons will appear in the view tab: Clear and Save and Sync.
To cancel the sort conditions, click Clear.
If you want other collaborators to see your sort results, click Save and Sync. If you do not click this button, the sort results will only be visible to you and will not be saved. When you refresh the page, the sort results will be reset.
250px|700px|reset
III. FAQs