
I. Intro
In Slides, you can create new tables, or copy and paste existing ones. You can format tables in a number of ways, including adding or removing rows and columns, resizing tables, and entering text in cells. Additionally, you can customize tables and cell styles, including borders, fill color, and text formatting.
II. Steps
Insert table
Click Table on the toolbar above your slide. Select the number of rows and columns you need and the table will be added on the slide below. You can also copy a table from a Lark document and paste it onto the slide.
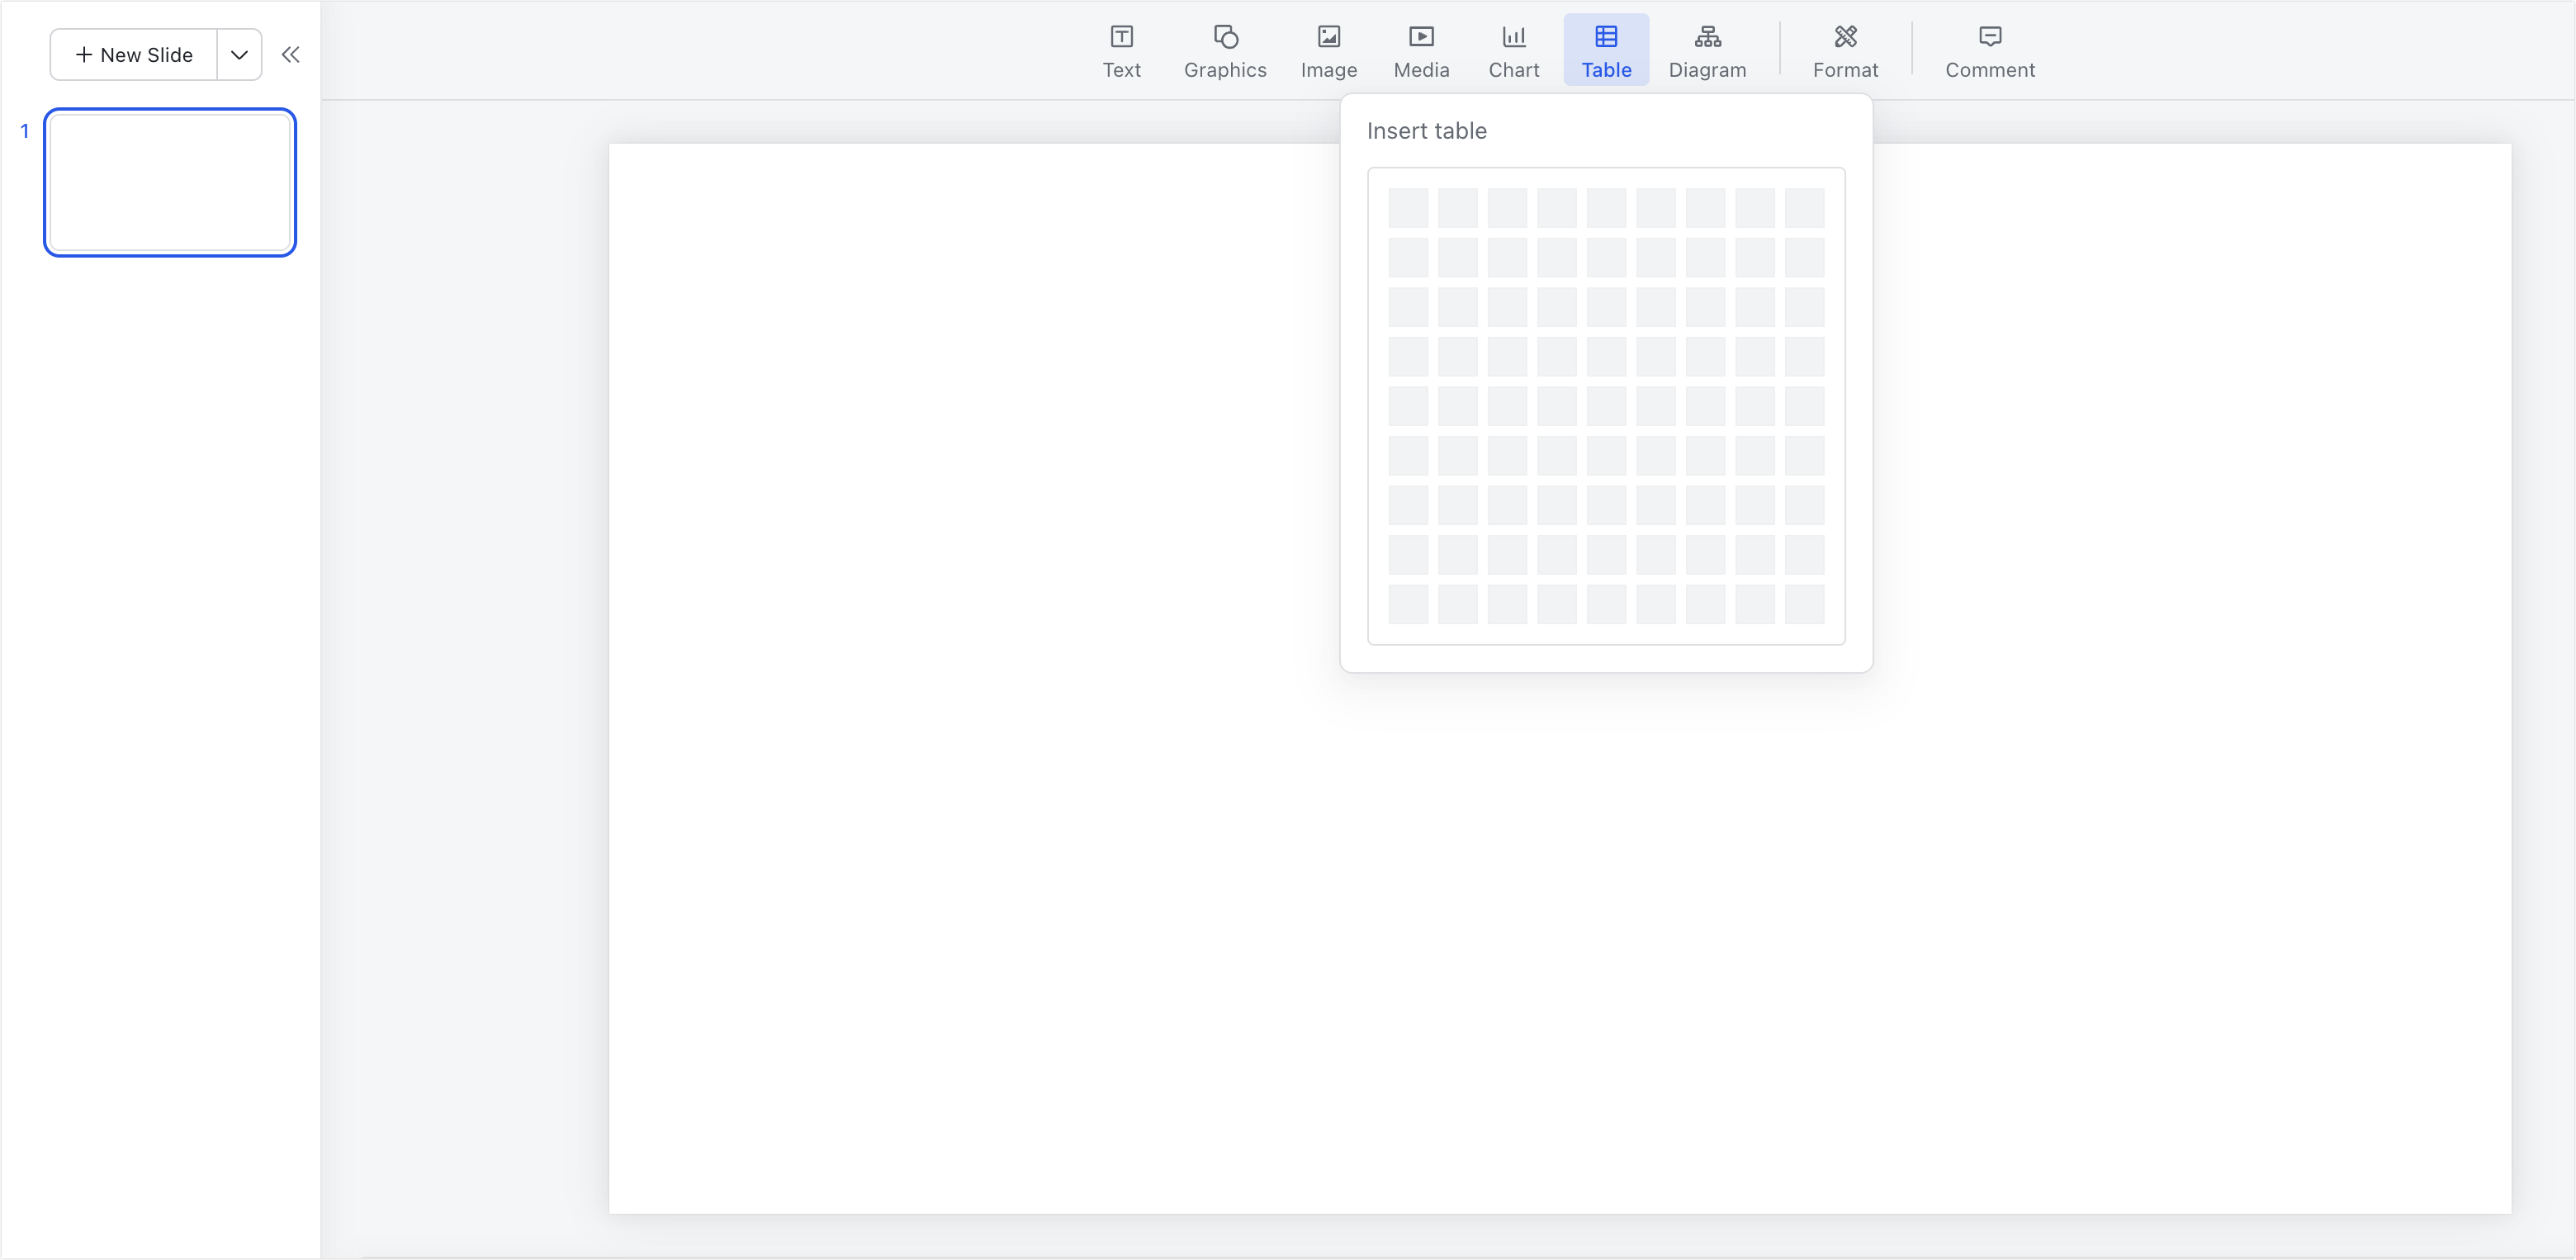
250px|700px|reset
Add or delete rows and columns
Click any area of the table to select it. Hover over the border of the table to reveal the + icon. Click the + icon to add rows or columns. You can also click the grey blocks at the start of rows and columns to select an entire row or column. Click the Delete icon in the floating toolbar to delete the selected row or column.
250px|700px|reset
Adjust the table and cells
Format the table
Click any area of the table to select it. A floating toolbar will appear above it. You can perform the following actions:
- Click the Distribute columns icon to adjust the width of columns so that they are evenly distributed.
- Click the Merge cells icon to combine adjacent cells into a single, larger cell.
- Click the Fill icon to set the cell color.
- Click the Border icon to set the border style, width, and color.
- Click the Format icon to open a format pane on the right side of the slide. Here you can edit the format of the table including setting its alignment, position, width, and height.
- Click the Comment function to post a comment.
Note: The actions you can perform on a table will depend on whether you select the entire table, a single cell, or multiple cells.
250px|700px|reset
You can resize the table in the format pane or by dragging the outer border of the table at the corners or sides. To adjust the row height or column width, drag the inner lines of the table.
Note: If you want to lock the aspect ratio of the table when adjusting its size, you can hold down the Shift key while dragging.
250px|700px|reset
Format cells
Click any area of the table, and then click a cell to select it. A floating toolbar will appear above. You can perform the following actions on the cell:
- Click the Fill icon to set the cell color.
- Click the Border icon to set the border style, width, and color.
- Click the Format icon to open a format pane on the right side of the slide. Here you can edit the format of the cell.
250px|700px|reset
After you select a cell, click and hold it, and then drag it to select multiple cells. You'll then have the choice to merge cells, apply a fill color, and adjust the border style, width, and color in the floating toolbar. You can also click the Format icon in the floating toolbar to access the format pane.
250px|700px|reset
Format text in cells
Double-click a cell and you'll be able to enter text into it. The floating toolbar above will give you the option to format the cell including setting the font, font size, font color, and font style.
You can also click the Format icon in the floating toolbar to open a format pane on the right side of the slide. Here you can perform additional formatting on the text including line and letter spacing.
250px|700px|reset