
I. Intro
Filter view allows you to filter and analyze data in Sheets. The filter results can only be viewed by yourself, and will not affect other collaborators. If you only have view permissions to a sheet, you can create a temporary filter view to filter data.
Use cases:
- Sales and marketing teams can view a report at the same time and set different filters to view different data without interfering with one another.
- HR managers can filter different data based on different recruiting requirements in the same sheet, then save the results as multiple filter views to share with different interviewers.
II. Steps
Create filter views
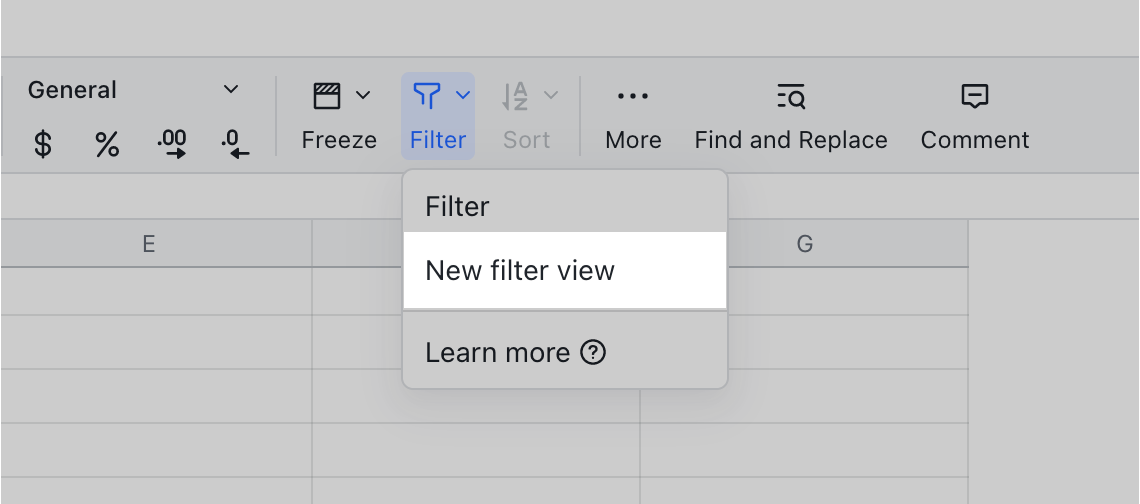
- On the toolbar, click Filter > New filter view.
250px|700px|reset
Save, exit, delete, and view filter views
- Save filter view: All filtered results in filter view will be auto-saved.
- Exit filter view: Click the X icon in the upper-right corner in filter view to return to the sheet page.
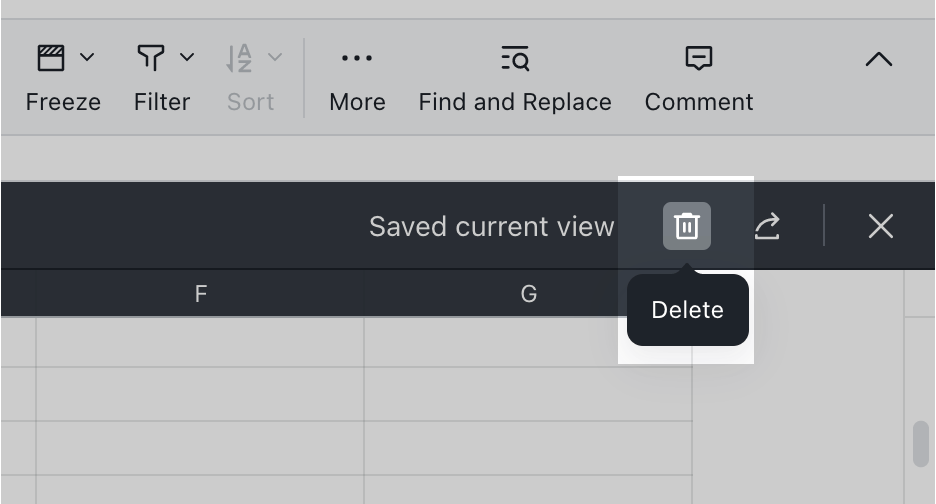
- Delete filter view: On the filter view page, click the Delete icon in the upper-right corner.
250px|700px|reset
- View filter views: On the toolbar, click the Filter icon, then select a filter view to view it.
Rename filter views
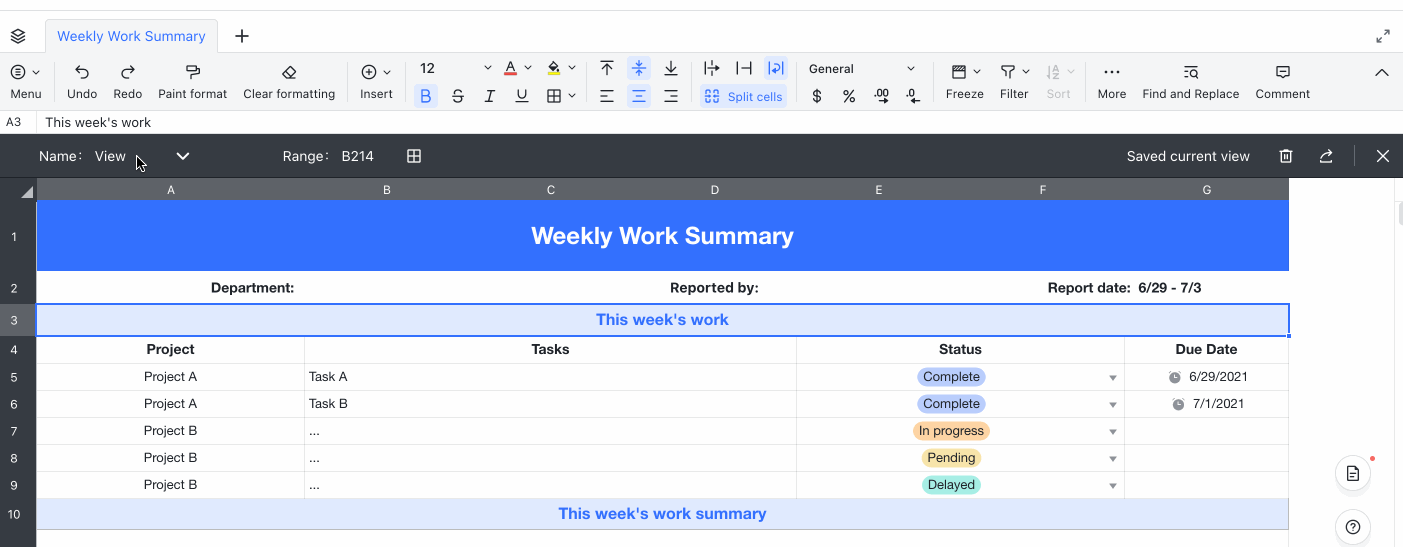
In the upper-left corner of the filter view page, click the filter view's name to edit and rename it. The new name will then be auto-saved.
Note: Temporary filter views created by members with only view permissions cannot be renamed.
250px|700px|reset
Change filter view range
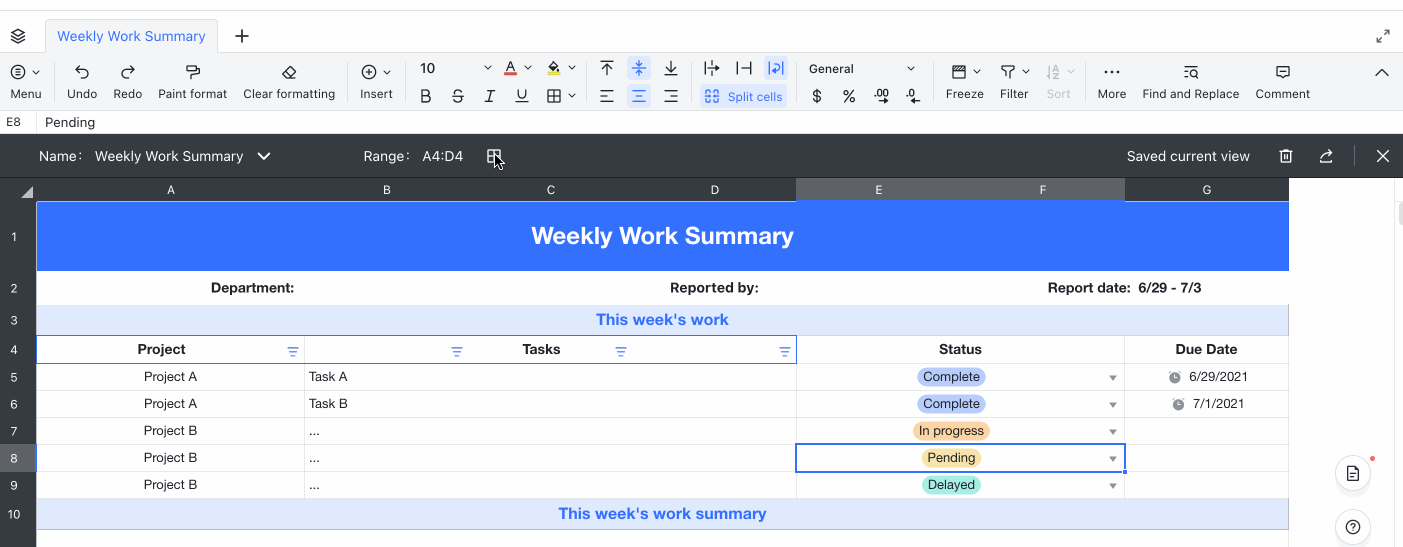
Filter range represents the range that you apply a filter to in a sheet.
Click Select a range icon in the upper-left corner on the filter view page to set or change the filter view range.
250px|700px|reset
Share filter view
Click the Share icon in the upper-right corner of the filter view page, copy the link, and share it with others.
Note: Temporary filter views created by members with only view permissions cannot be shared.

250px|700px|reset
III. FAQs