
Available with these plans:
Starter
Basic
Pro
Enterprise
To upgrade your Lark Plan or for more information, contact Support or your Customer Success Manager. The Lark Basic plan supports only specific countries and regions.
I. Intro
Who can perform these steps: Primary administrators and administrators with customization permissions.
As an administrator, you can upload custom sticker sets. Once uploaded, members can use these stickers while chatting in Messenger.
II. Steps
Upload custom sticker sets
- Go to the Lark Admin Console and click Customization > Feature Settings > Organization Emojis and Stickers.
- 250px|700px|reset
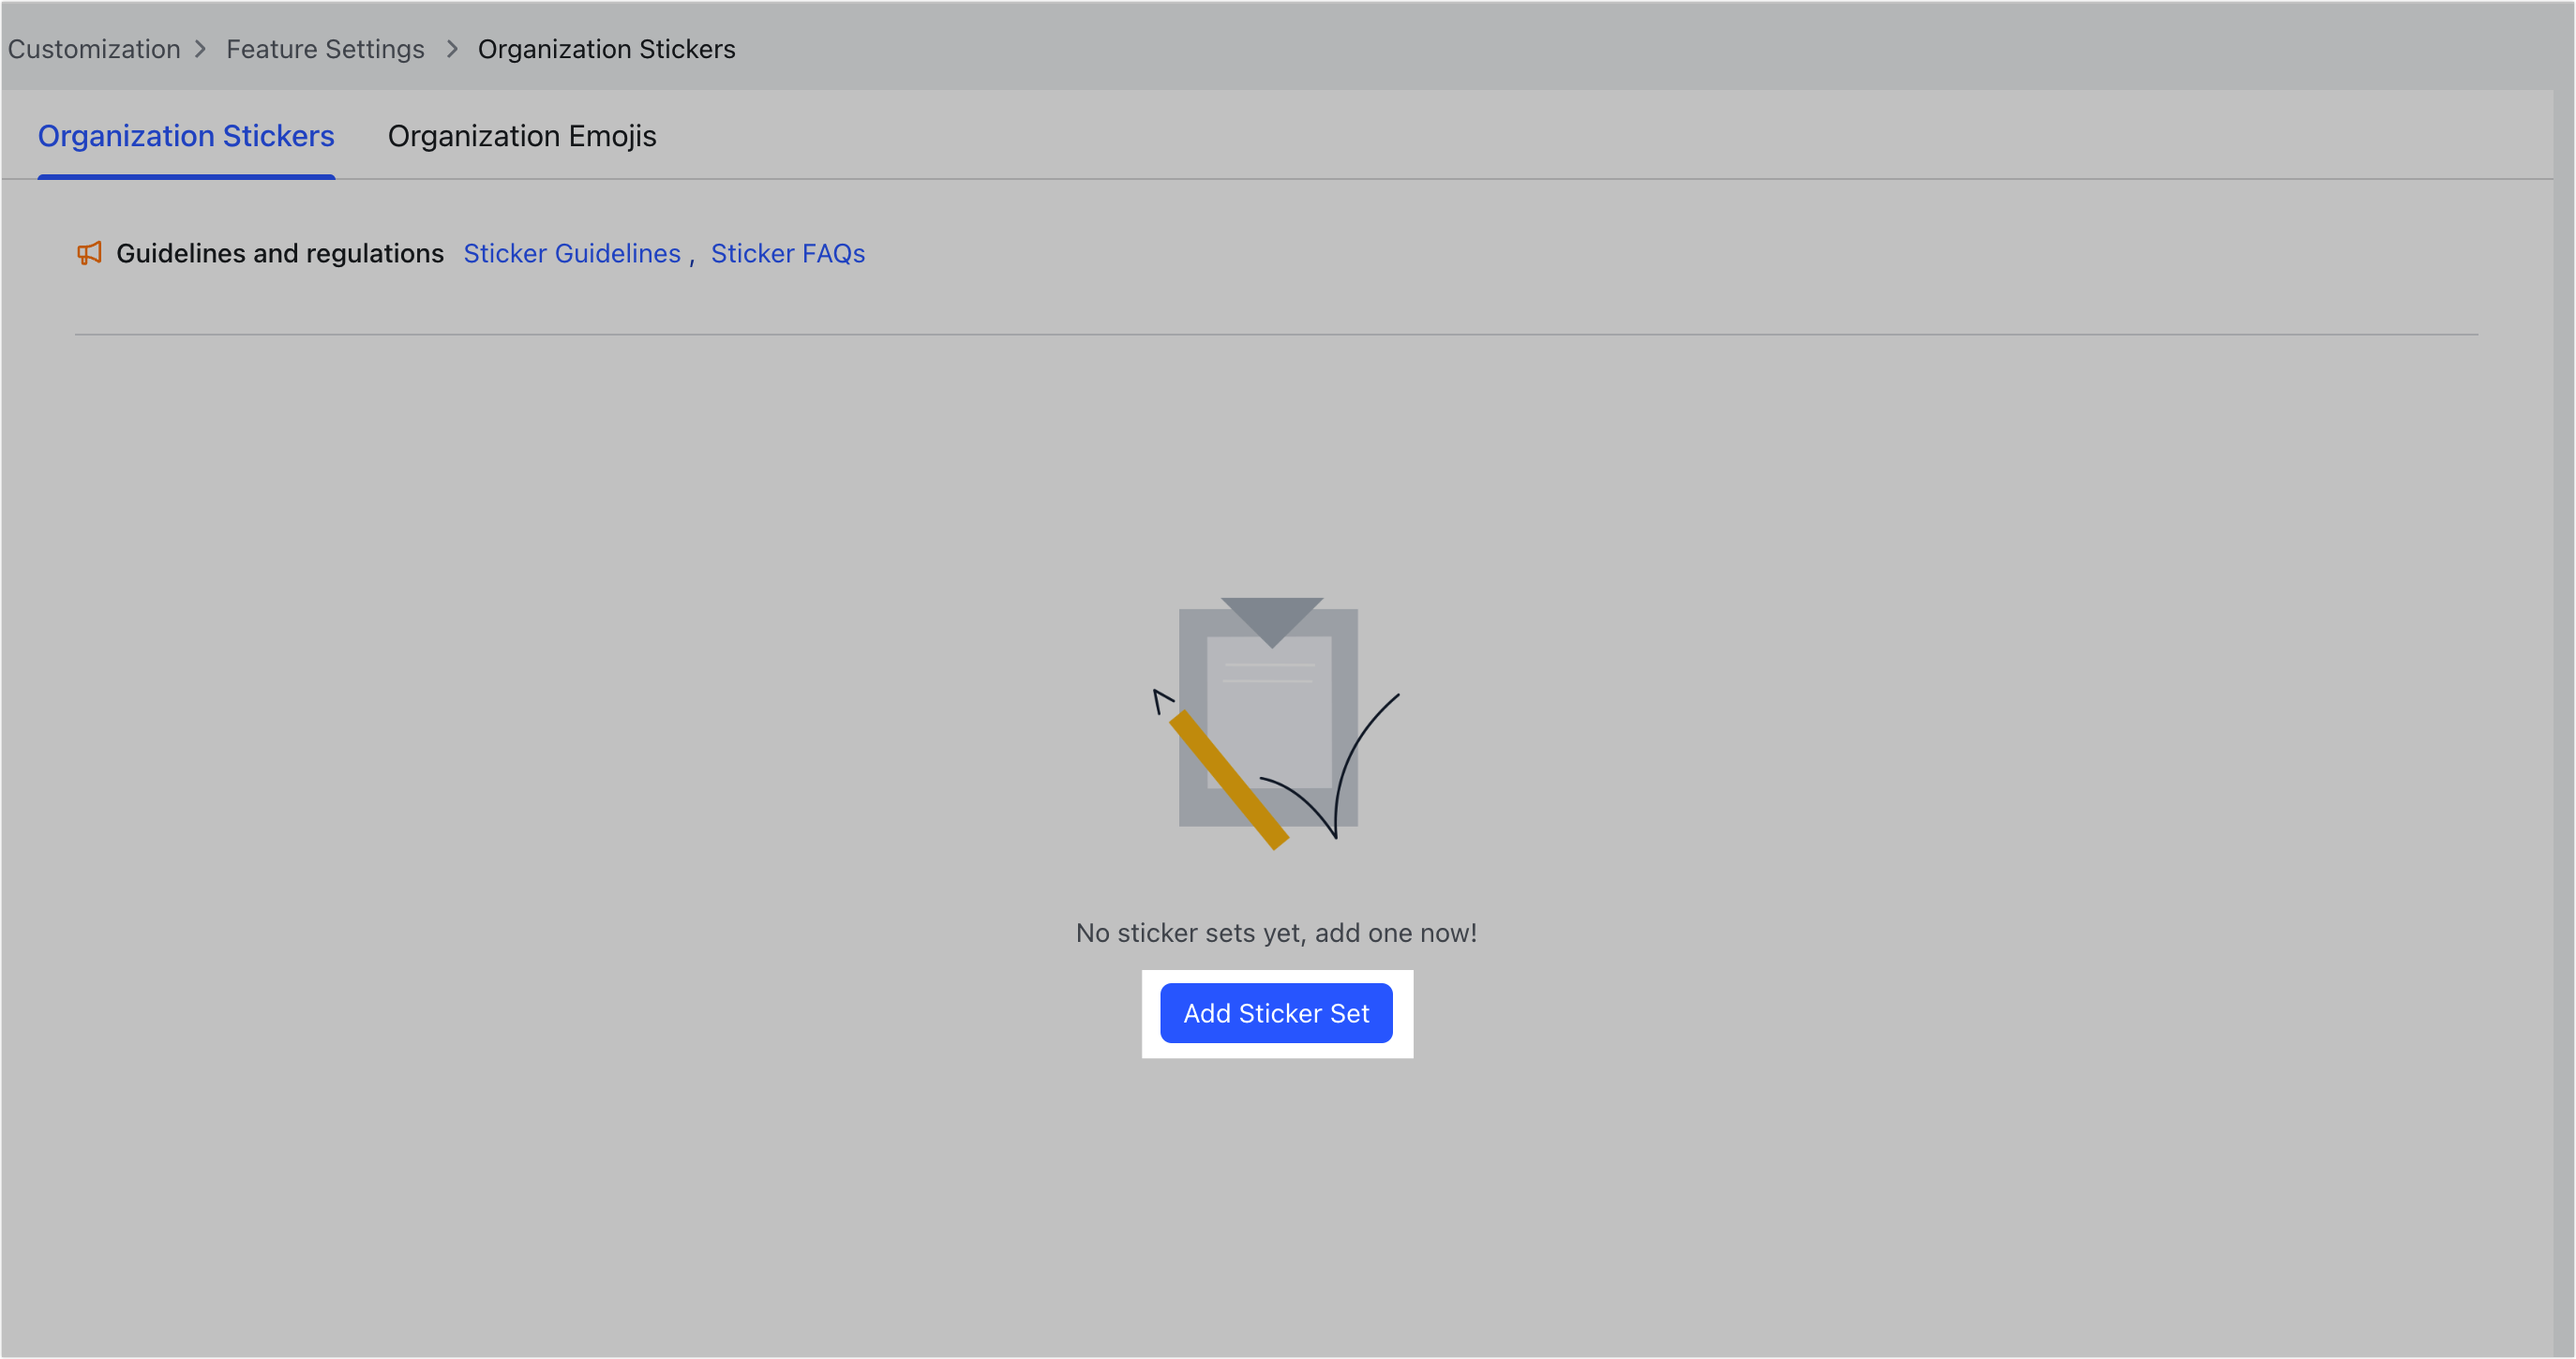
- When uploading stickers for the first time, click Add Sticker Set in the center of the page.
250px|700px|reset
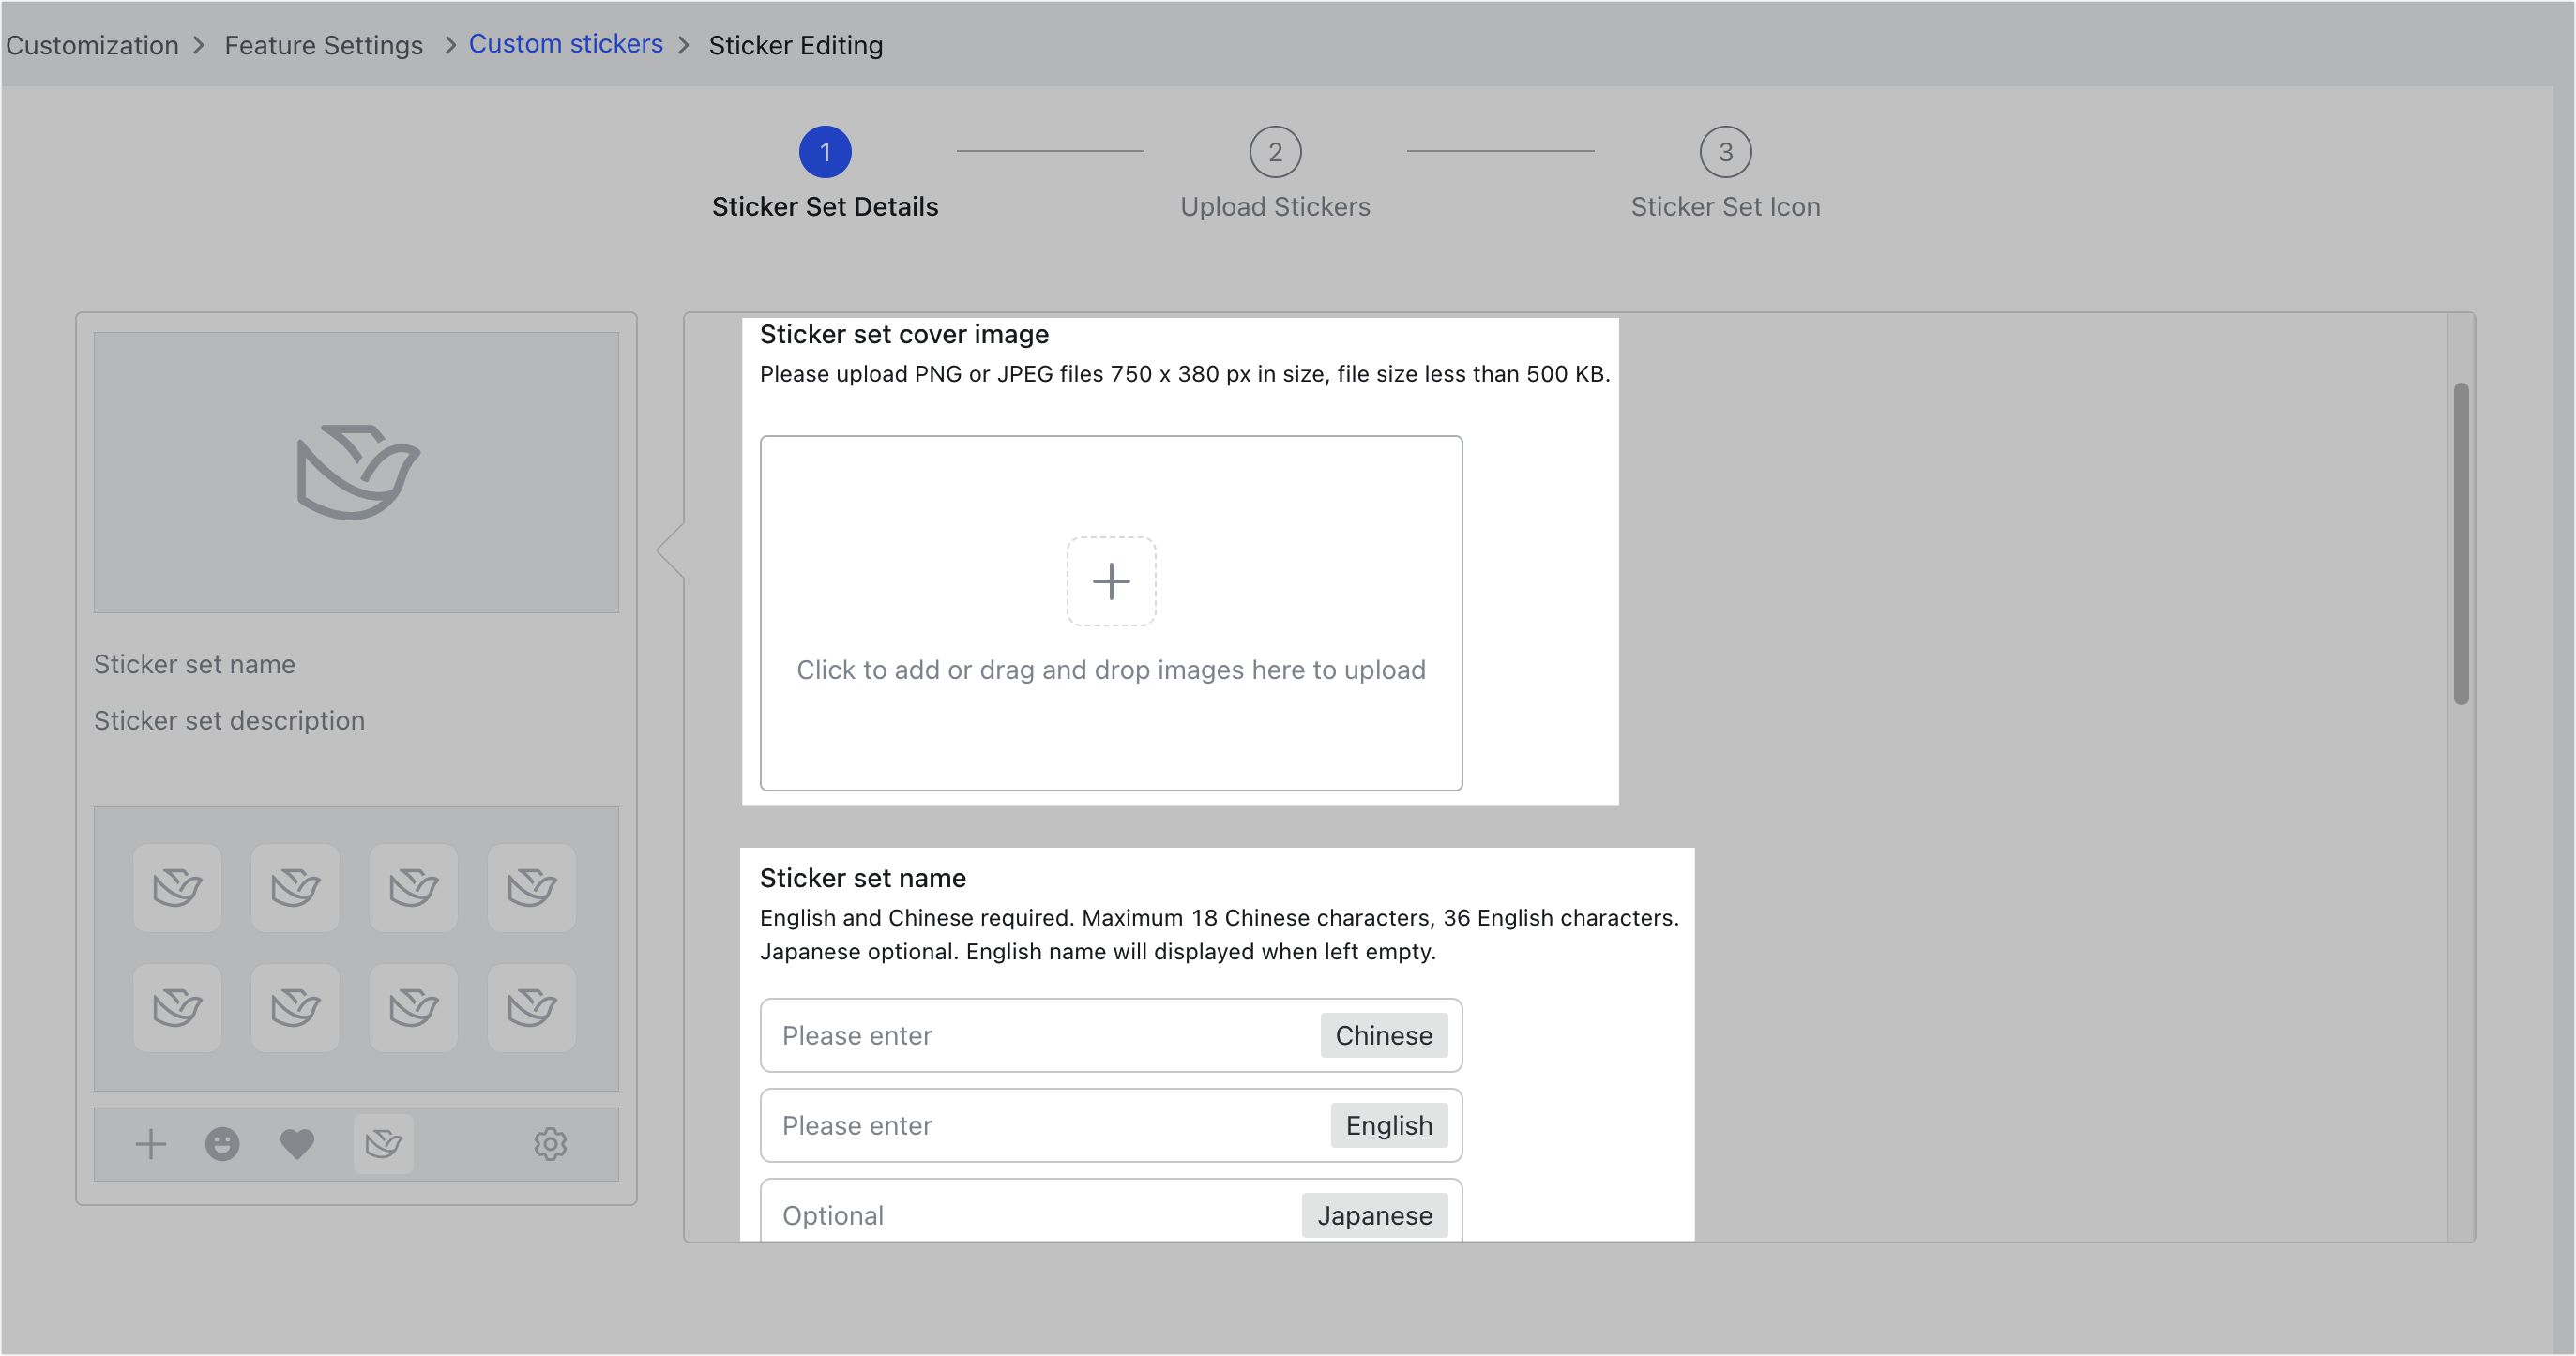
- Fill in the following:
- Sticker set cover image: Upload a cover image for the sticker set. Format, size, and dimension requirements for the cover image are visible on the page.
- Sticker set name: Give the sticker set a name. Character limits for the names are visible on the page.
- Sticker set description: Describe the sticker set. Character limits for the description are visible on the page.
Note: Sticker set names and descriptions must be provided in Chinese and English. Japanese is optional. If Japanese is not included, users with Japanese set as their system language will see the English version in the Lark app.
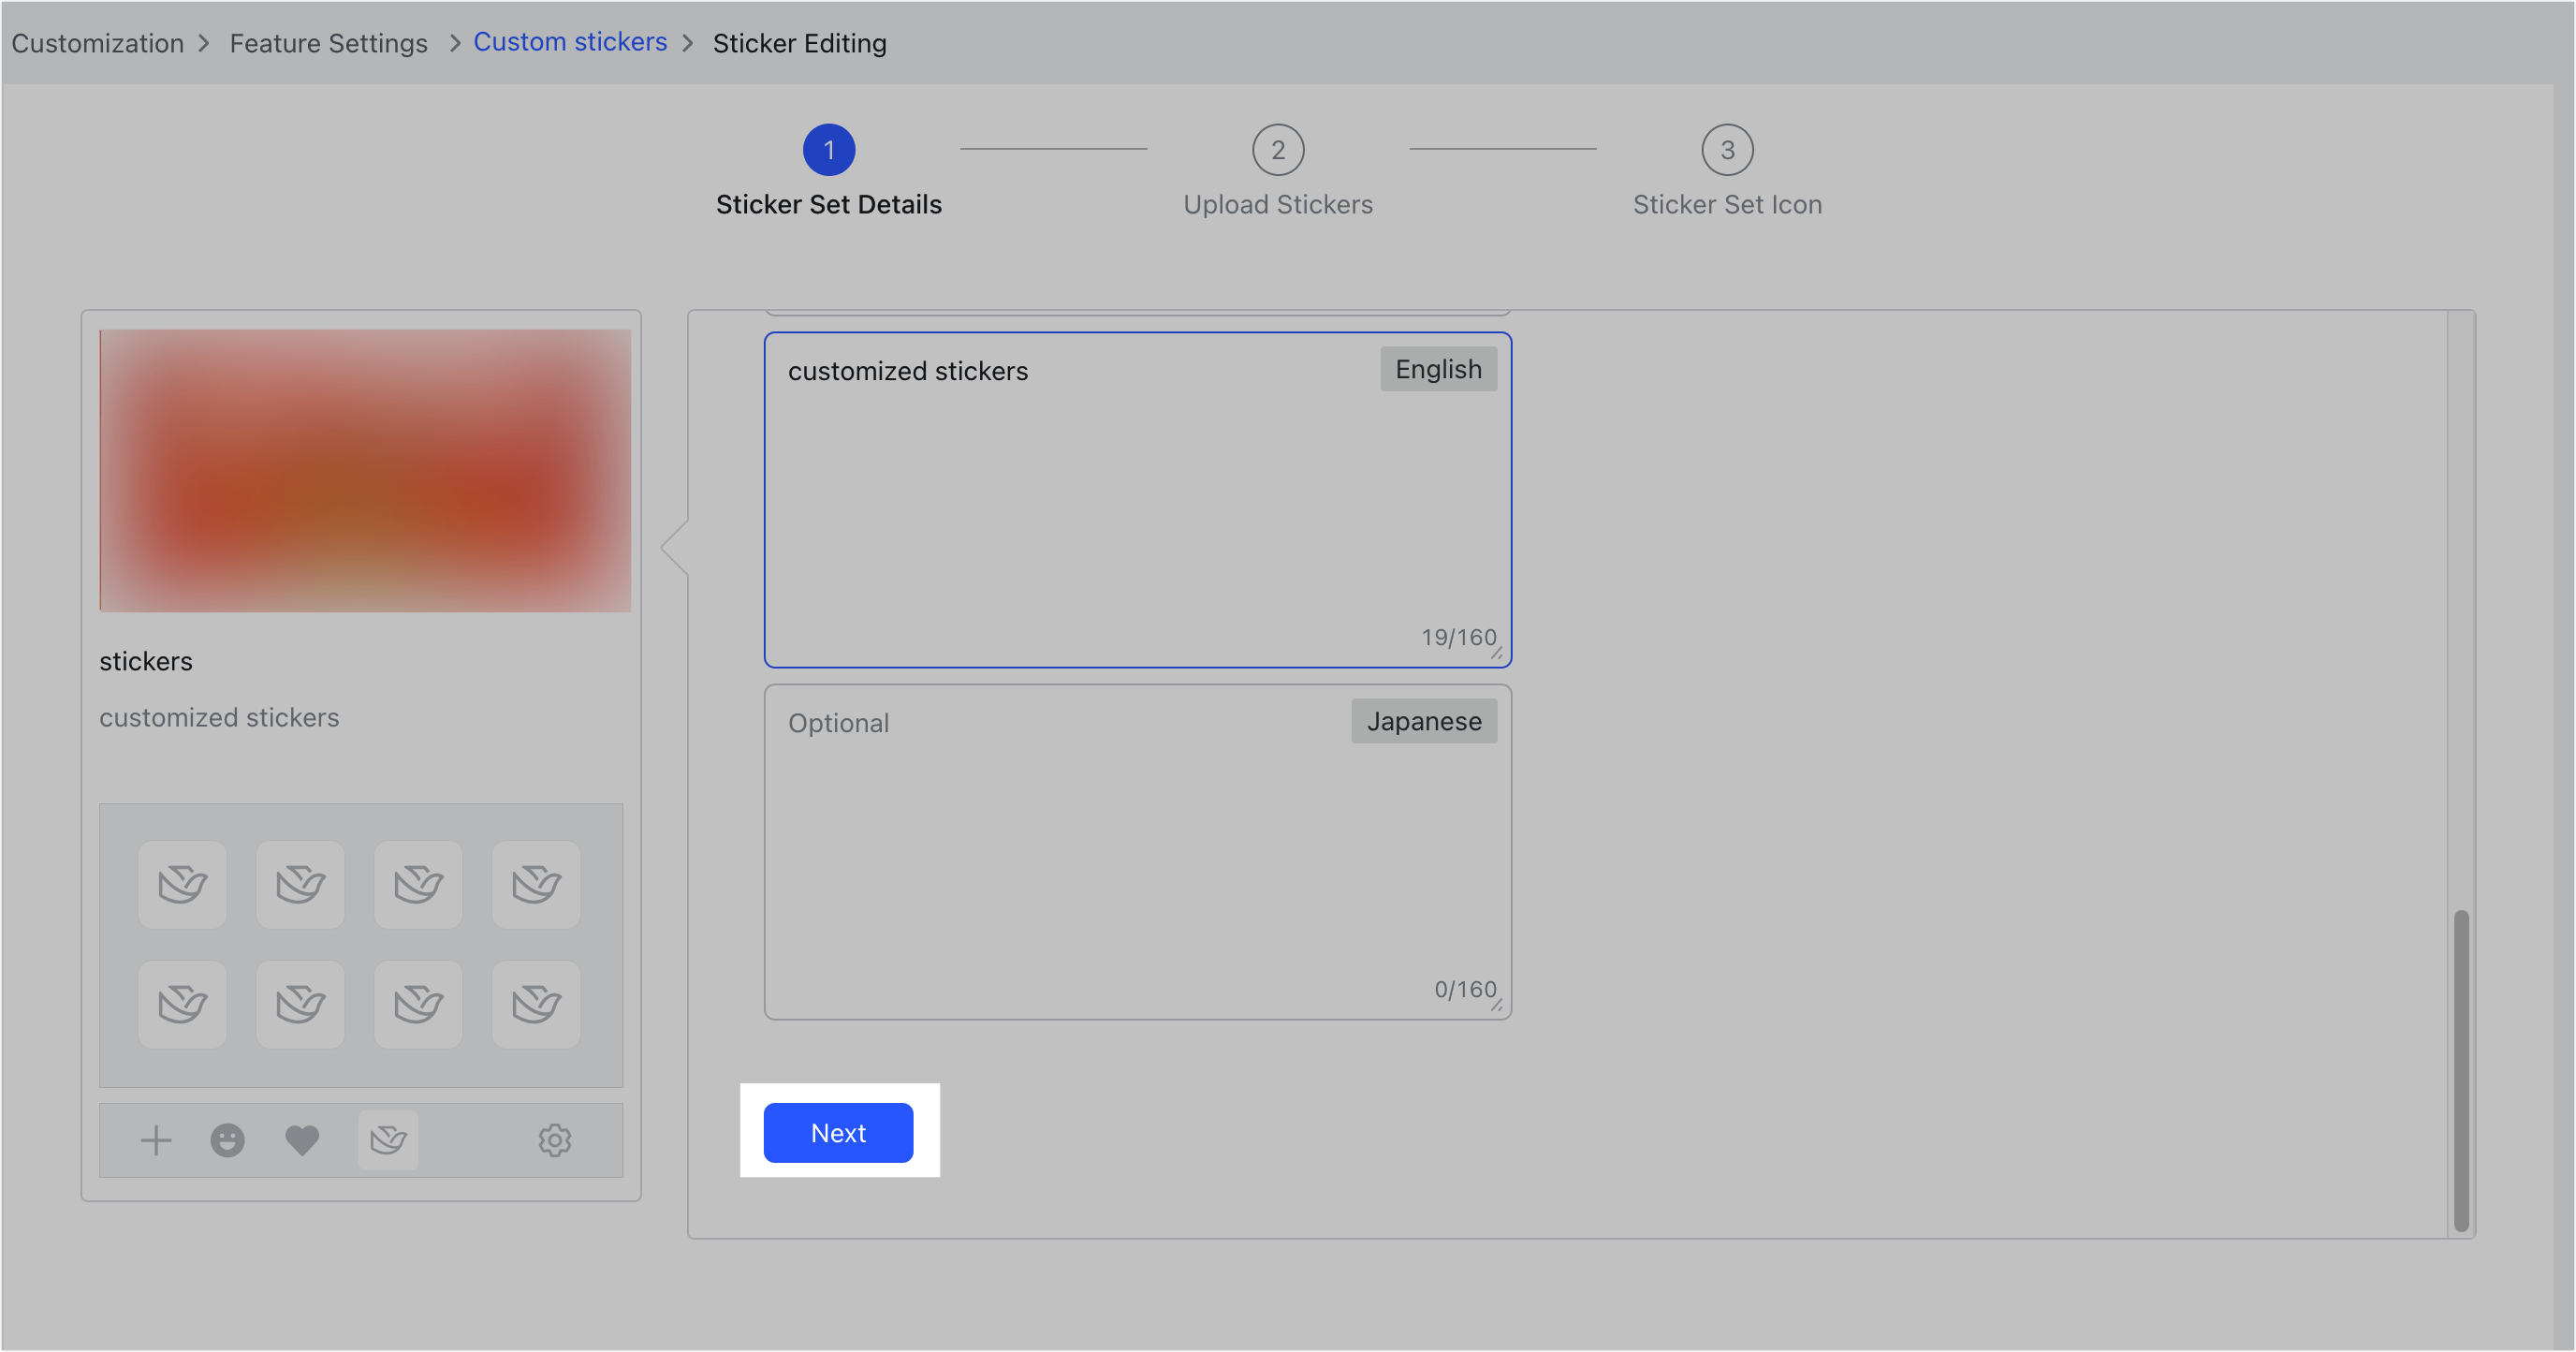
- After completing the sticker details, click Next.
250px|700px|reset
250px|700px|reset
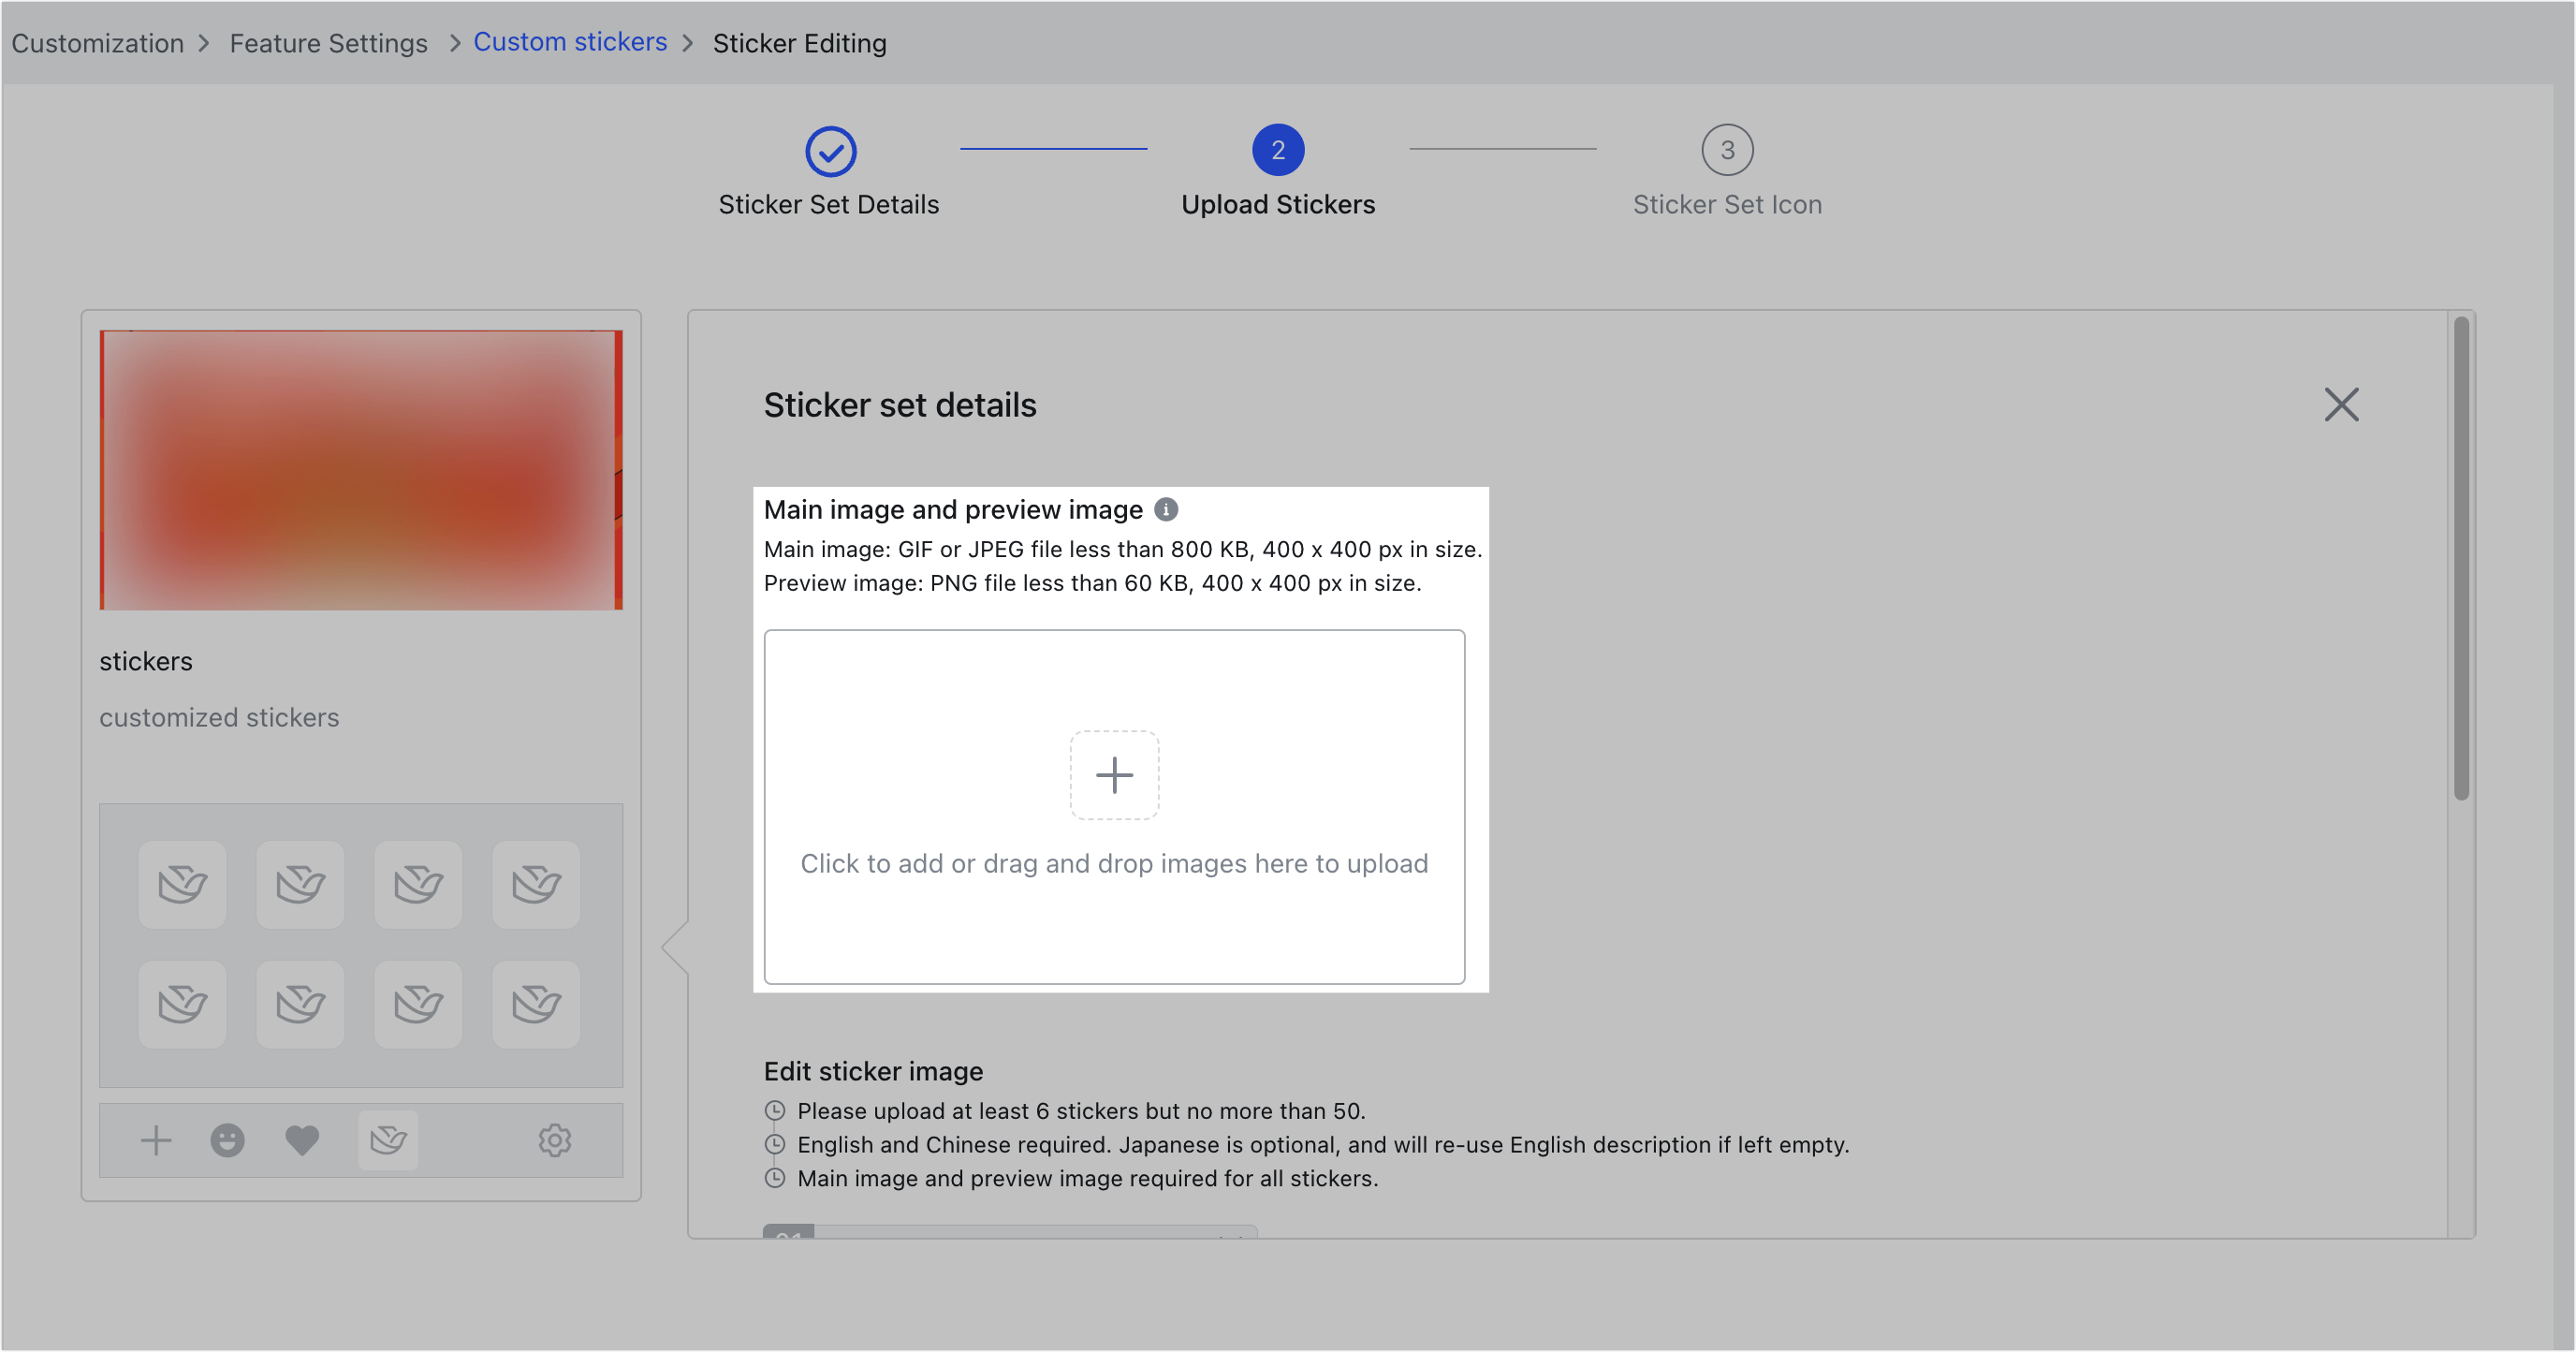
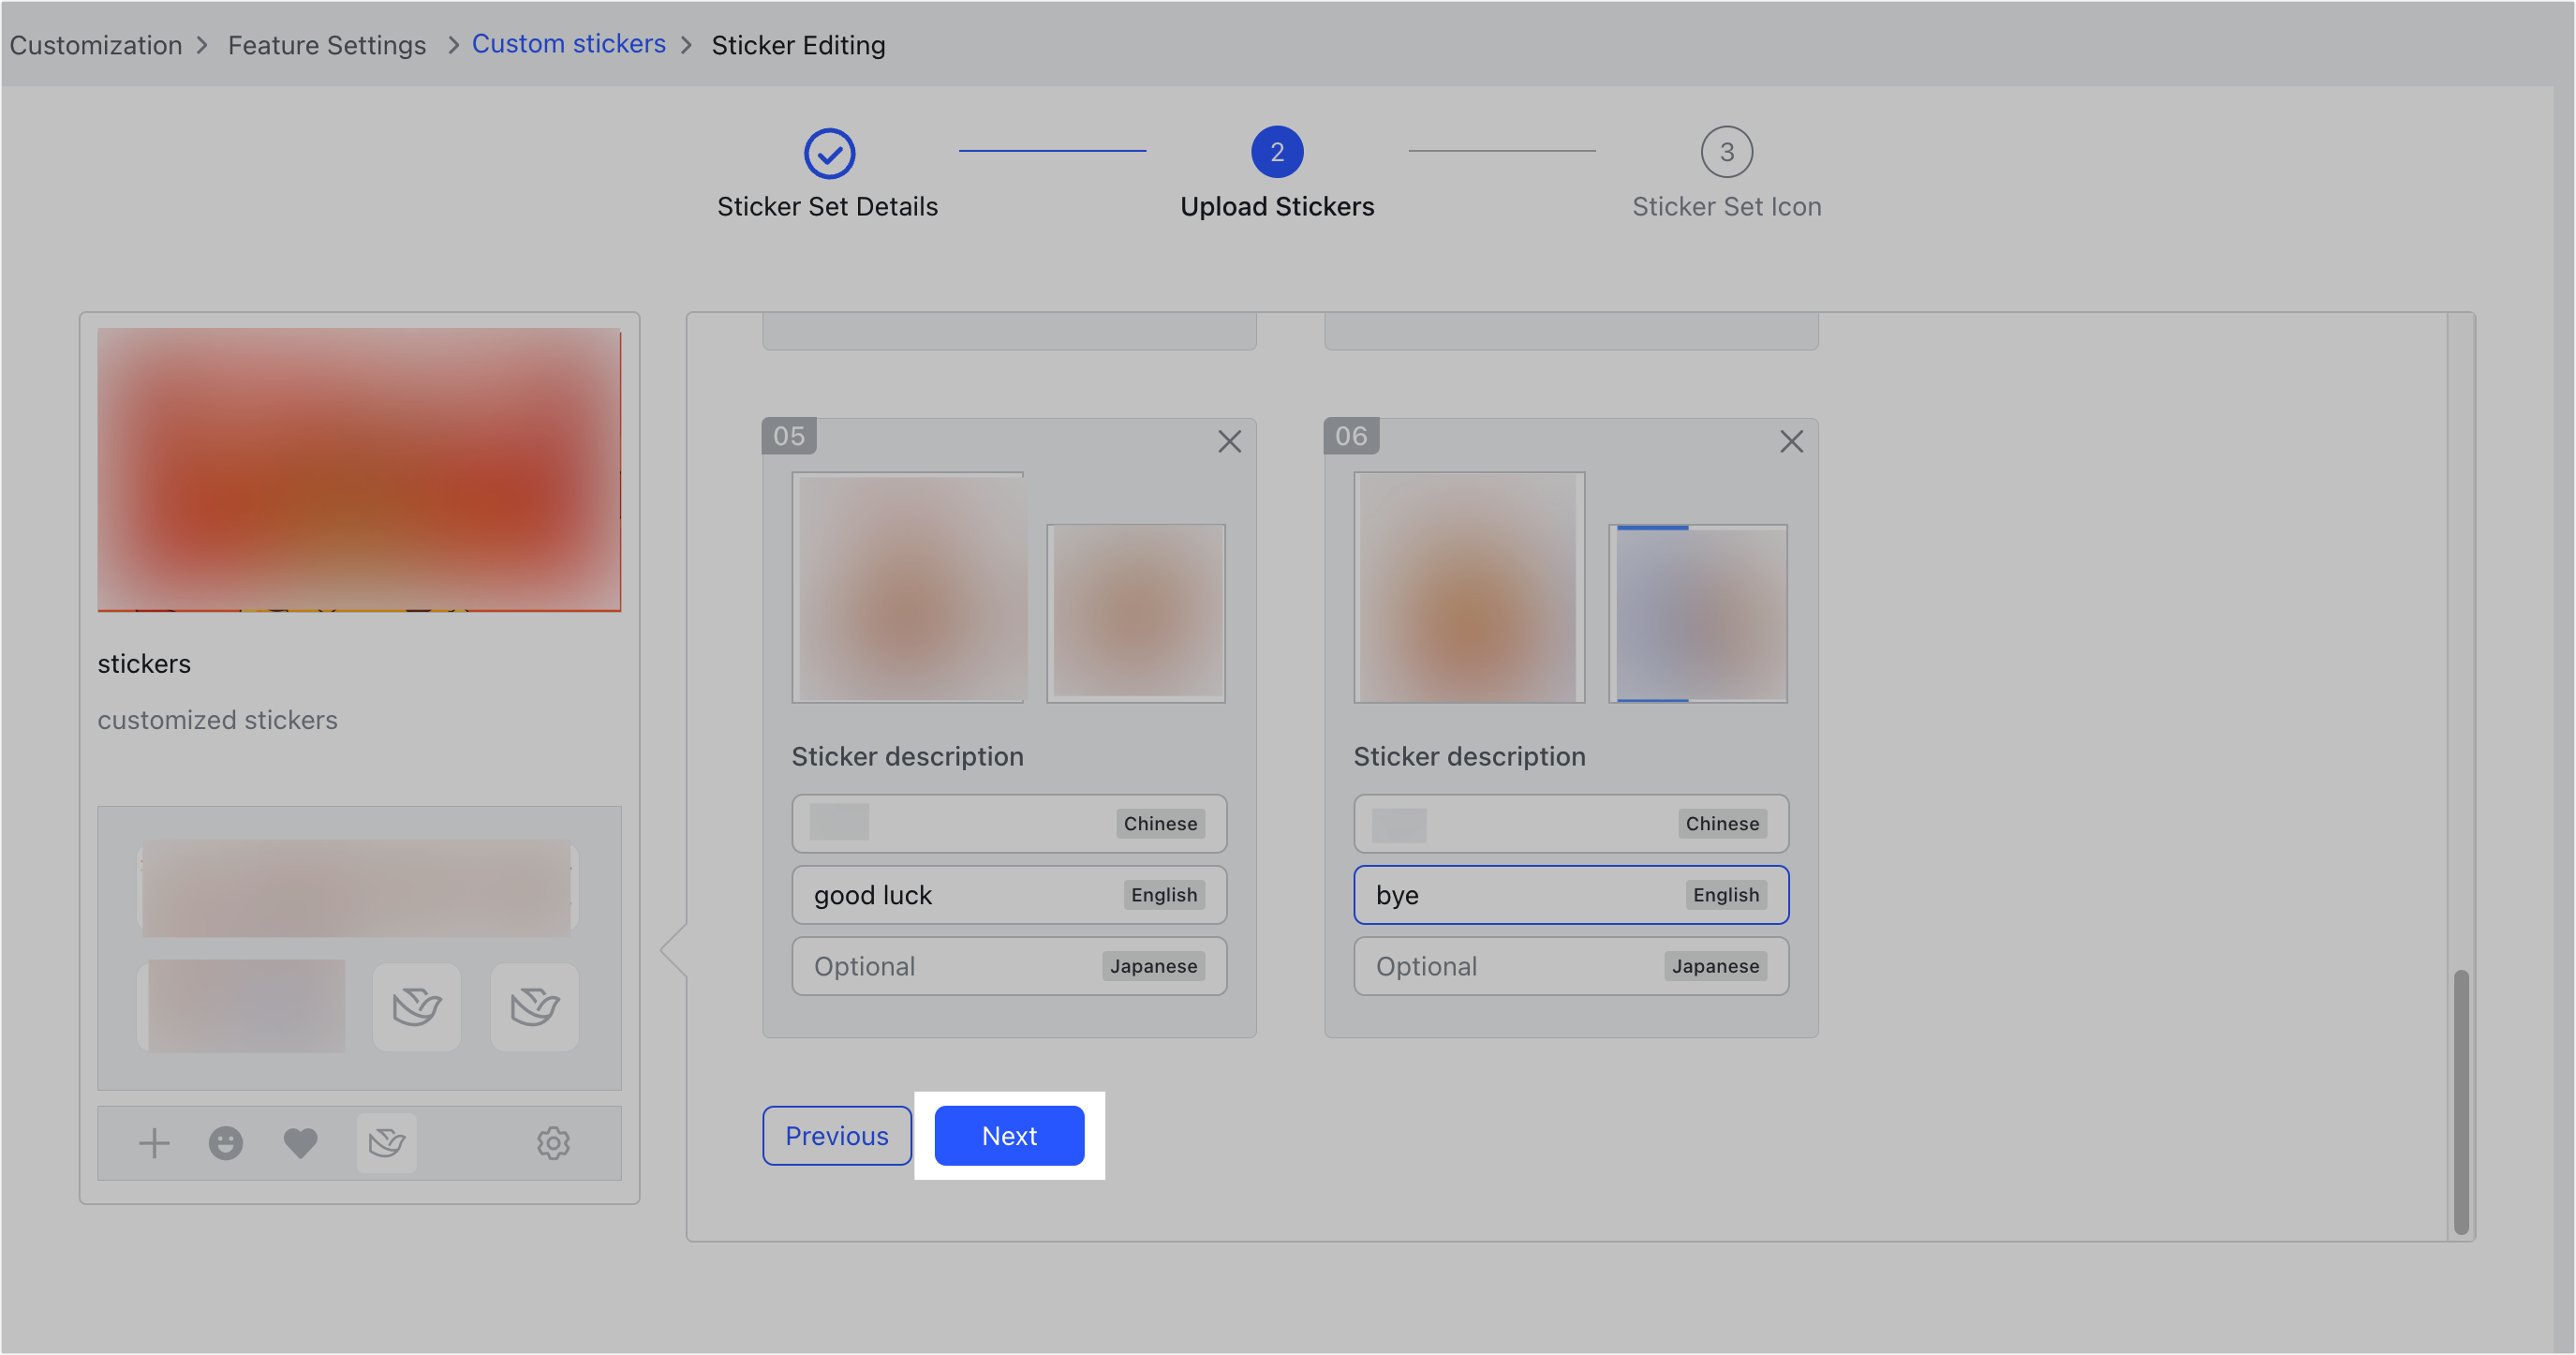
- Upload the stickers under Main image and preview image. For each sticker, you need to provide both the main image file and a preview image file. After uploading the images, you must fill out the Chinese and English descriptions for each sticker. Japanese descriptions are optional.
- Note:
- Sticker main images and preview images must be named with numbers 1-50. You must upload at least 6 stickers, up to a maximum of 50.
- The order of the stickers in the album will match the numbering in the file names. For example, a file named "1" will be the 1st sticker in the album.
- Main images must be in GIF or JPEG format, and previews must be in PNG format. For more information, see Specifications for creating and uploading custom stickers.
- If Japanese descriptions are not provided, English descriptions are used instead.
- After uploading the stickers, click Next.
250px|700px|reset
250px|700px|reset
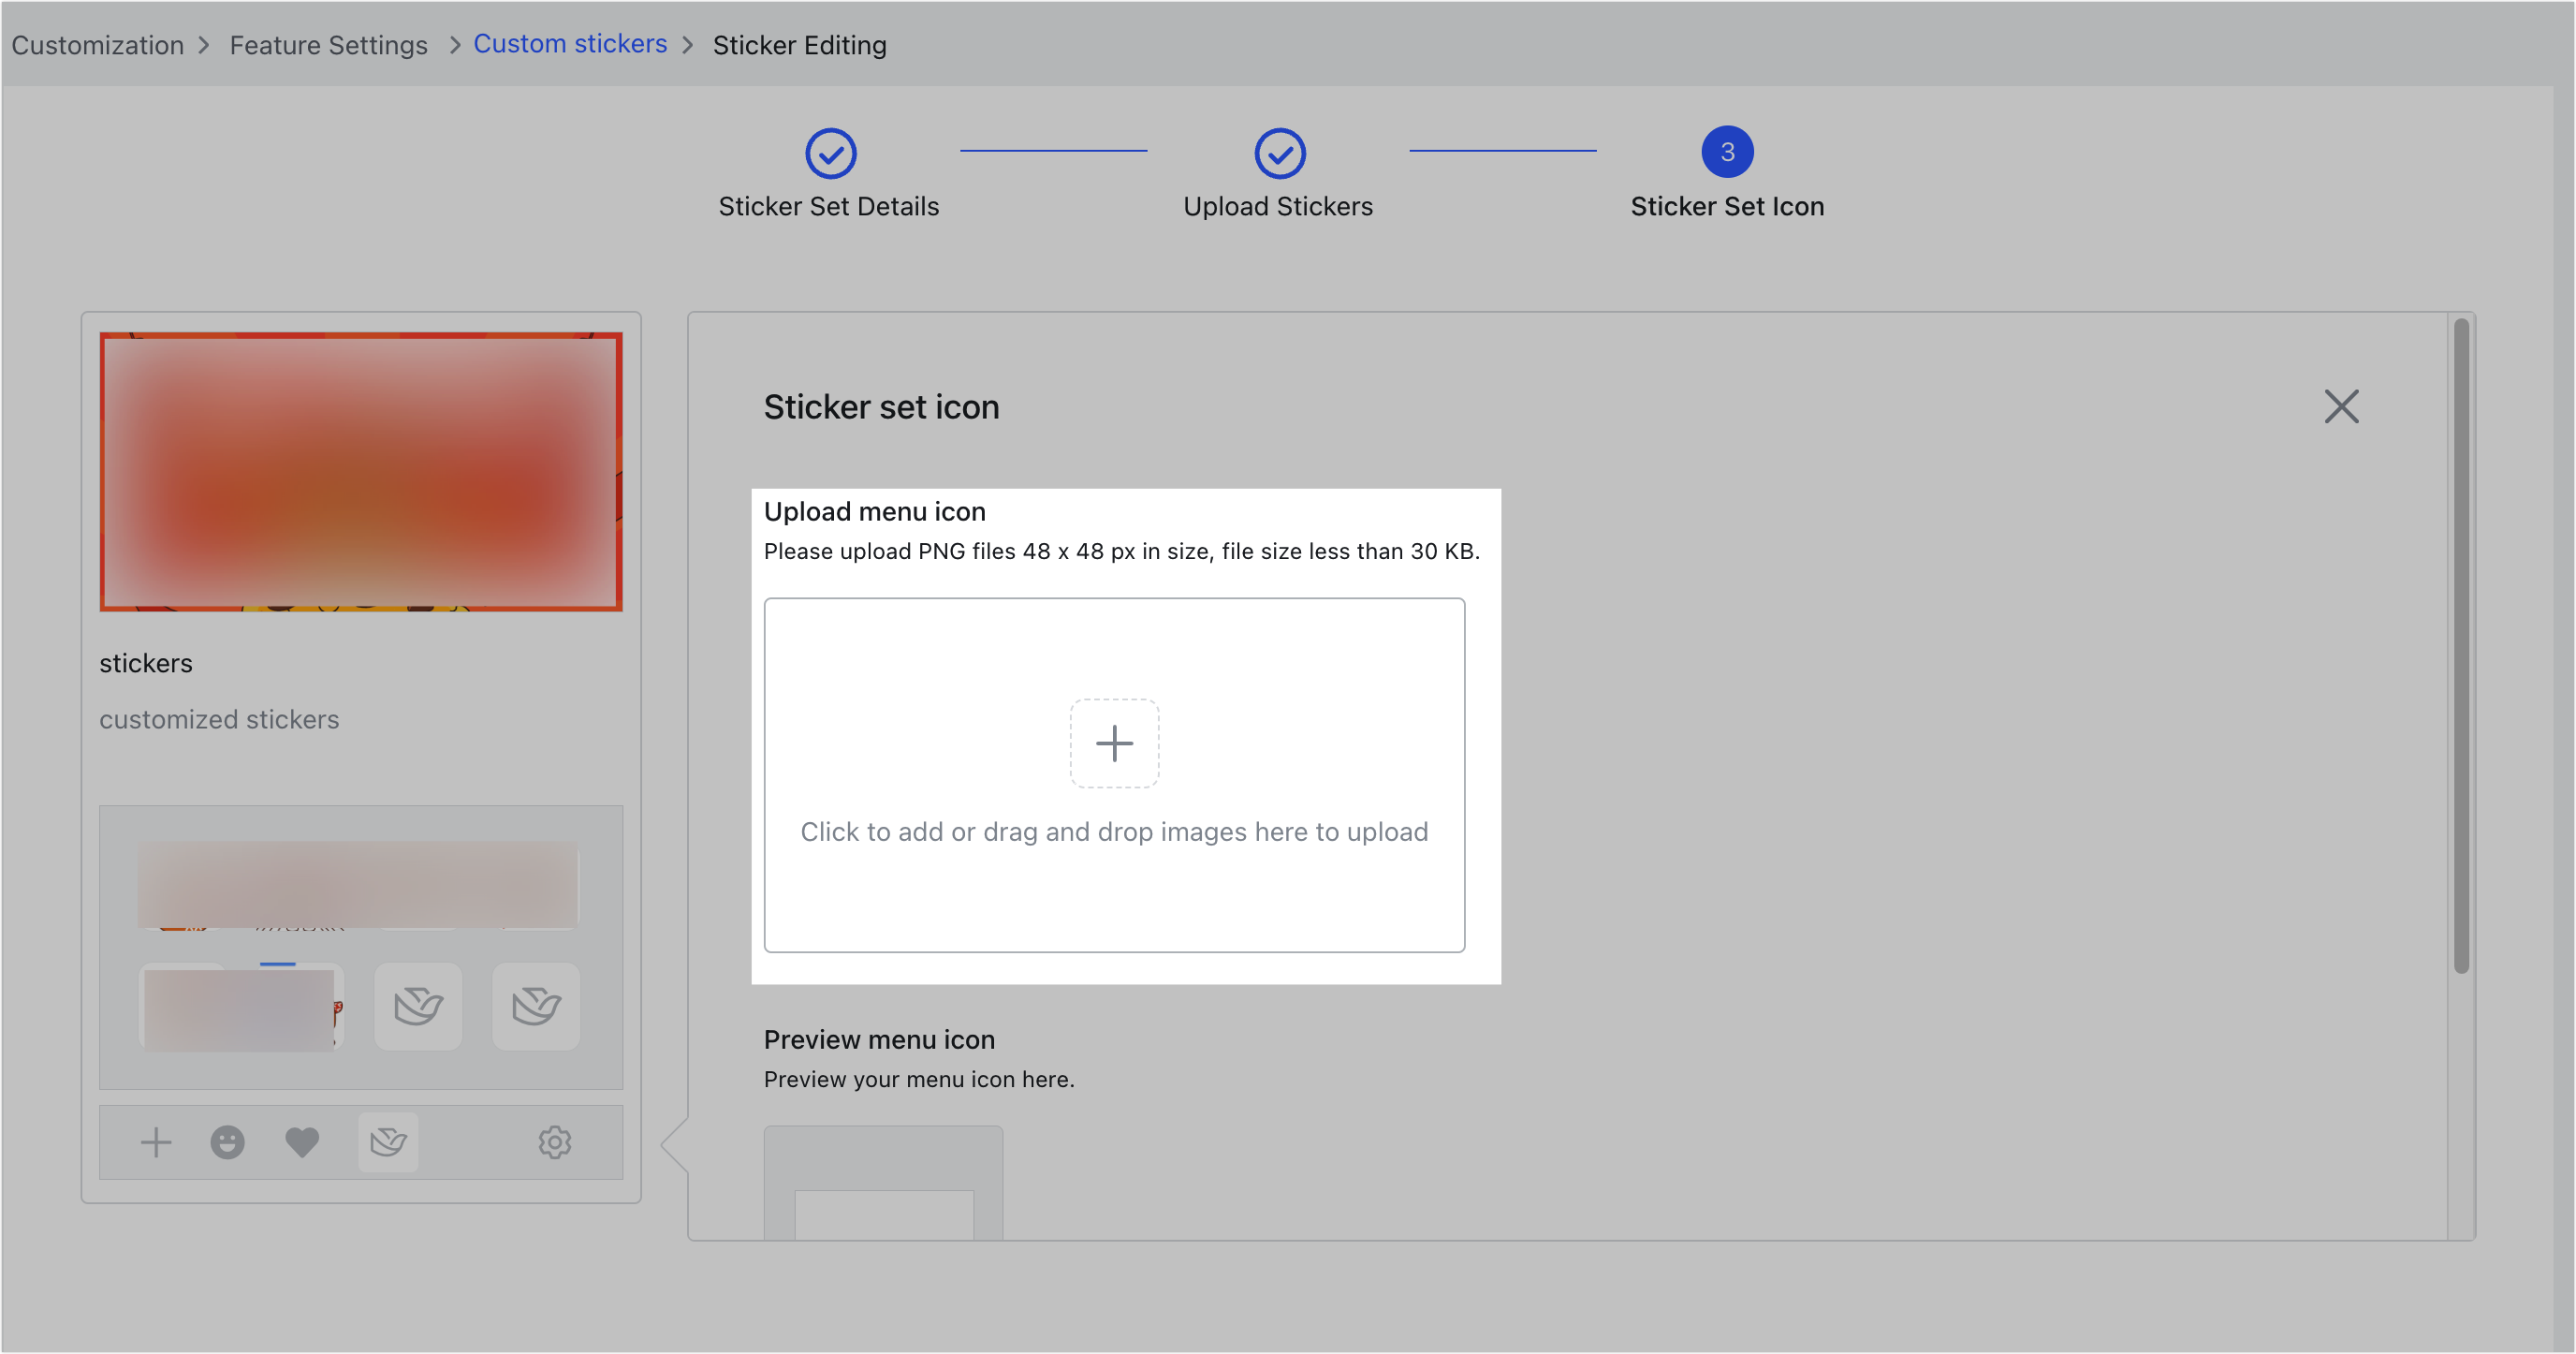
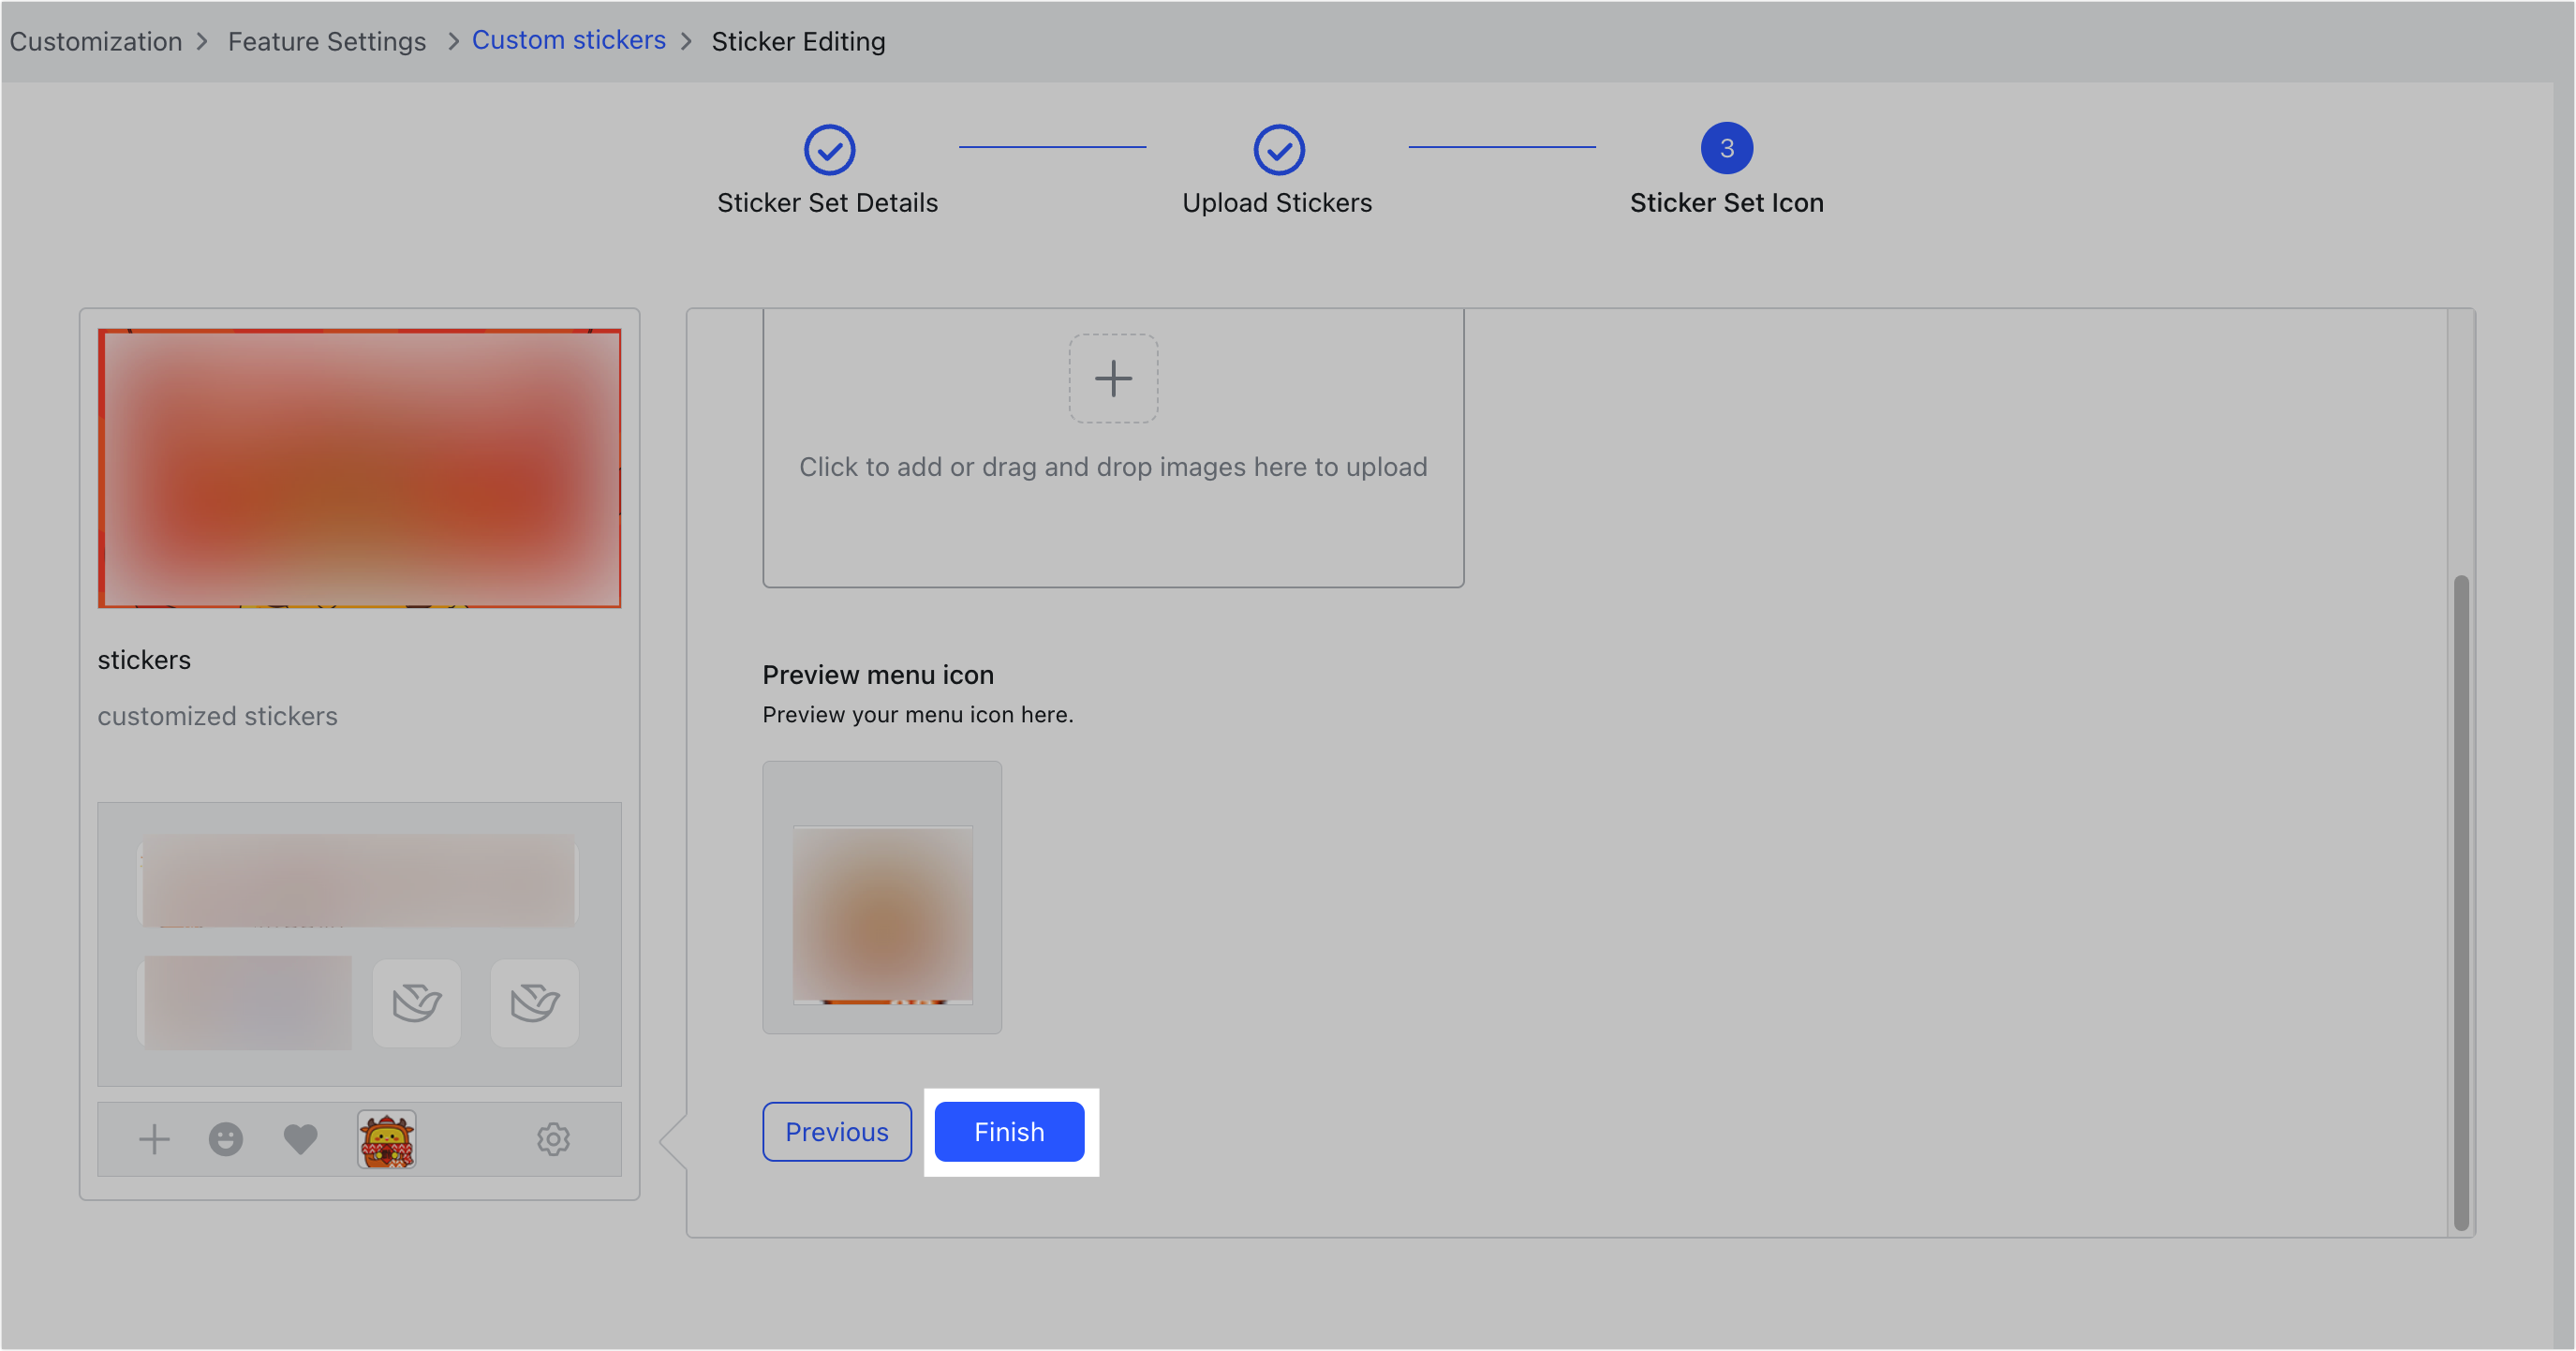
- Under Upload menu icon, upload an image that will appear in the emoji panel of Lark Messenger. Format, size, and dimension requirements for the cover image are visible on the page. If members add the sticker set from the Sticker Store after the set is published, they can see the menu icon image at the bottom of their emoji panel. Members can then click the menu icon image to open the sticker set.
- After checking the preview, click Finish.
250px|700px|reset
250px|700px|reset
Publish and manage custom sticker sets
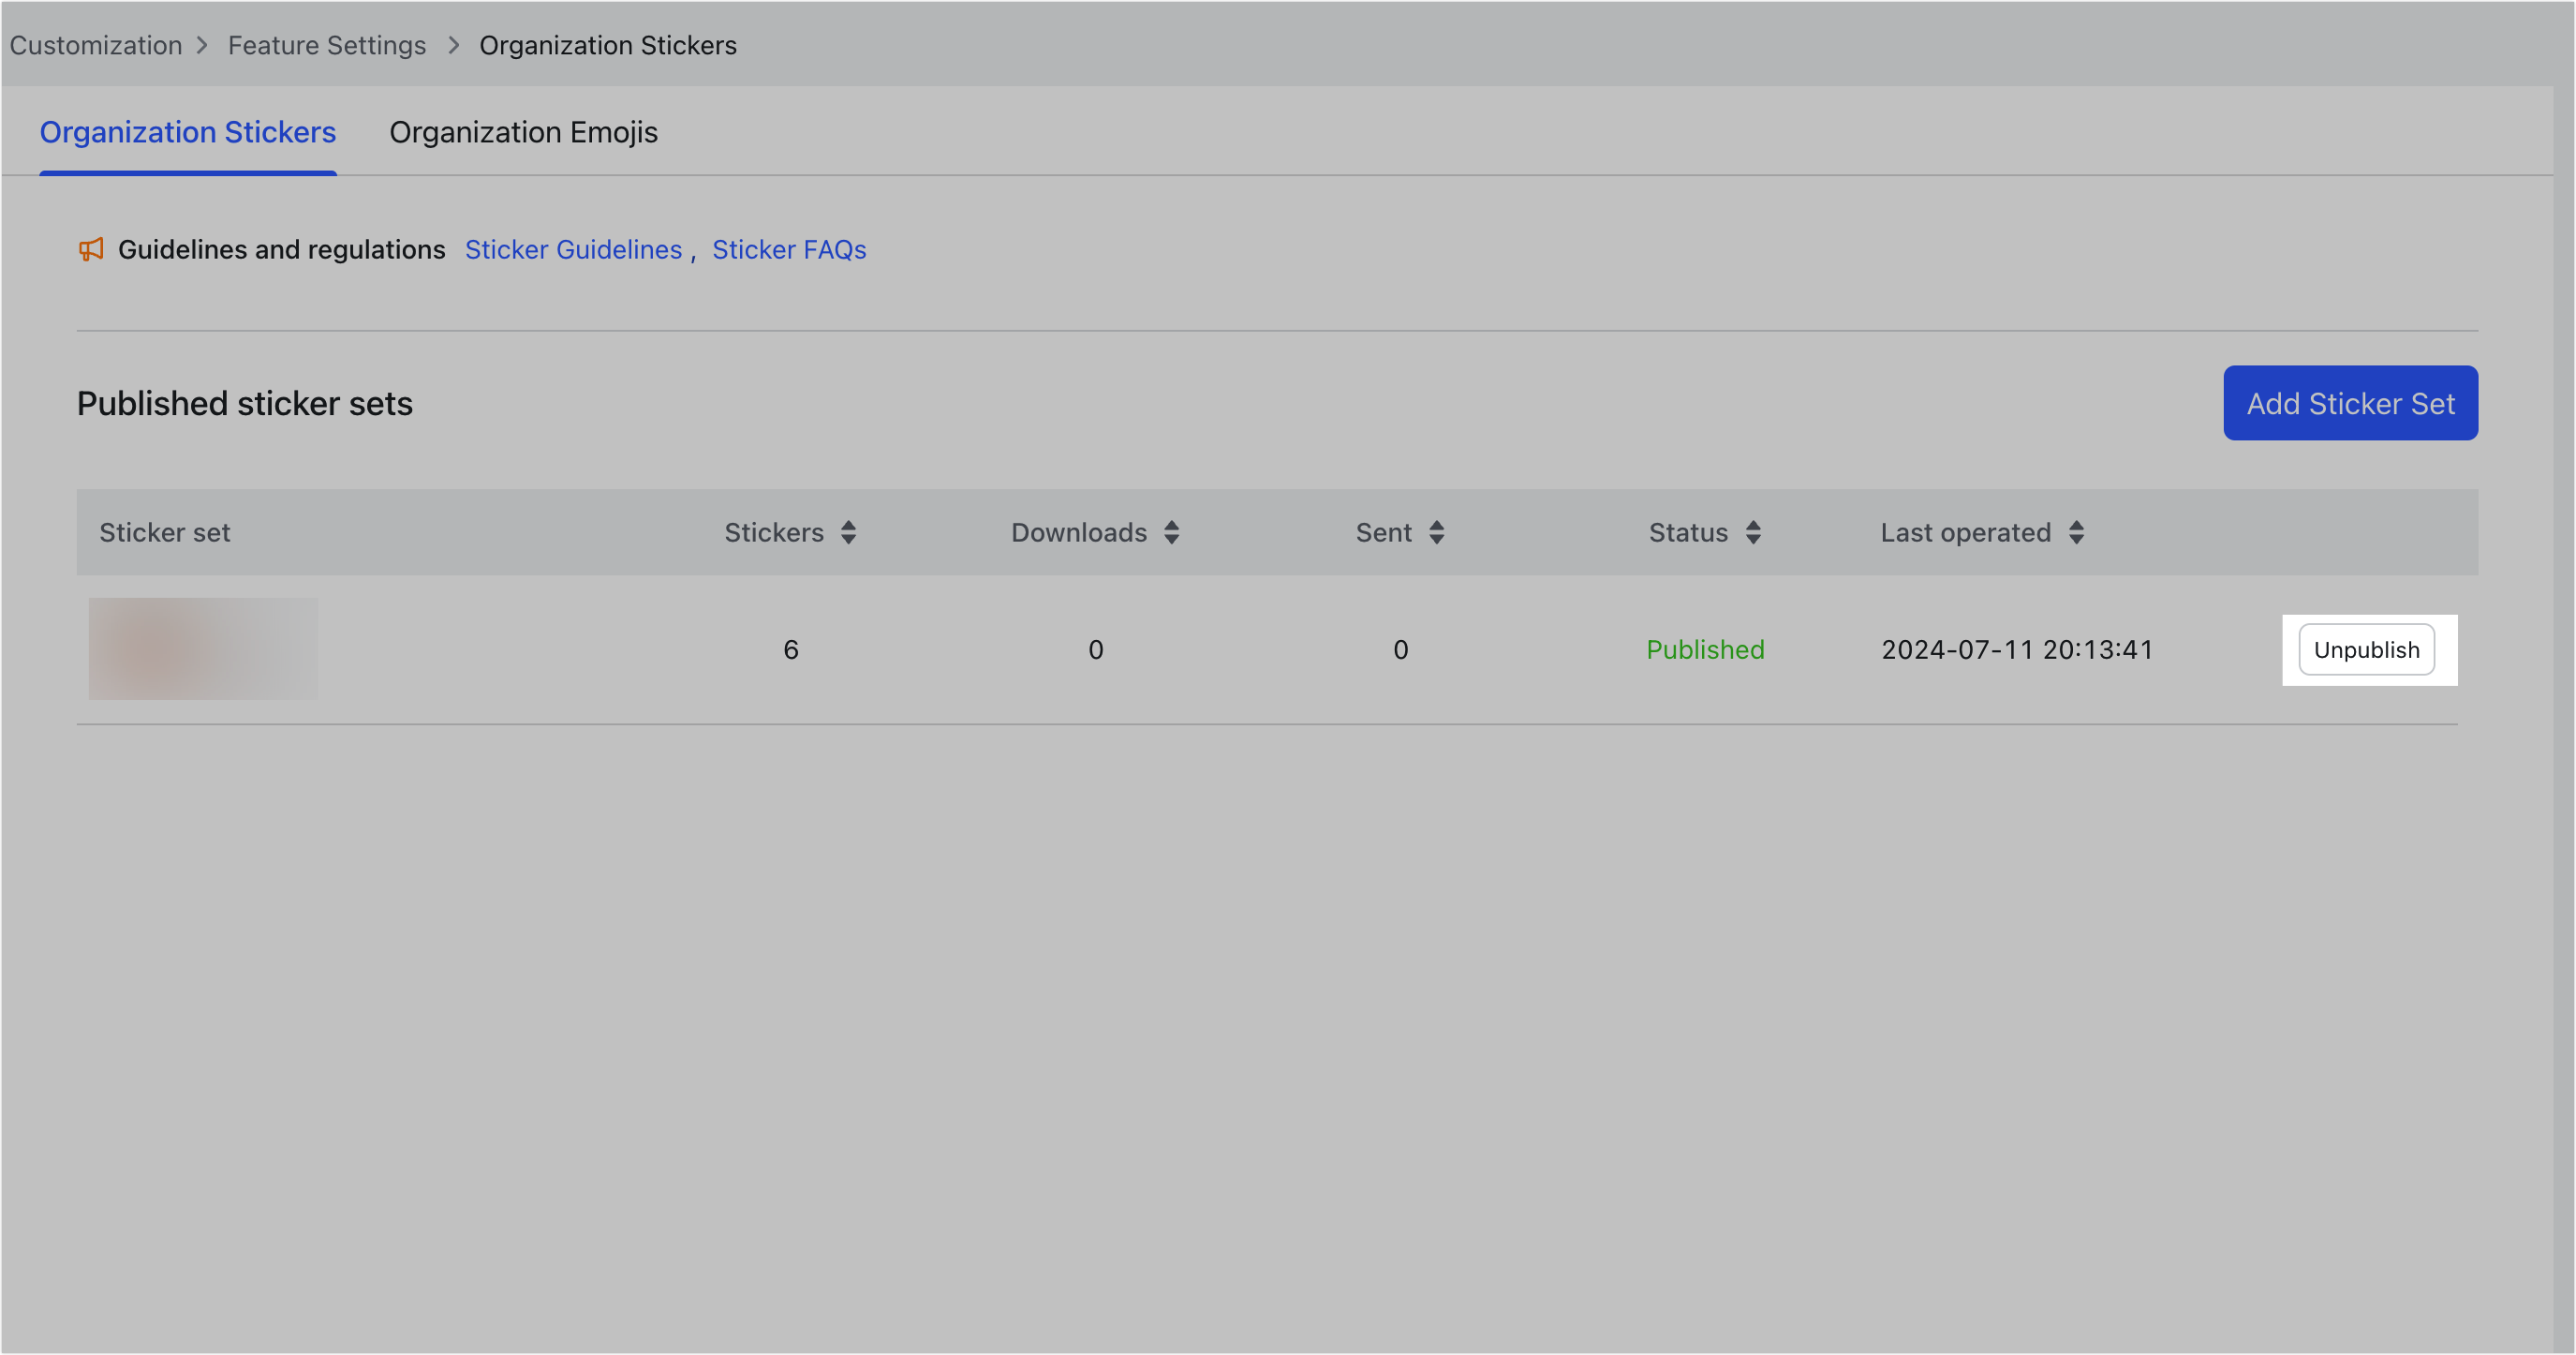
- After you finish uploading stickers, return to Organization Stickers. On this page, you can view all sticker sets that have been created under Published sticker sets.
- Click Publish to the right of a sticker set to publish it in the Sticker Store. Members who open the Sticker Store can then add the sticker set so that they can use the stickers in their chats. You can see the number of downloads and the amount of times the stickers have been sent.

250px|700px|reset
Click Unpublish to the right of a sticker set to remove the set from the Sticker Store. Members who have downloaded the sticker set can continue using it.
250px|700px|reset
III. Related