
Available with these plans:
Starter
Basic
Pro
Enterprise
To upgrade your Lark Plan or for more information, contact Support or your Customer Success Manager. The Lark Basic plan supports only specific countries and regions.
I. Intro
Who can perform these steps: Primary administrators or administrators with "Member and Department" permission.
Lark allows organizations to use multiple plans at once, making it easy to customize a solution. Organizations on multiple plans can decide which plan the member will have a "seat" in.
Seats serve as the user licenses of accounts. As an administrator, you must assign seats to members when adding them to your organization. Otherwise, members may be unable to log in due to lack of seats.
II. Steps
Aligned with the approaches of adding members to your organization, you can assign seats to members in three scenarios. This article only provides brief information on how to add members to an organization. For details, see Admin | Invite or add members to your organization.
When manually adding members
- Open the Lark Admin Console and go to Organization > Member and Department > Members. Click Add Members.
- 250px|700px|reset
- Fill in the basic information of the member, such as name and department.
- (Optional) If your organization is on the paid plans, you must assign a seat to the member.
- If your organization is on a single plan, select a plan under Seats.
- If your organization is on multiple plans, you can manually assign the seat now or assign the seats to a user group later, to which this member belongs. For more information, see Admin | Assign seats.
- Note: Seats that are not yet effective can also be assigned.
- 250px|700px|reset
- Click Done.
For more information on adding other details of members, see Admin | Invite or add members to your organization.
When batch importing or exporting members
- Open the Lark Admin Console and go to Organization > Member and Department > Members.
- Click the ⋮ icon > Bulk Import/Export.
- 250px|700px|reset
- Download a blank template and fill in the required information. Upload the file and click Import.
- Allocate seats for members or select a seat allocation method.
- If your organization is on a single plan, assign a seat to the members in the pop-up.
- If your organization is on multiple plans, you can assign seats to either individual members or user groups. After you assign seats to user groups, members in the corresponding user groups get a seat automatically, while members without a user group can't get seats or access to their Lark accounts under the organization.
- 250px|700px|reset
- Note: If you assign seats to both user groups and individual members, a member could receive duplicate seats if they belong to both categories. To prevent this, ensure that any member who is assigned a seat manually is not part of any user group that has seats already assigned.
- Click OK.
When inviting members
If you have enabled Approval by administrator is required for invitations, you can assign seats to members during the approval process.
Note: It's mandatory for organizations on multiple plans to require administrator approvals upon invitation.
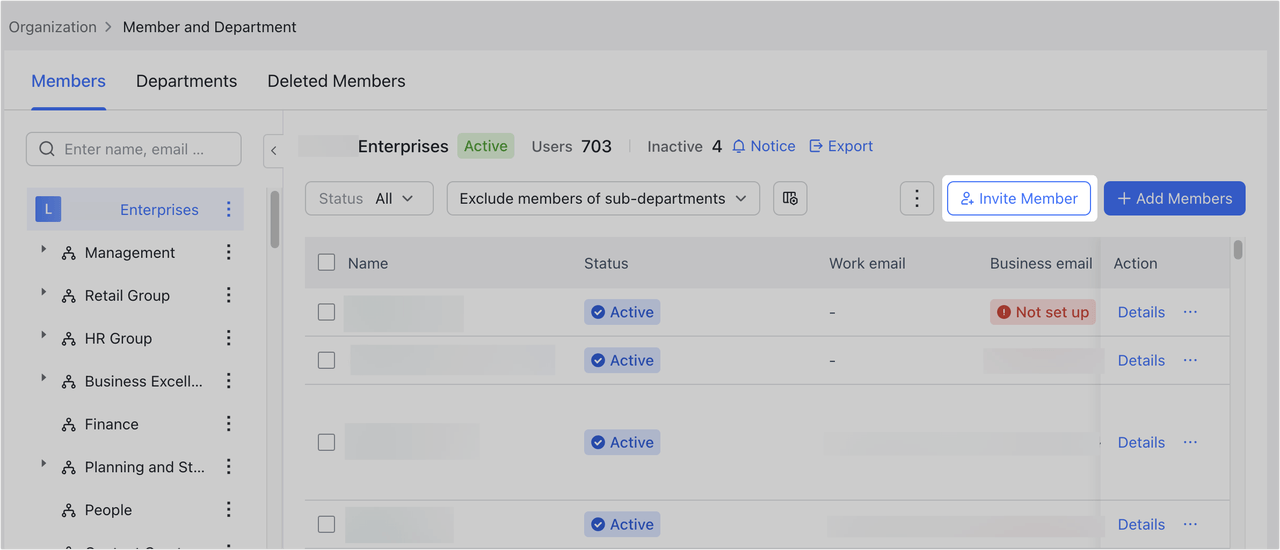
- Open the Lark Admin Console and go to Organization > Member and Department > Members > Add Members. Click Invite Member.
- 250px|700px|reset
- Click Request above the invitation methods.
- Click Approve to the right of an applicant.
- (Optional) If your organization is on the paid plans, assign a seat to the member.
- If your organization is on a single plan, assign a seat to the member.
- If your organization is on multiple plans, you can manually assign the seat now or assign the seats to a user group later, to which this member belongs.
- For more information, see Admin | Assign seats.
- 250px|700px|reset
- Click Confirm.
Note: You can approve the member's joining request through the bot notification in the app, but not manually assign seats to them there. Once you approve their joining in the app, you need to either go to the Lark Admin Console to assign seats, or let them match the user groups that will get seats automatically assigned.
III. FAQs