
Available with these plans:
Starter
Basic
Pro
Enterprise
To upgrade your Lark Plan or for more information, contact Support or your Customer Success Manager. The Lark Basic plan supports only specific countries and regions.
I. Intro
Who can perform these steps: Primary administrators.
Single sign-on (SSO) allows a user to use one set of login credentials to access multiple trusted applications within the organization. Once the primary administrator has enabled this function and configured the settings in the Lark Admin Console, users can select the SSO option when logging in. They'll be able to use the organization domain name and their credentials with the SSO provider to log in to Lark.
Lark supports Security Assertion Markup Language (SAML) 2.0 authentication.
II. Steps
Before enabling SSO, administrators must configure the authentication method. Lark provides two authentication options: SAML authentication and Google account authentication.
For SAML authentication, you can allow members to sign in with Okta, Azure, OneLogin, or other SAML 2.0 identity providers. This article uses Okta as an example.
Configure Okta
Prerequisite: You must have the organization domain name to configure Okta. You can find it in the Lark Admin Console > Settings > Organization Info.
- Create a new application
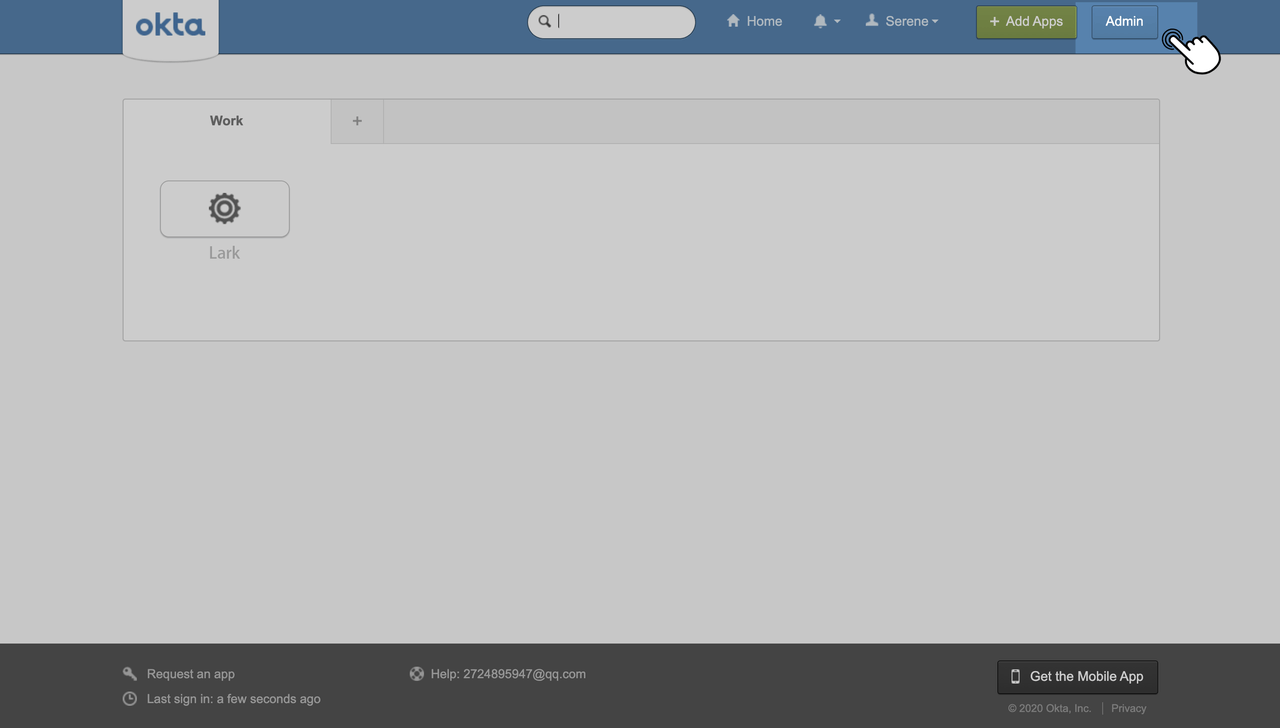
- Log in to Okta and click Admin in the upper-right corner.
- 250px|700px|reset
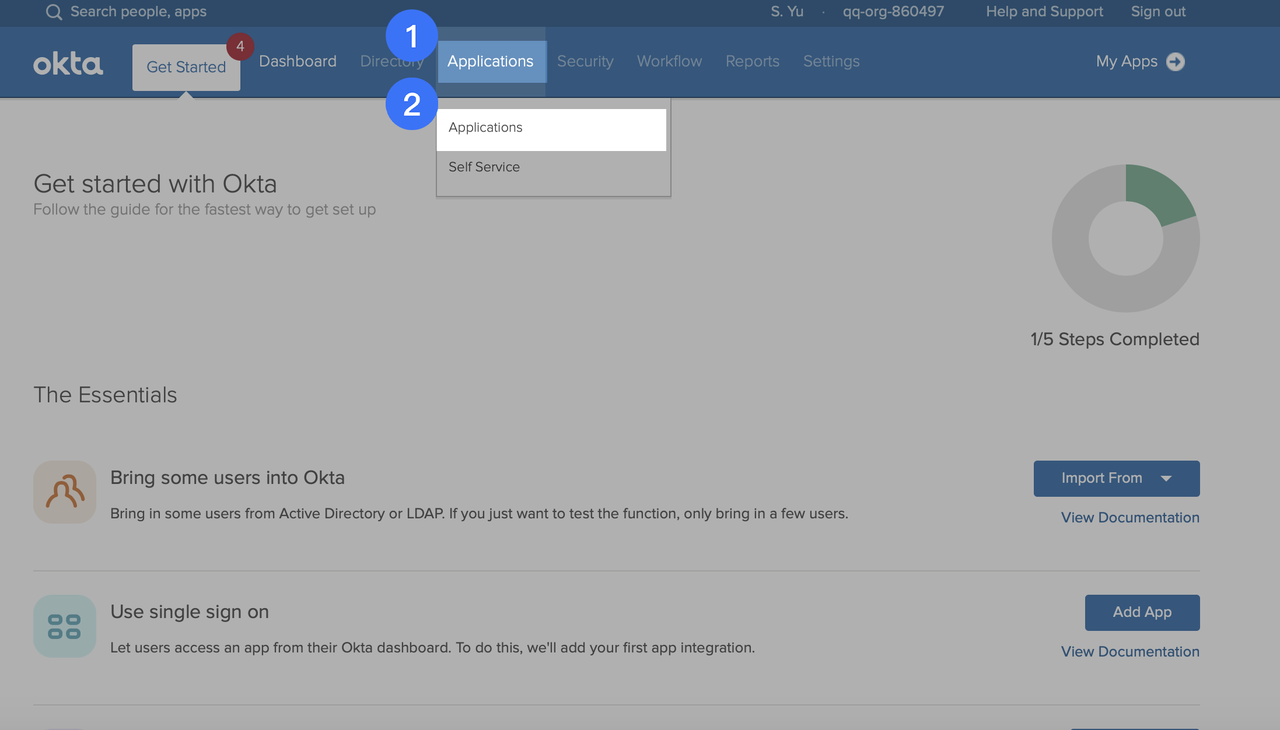
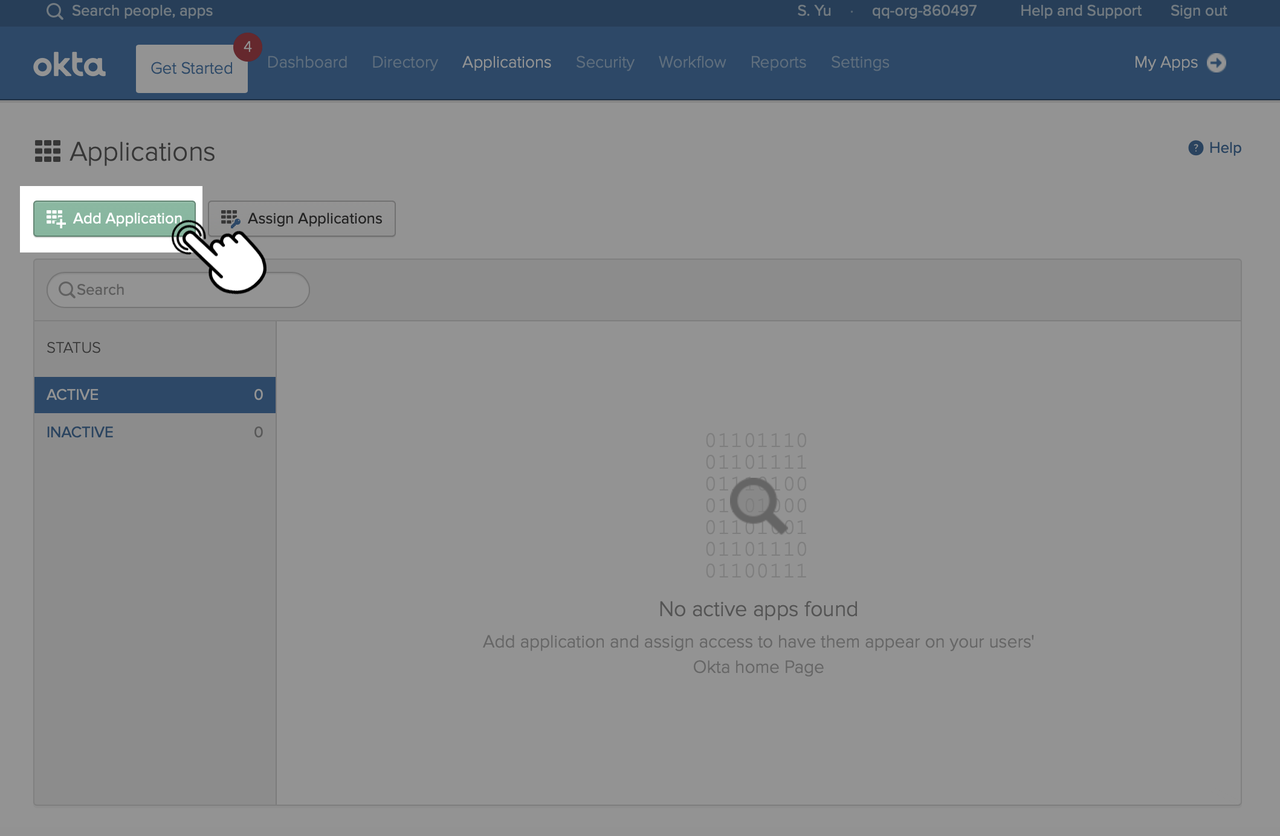
- Once logged in, click Applications > Applications. Click Add Application in the upper-left corner.
250px|700px|reset
250px|700px|reset
- Click Create New App in the upper-right corner.
- 250px|700px|reset
- Select Web and SAML 2.0 in the pop-up window, and click Create.
- 250px|700px|reset
- In the General Settings window, enter Lark in the App name field and click Next.
- 250px|700px|reset
- According to the organization domain type, enter the following links to the corresponding fields on the SAML Settings page.
-
- 250px|700px|reset
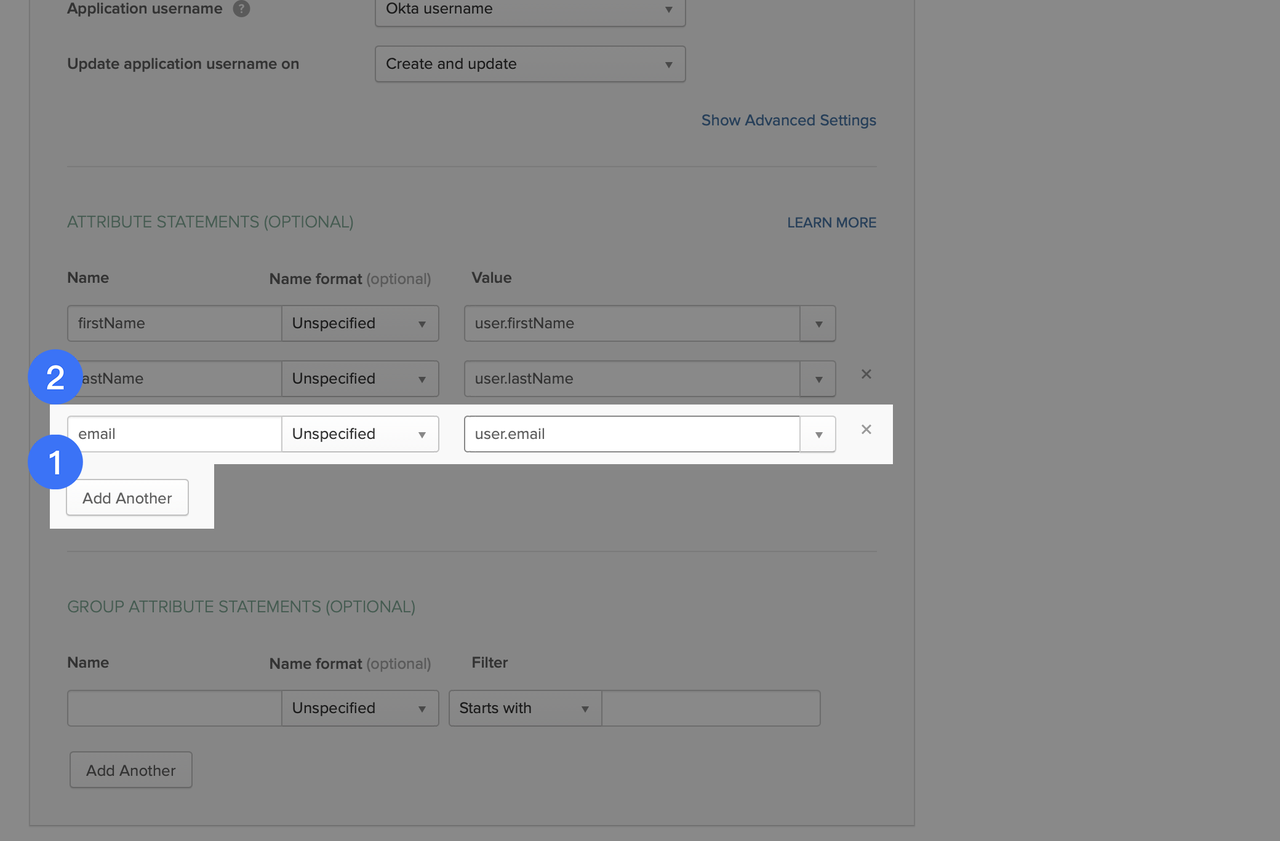
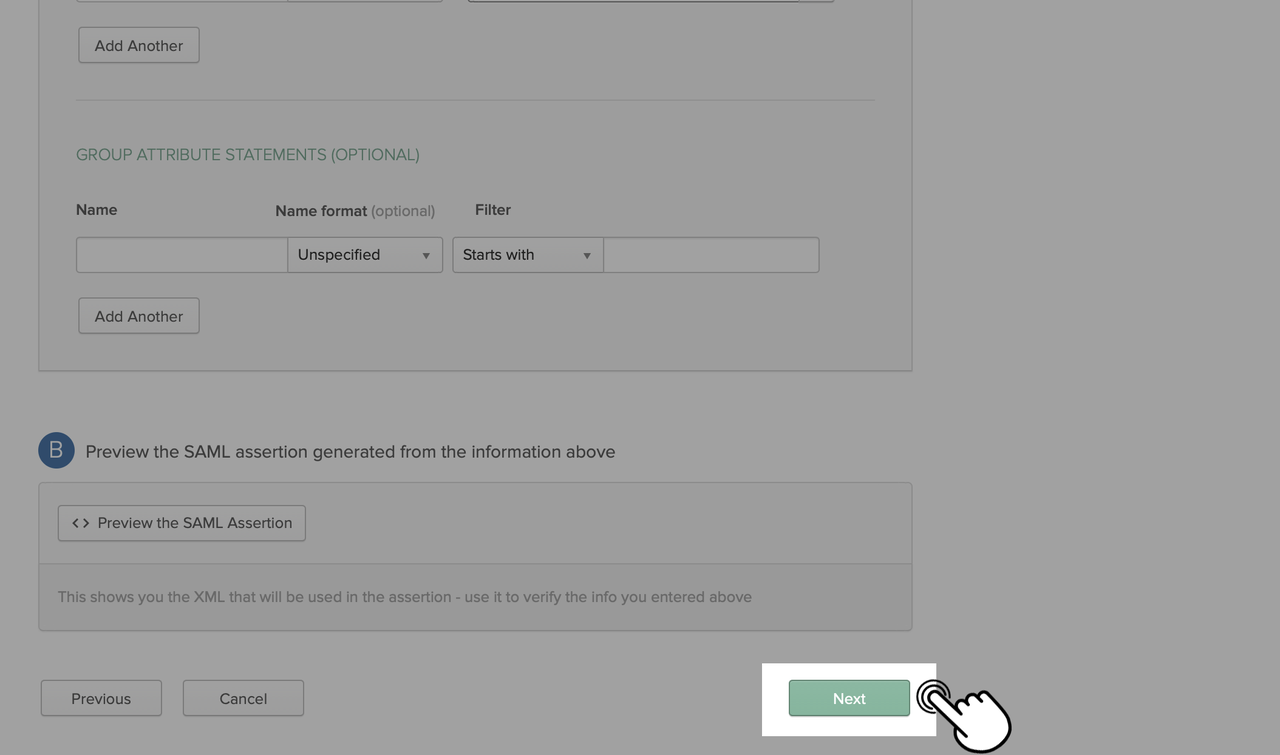
- Scroll down, click Add Another to add a new attribute statement, and add a user.email row. Click Next.
250px|700px|reset
250px|700px|reset
- Select the options of I'm an Okta customer adding an internal app and This is an internal app that we have created and click Finish.
- 250px|700px|reset
- Go to Applications > Applications > Assignments, click Assign to add members that will need to use this application.
- 250px|700px|reset
- Go to Applications > Applications > Sign On and click View Setup Instructions to get the Lark configurations.
- 250px|700px|reset
- The three parameters below will be used in the Lark Admin Console.
- 250px|700px|reset
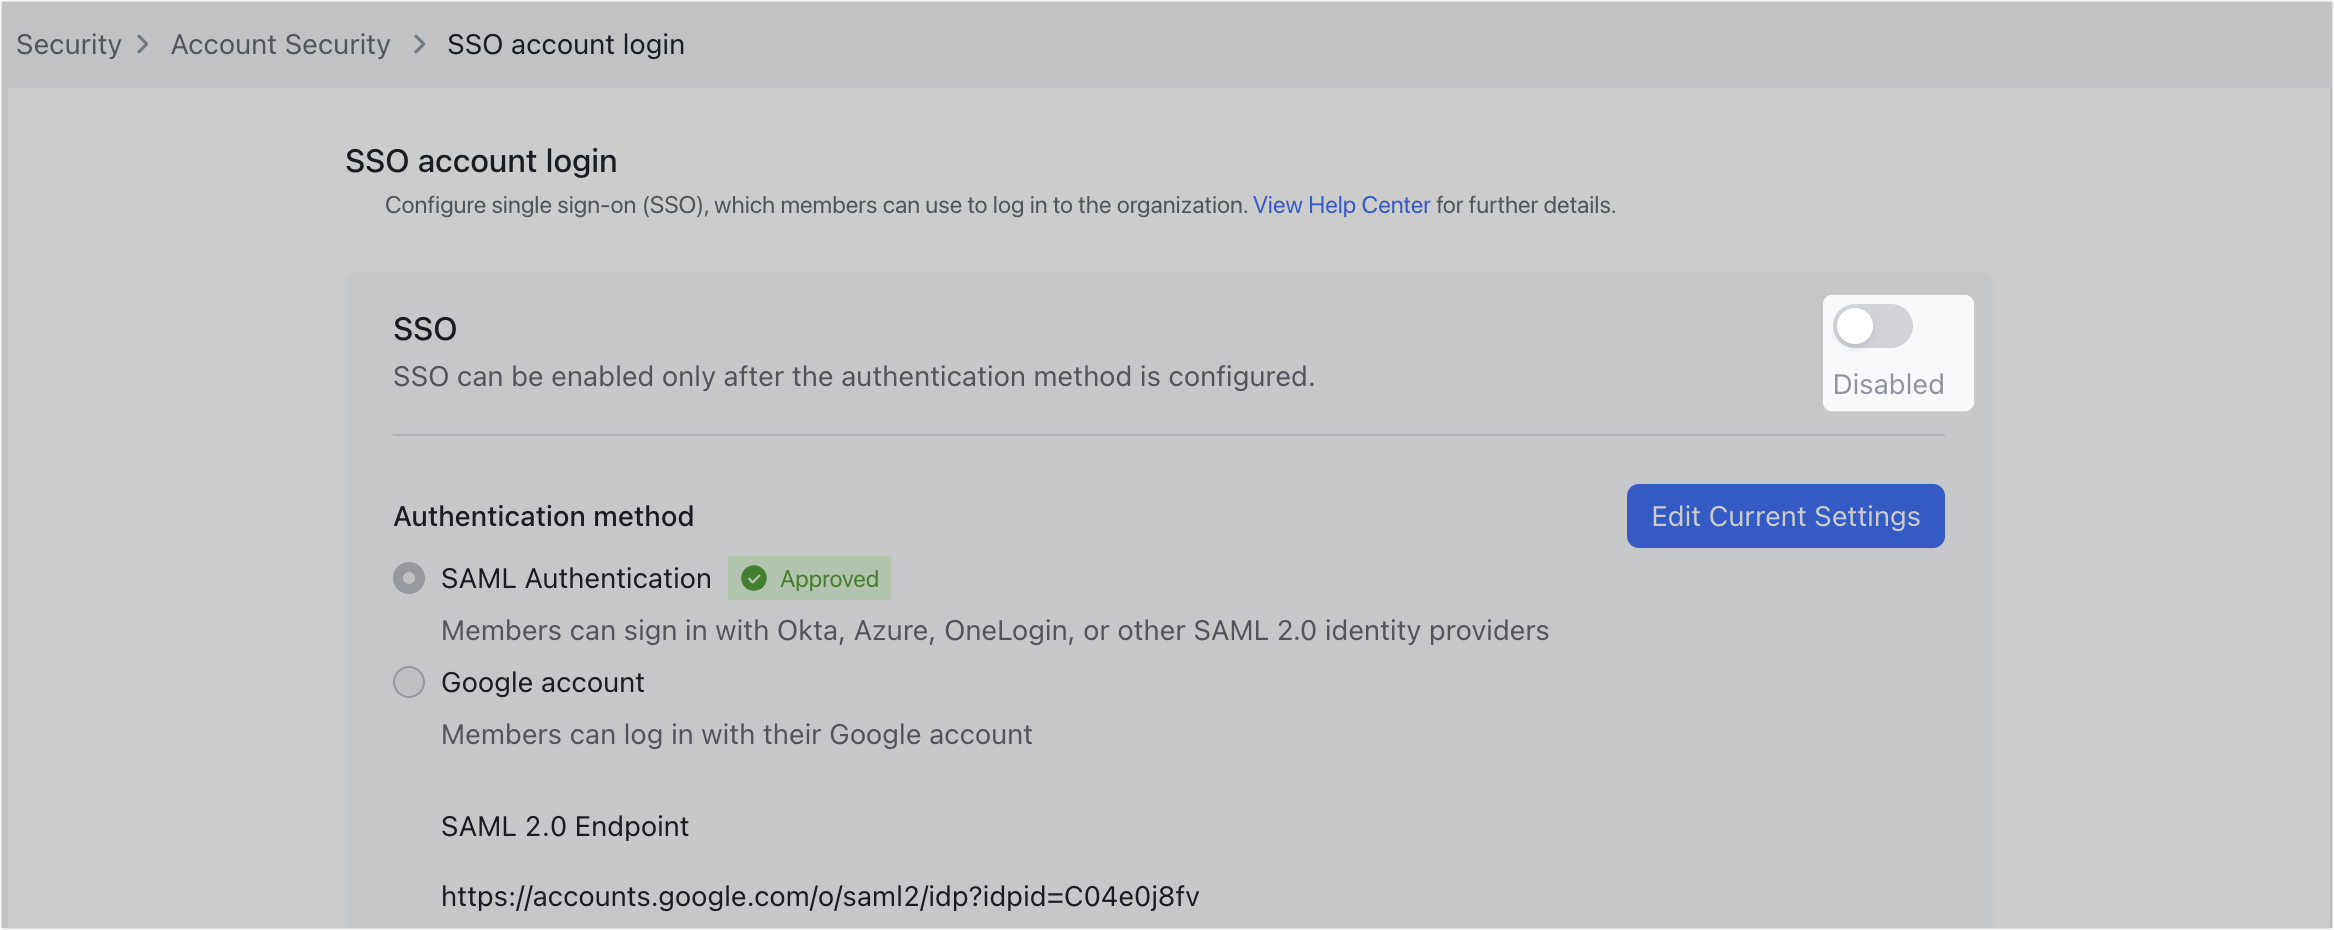
- Configure the Lark Admin Console.
- Go to the Lark Admin Console > Security > Account Security > SSO account login. Click SAML Authentication and enter the three parameters taken from Okta. Then click Verify and Save.
- 250px|700px|reset
- Confirm the configuration information in the pop-up window, and click Save and Enable.
- Click Enable login with Okta account.
- 250px|700px|reset
Configure Google
- Go to the Lark Admin Console > Security > Account Security > SSO account login.
- Click Edit Current Settings, and select Google account.
- 250px|700px|reset
- Note:
- For members already in the organization, make sure that their Contact email (Organization > Member and Department > Members) matches the Google account they will log in to. If needed, click Details > Edit Basic Info and update the Email field to update Contact email for a member.
- 250px|700px|reset
- For members that haven't joined the organization, click Organization > Member and Department > Members Add Members to add them, and enter their Google account email as Contact email.
- 250px|700px|reset
- Click Log in to Google account and enter your Google admin account's address in the new window. Once you've logged in, you'll return to the SSO account login screen.
- 250px|700px|reset
- Confirm all the details on the page are correct, and click Save configuration.
- Read the dialog box carefully. Click Enable to apply the configuration.
- 250px|700px|reset
Note: If you click Cancel, you'll save the configuration but SSO won't be enabled. You can return to the page later and click Enable login with Google account to enable it.
Enable SSO login
250px|700px|reset
III. FAQs