I. Intro
Email labels can help you better manage your emails, allowing you to filter and find a specific email or a specific group of emails right away.
II. Steps
Create new labels
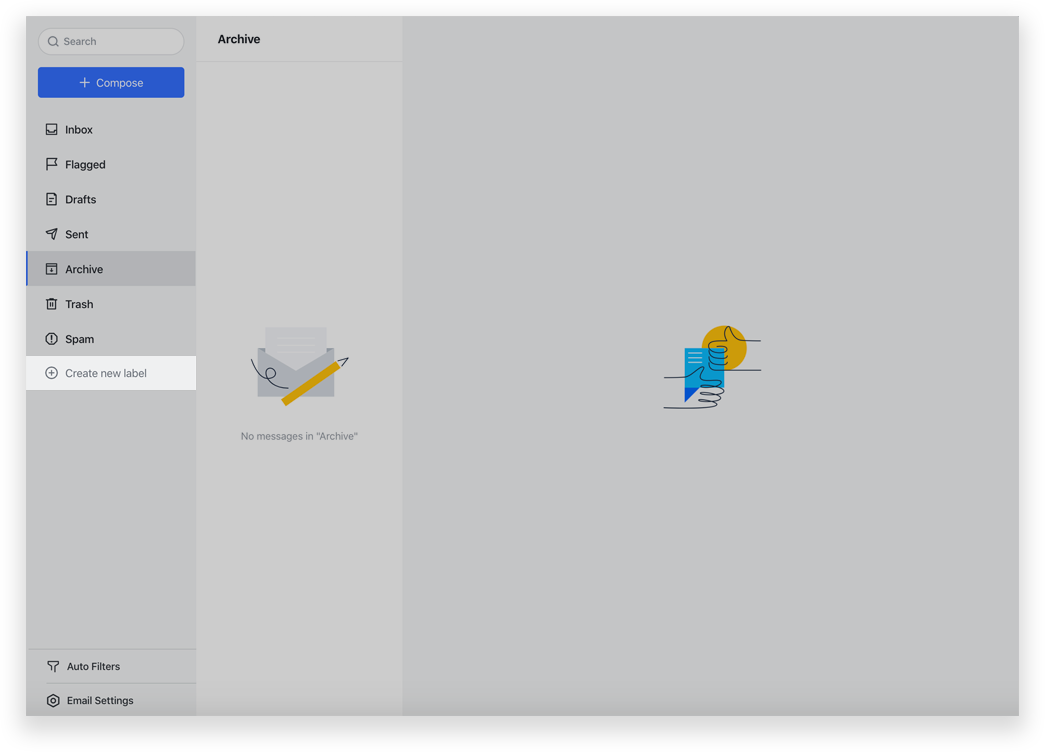
Go to Email, and then click the Create new labels icon to the right of Label.
250px|700px|reset
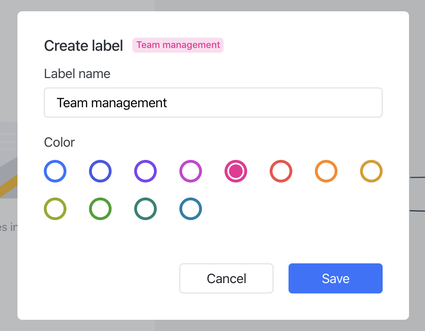
Then, enter a label name, and select a preferred color. Then, click Save.
250px|700px|reset
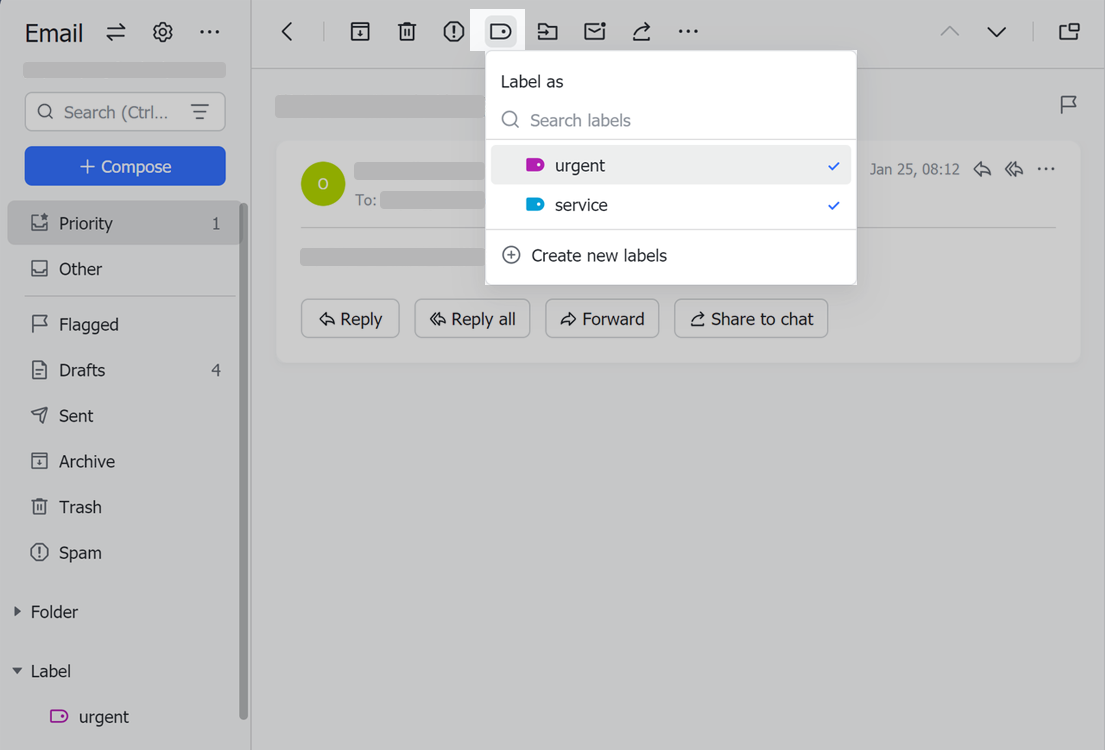
Click the Label as icon at the top of the email and choose a suitable label for an email.
250px|700px|reset
- Edit labels
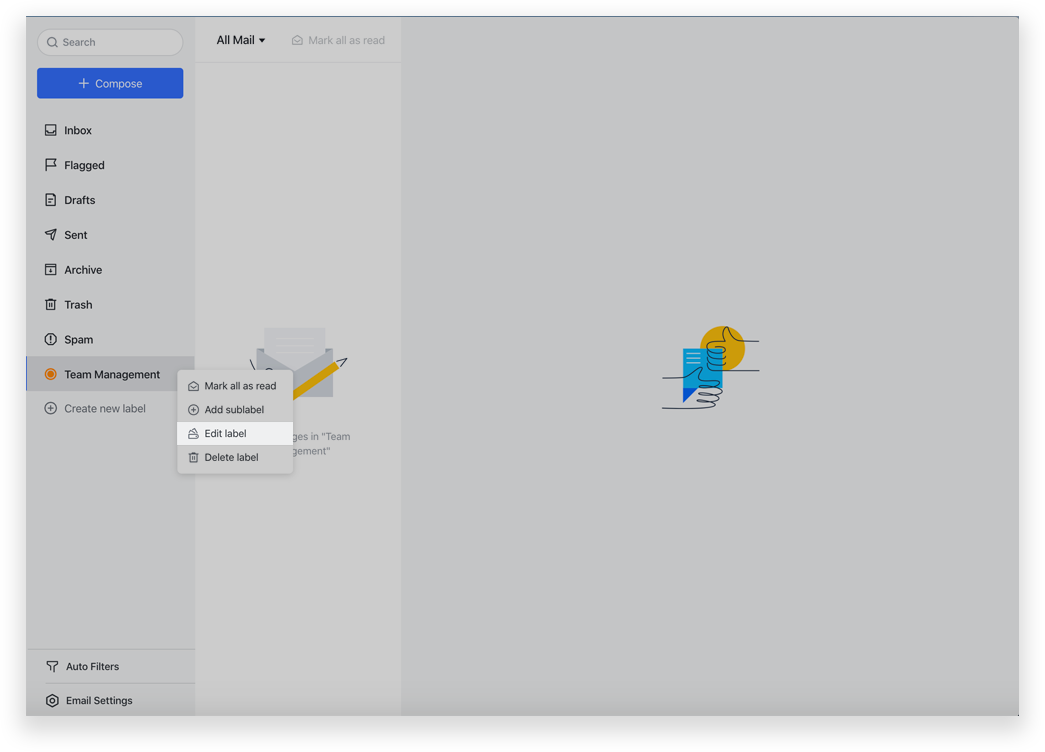
To edit a label, click on the icon next to the label name, and select Edit label.
250px|700px|reset
Edit the label name or set a different color for it.
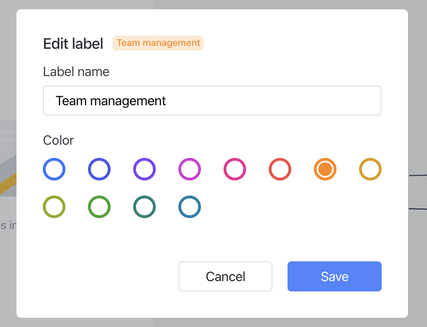
250px|700px|reset
- Delete labels
To delete a label from an email, click the Delete icon on the corresponding label.
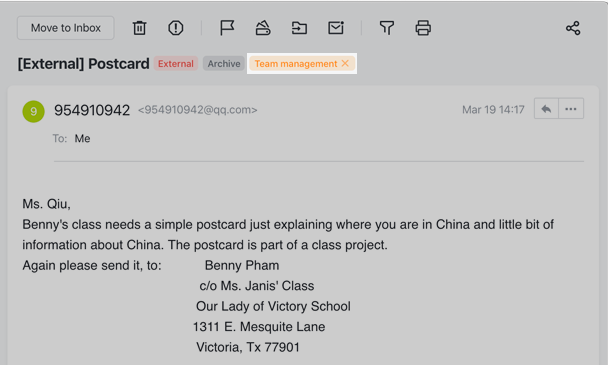
250px|700px|reset
To delete a label entirely, right-click on the label, and then click Delete label.
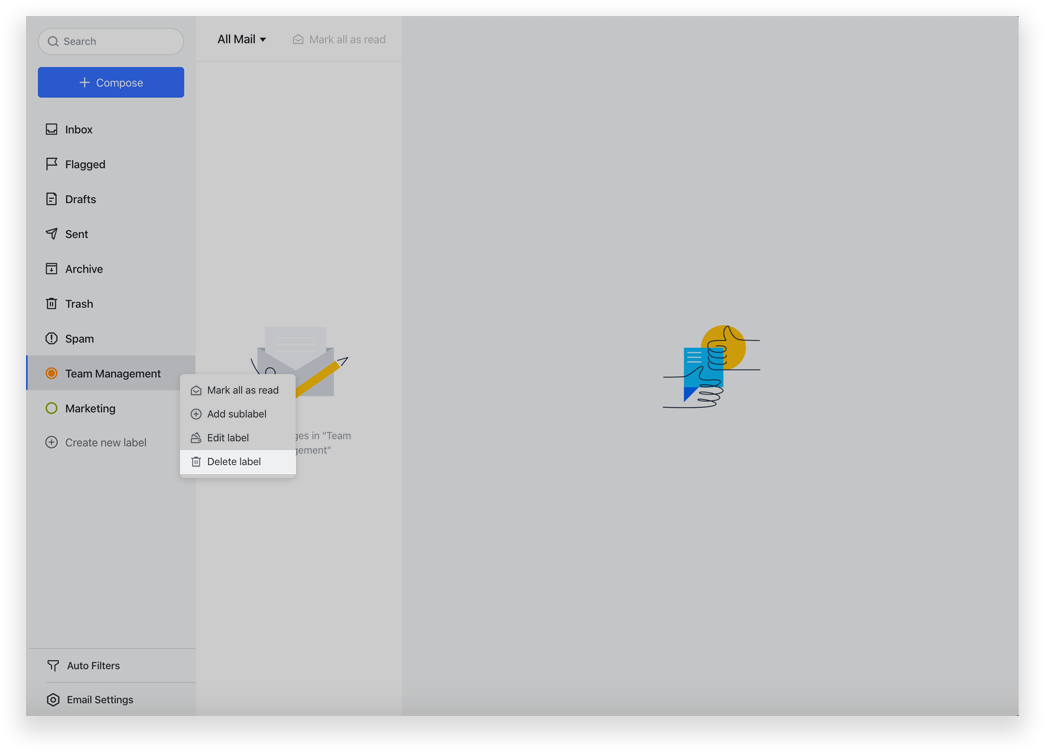
250px|700px|reset
- Manage labels
You can click and drag a label to adjust its position, or to add a sublabel.
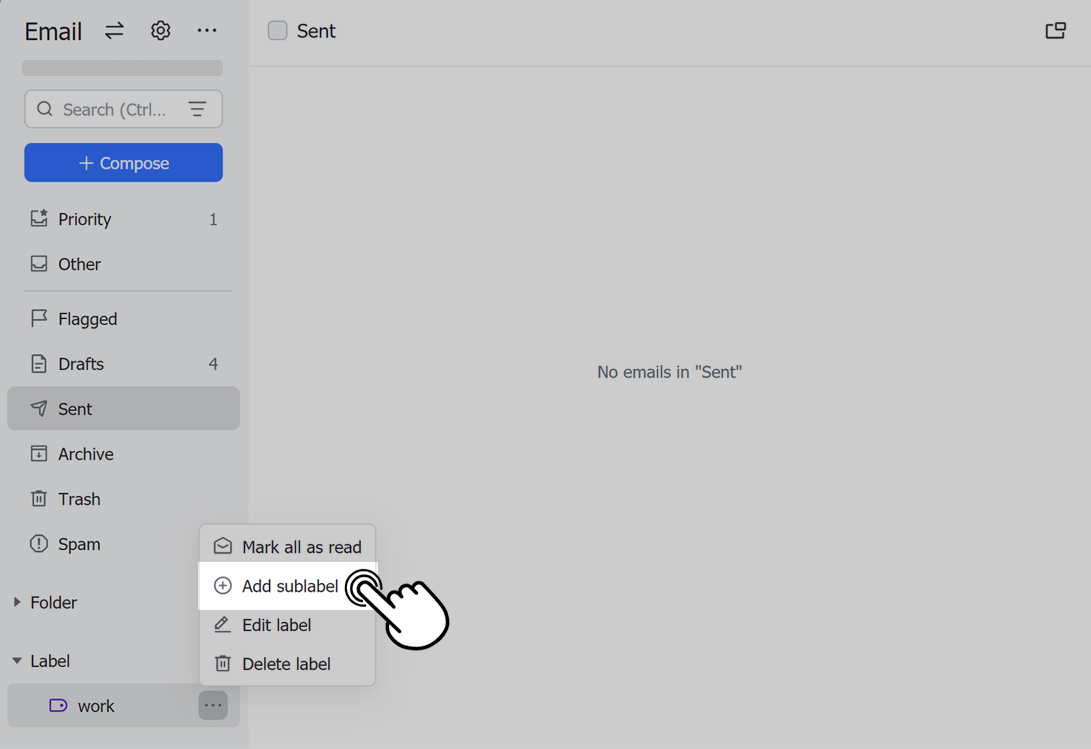
250px|700px|reset
III. FAQs
