I. Intro
Members of an organization can view entries and the corresponding Lingo cards in messages, Docs, and searches, as well as from the Lingo homepage.
Members can view the following information on a Lingo card and the details page of an entry:
II. Steps
View a Lingo card
Note: The language displayed in the Lingo card corresponds to the language setting in the Lark app. If content is unavailable in that language, the original content language will be shown instead.
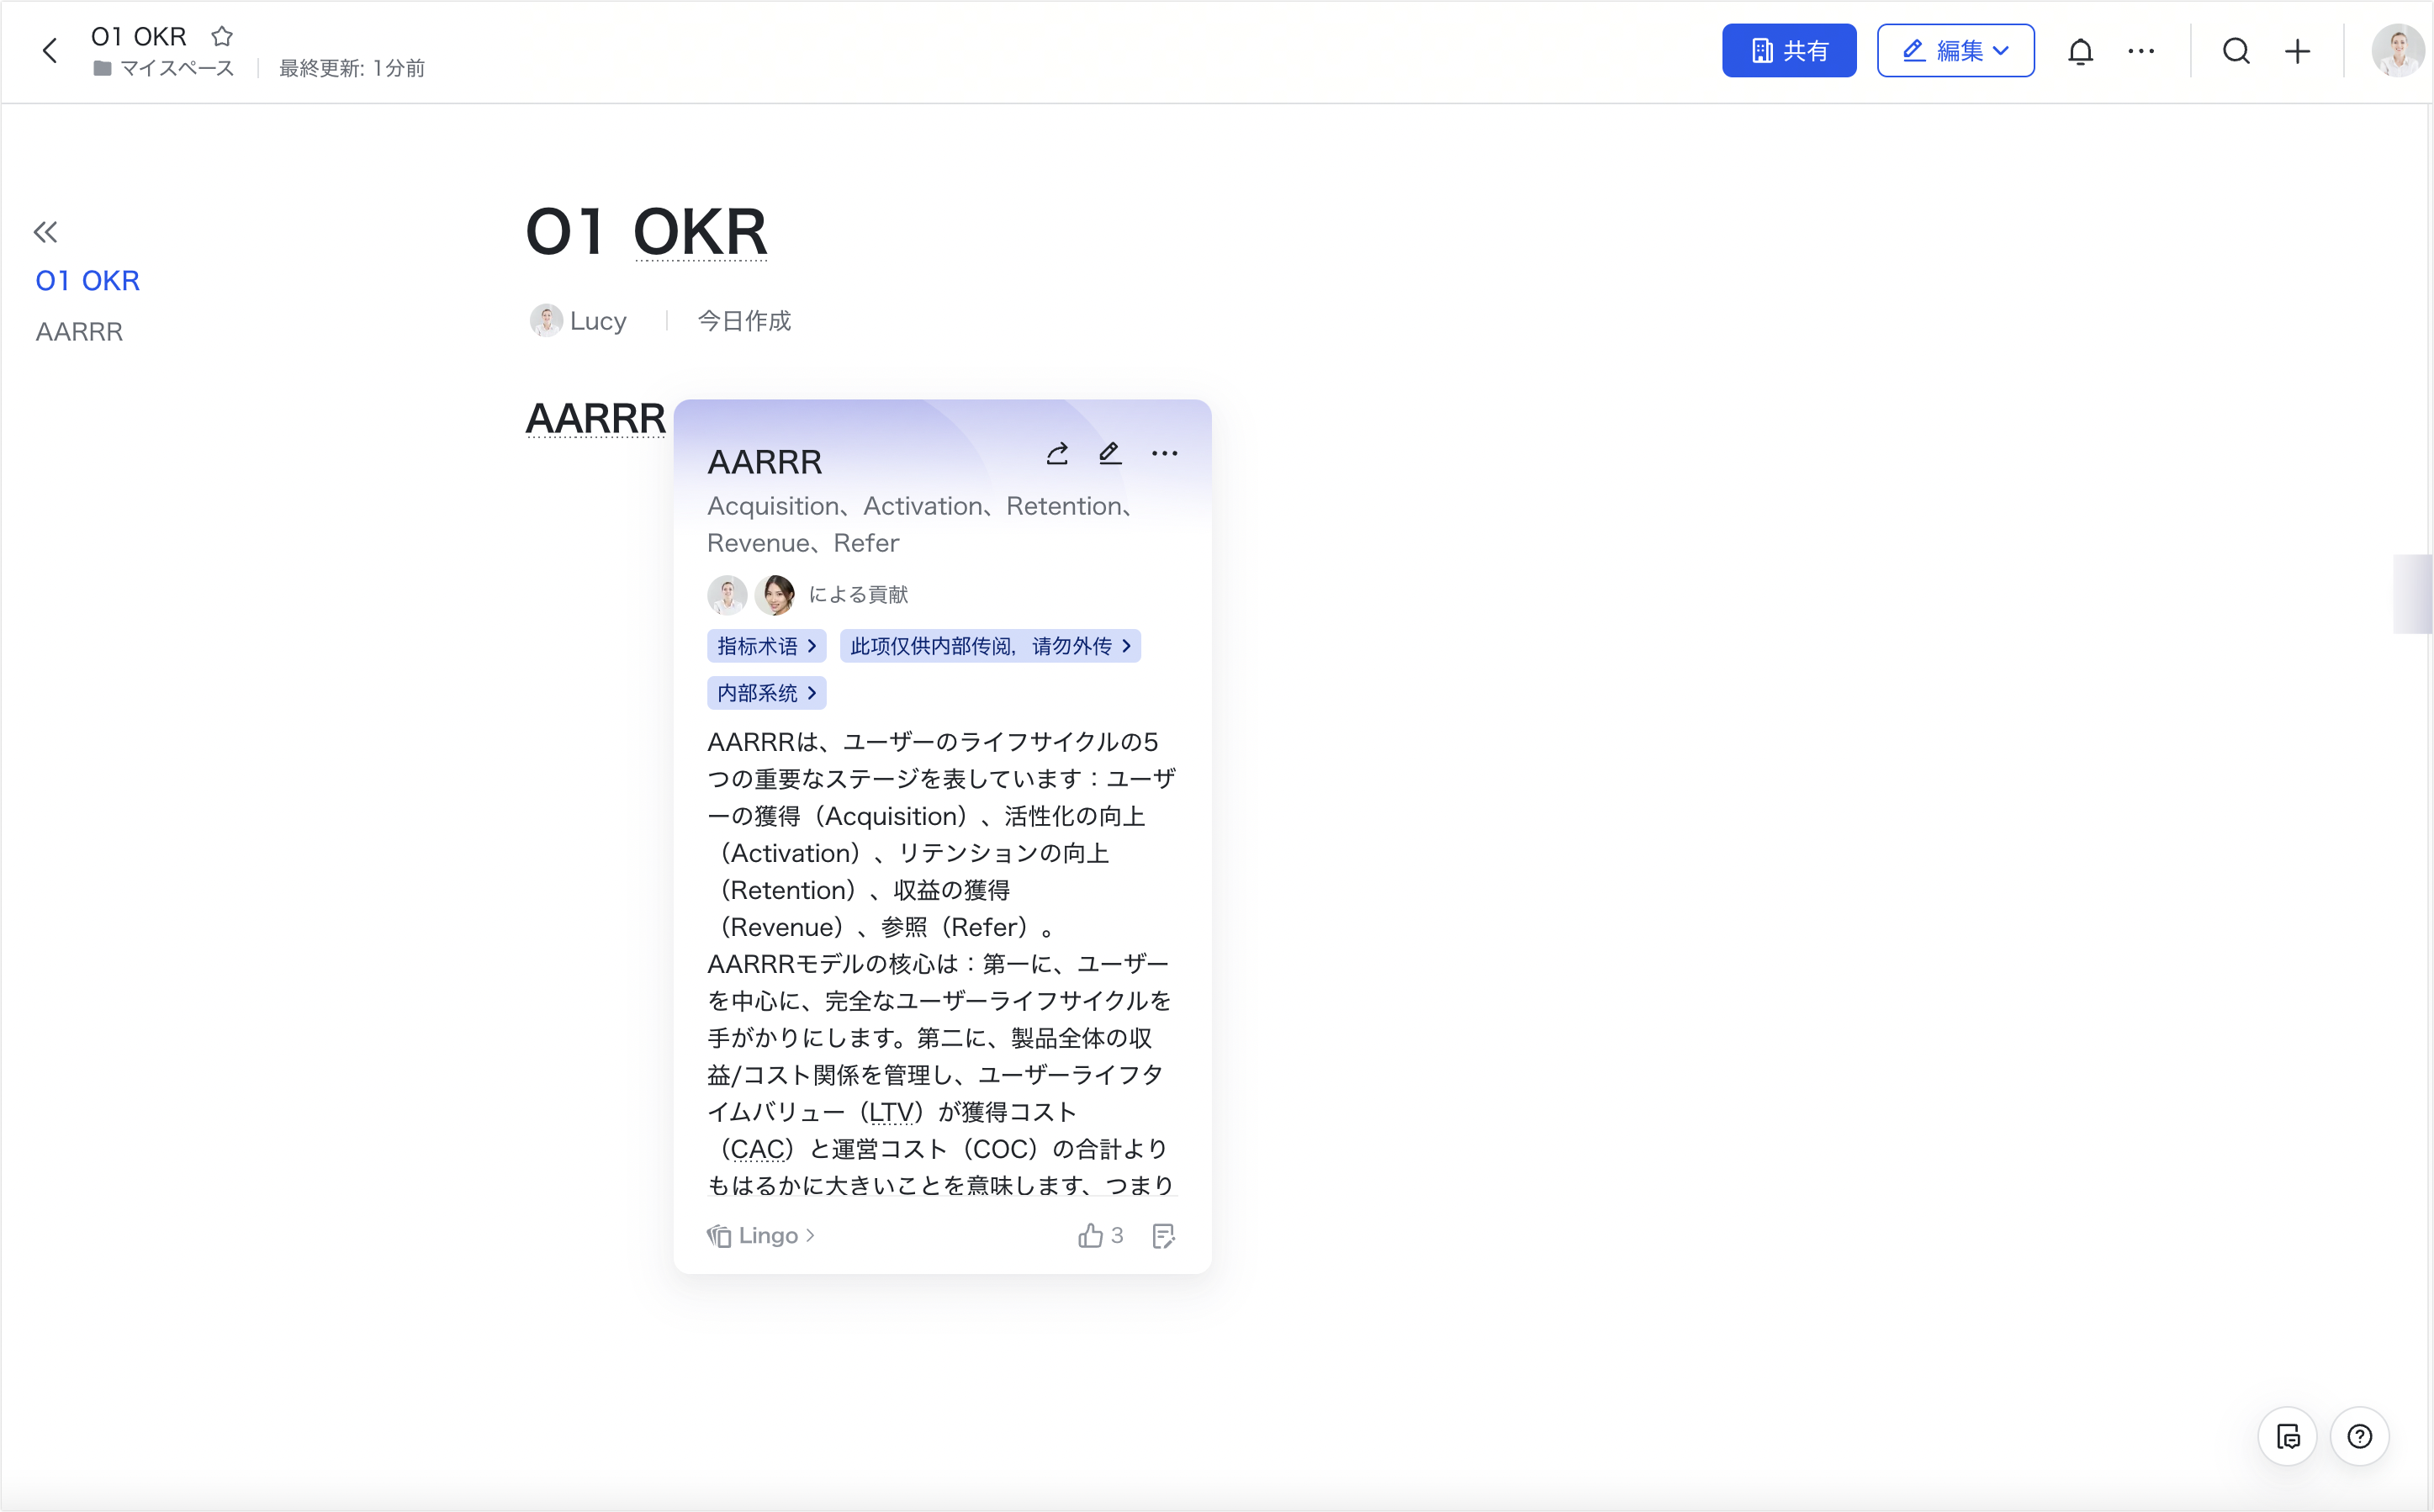
250px|700px|reset
View in messages
If a Lingo entry has been added for a term, a dotted underline will be visible under the term in a message.
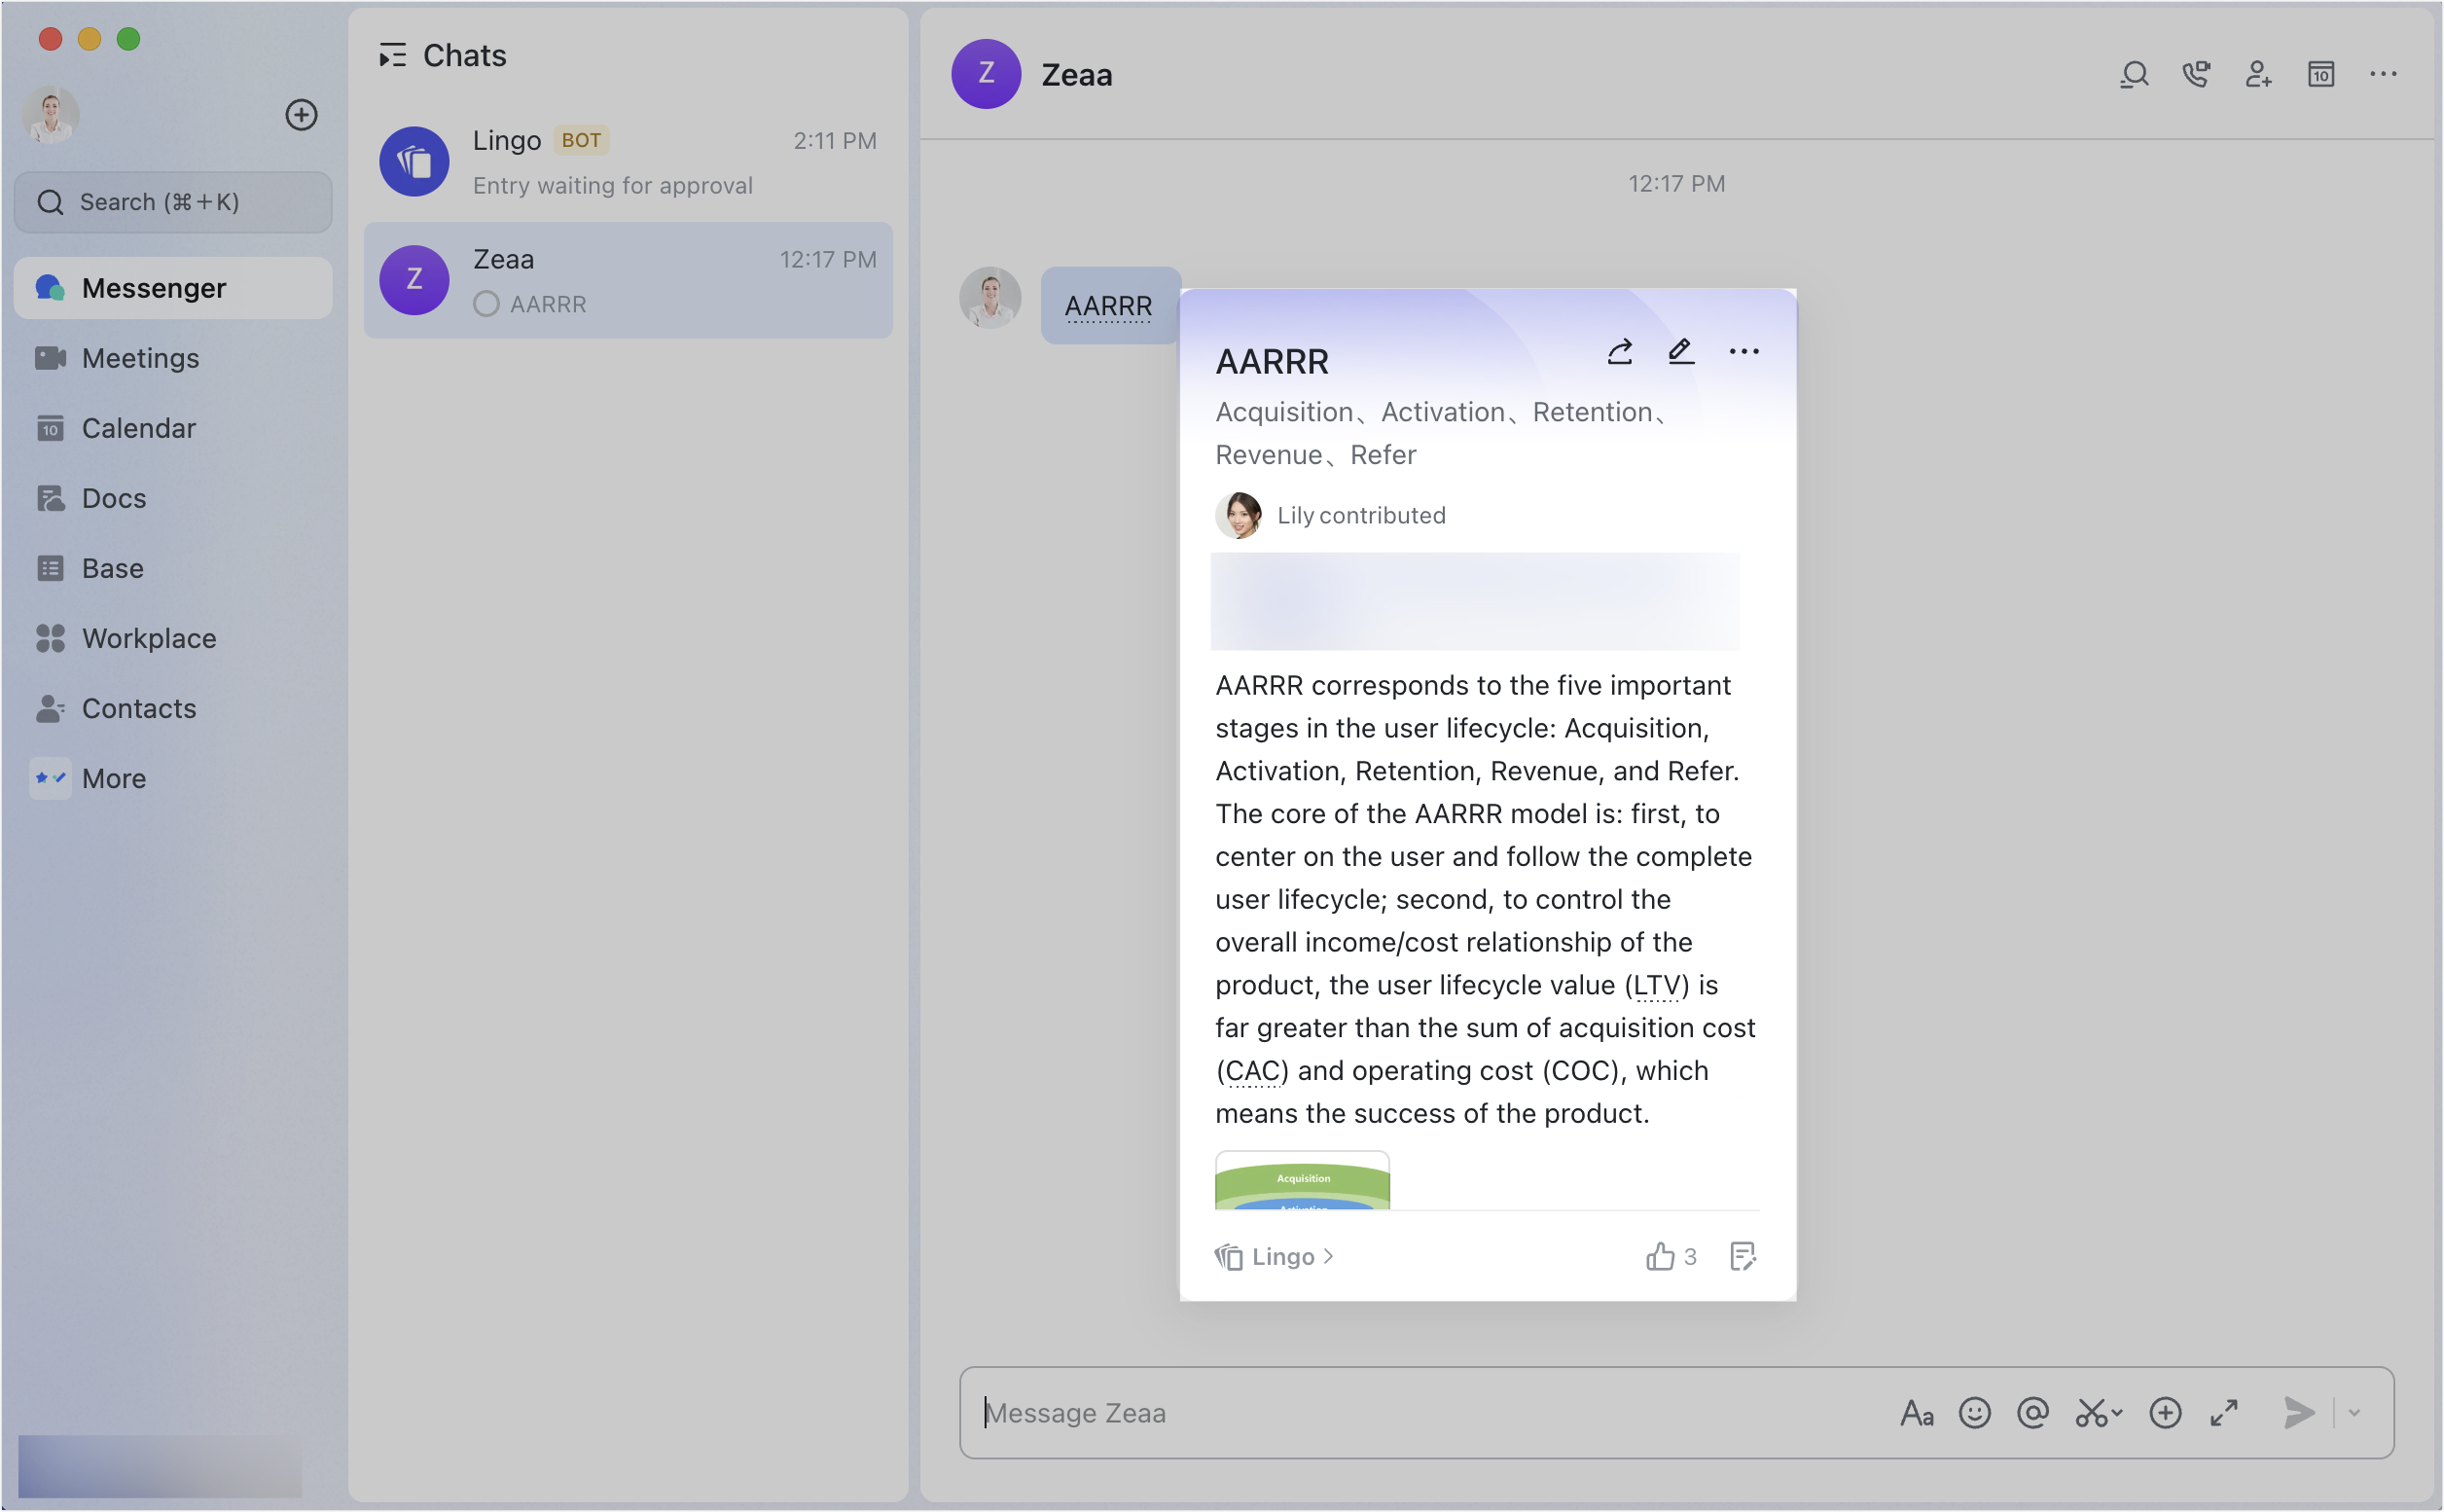
250px|700px|reset
You can click the entry to view its Lingo card. The card will provide more information about the entry.
View in Docs
Lingo entries are also visible in the body of a document and the comments section in Docs. You can click the entry to view its Lingo card.
Note: In Sheets, Base, and MindNotes, Lingo entries are only visible in the comments section.
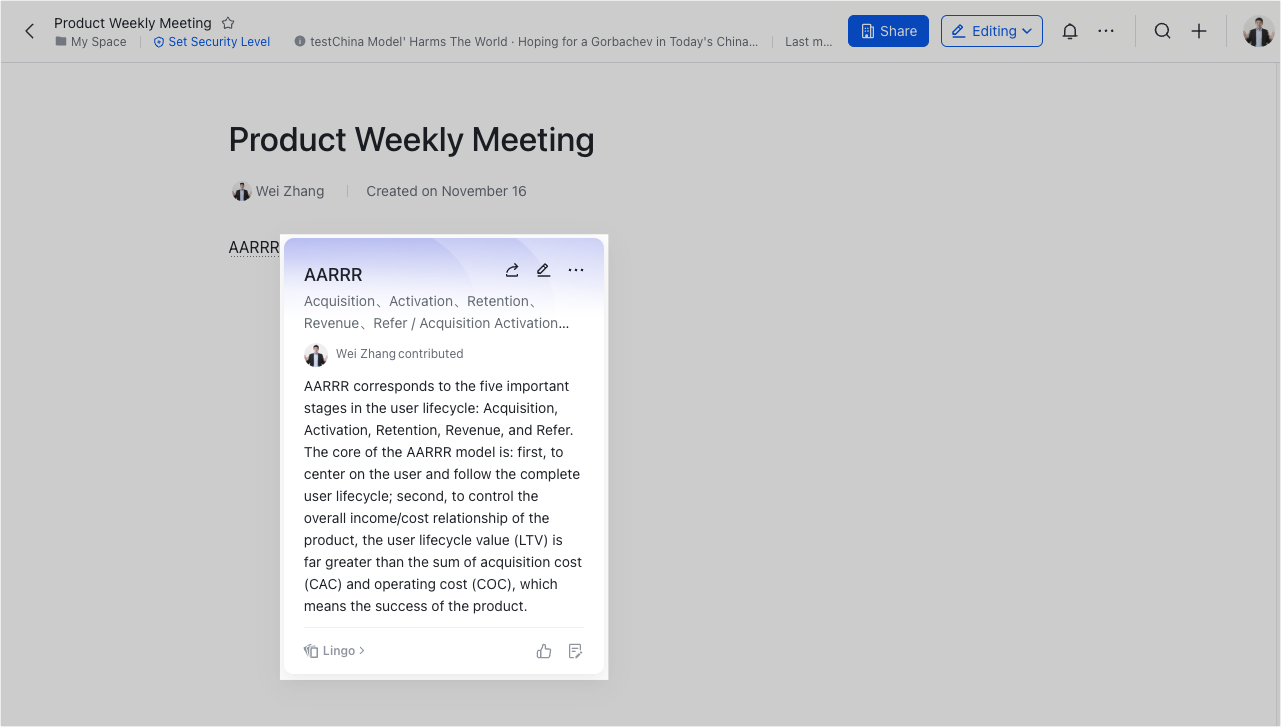
250px|700px|reset
If an entry appears multiple times in a document and you no longer wish to see the dotted underlines, you can click the
icon in the upper-right corner of the card and select Hide Underline. The dotted underline for this entry will no longer appear in the document.
Note:
- If you choose to hide the dotted underlines, it will only affect your view and will not hide the underlines for other collaborators.
- When you hide the dotted underlines in a document, they are only hidden within that specific document. The dotted underlines will still be visible in other documents.
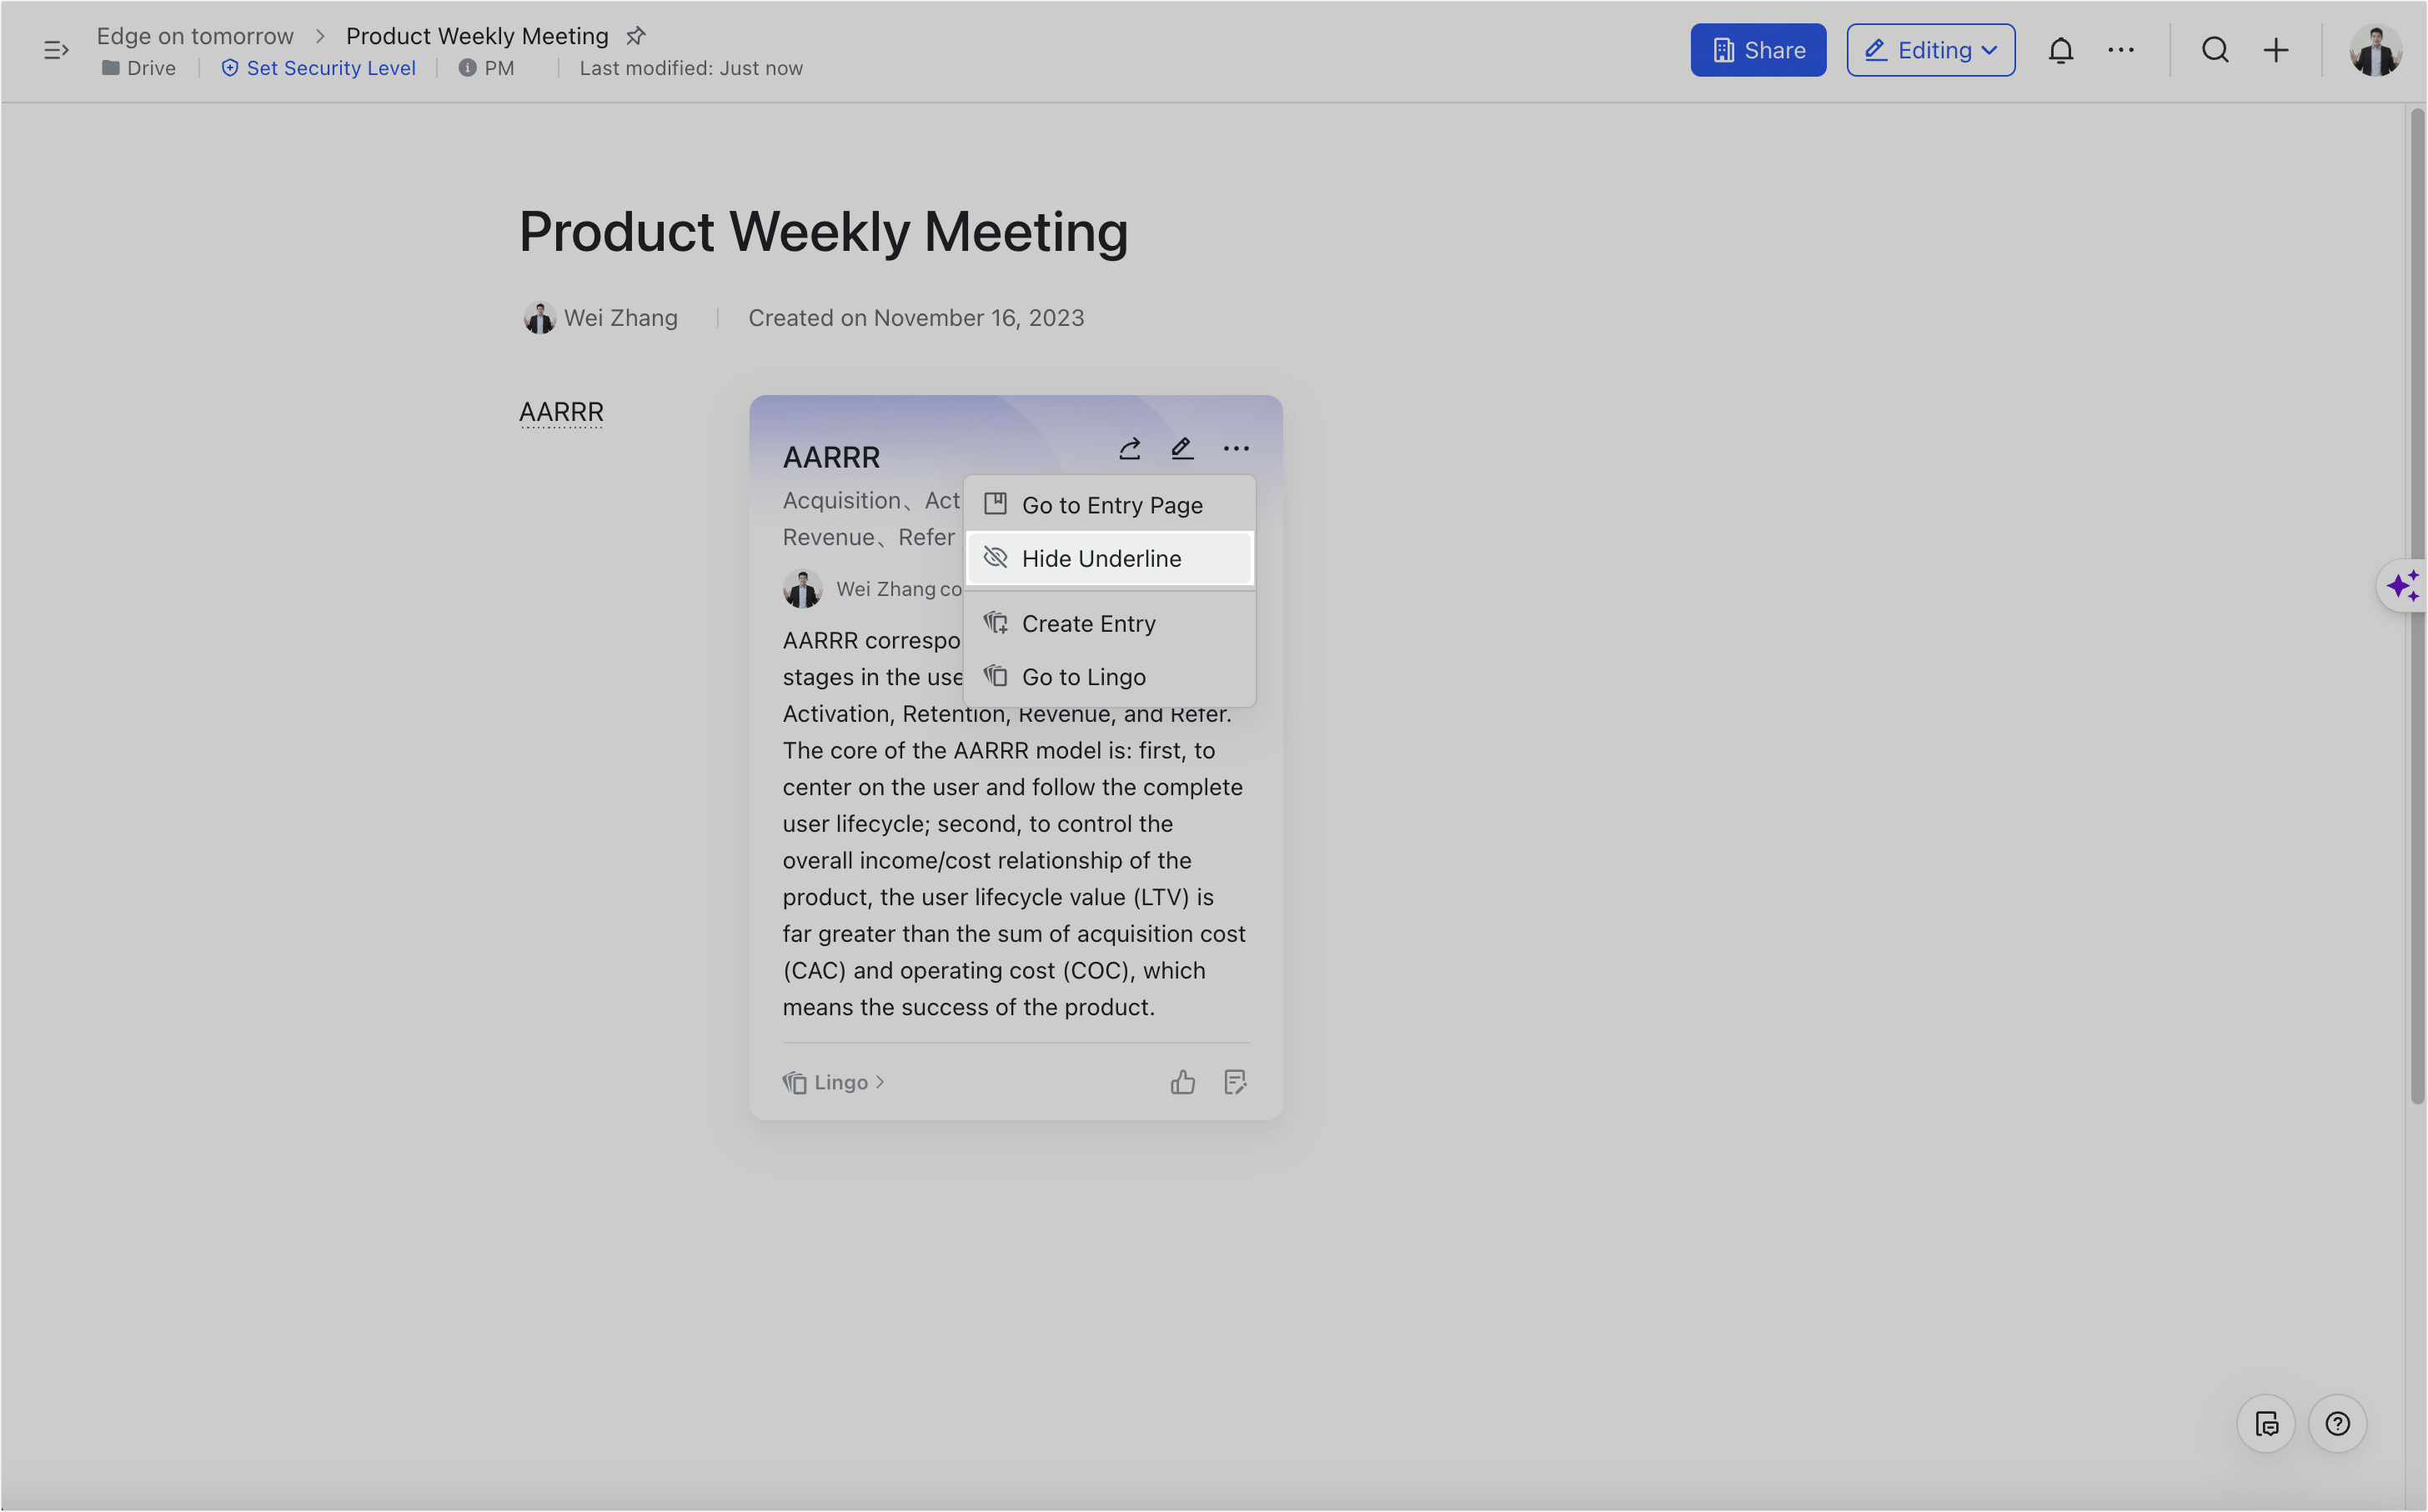
250px|700px|reset
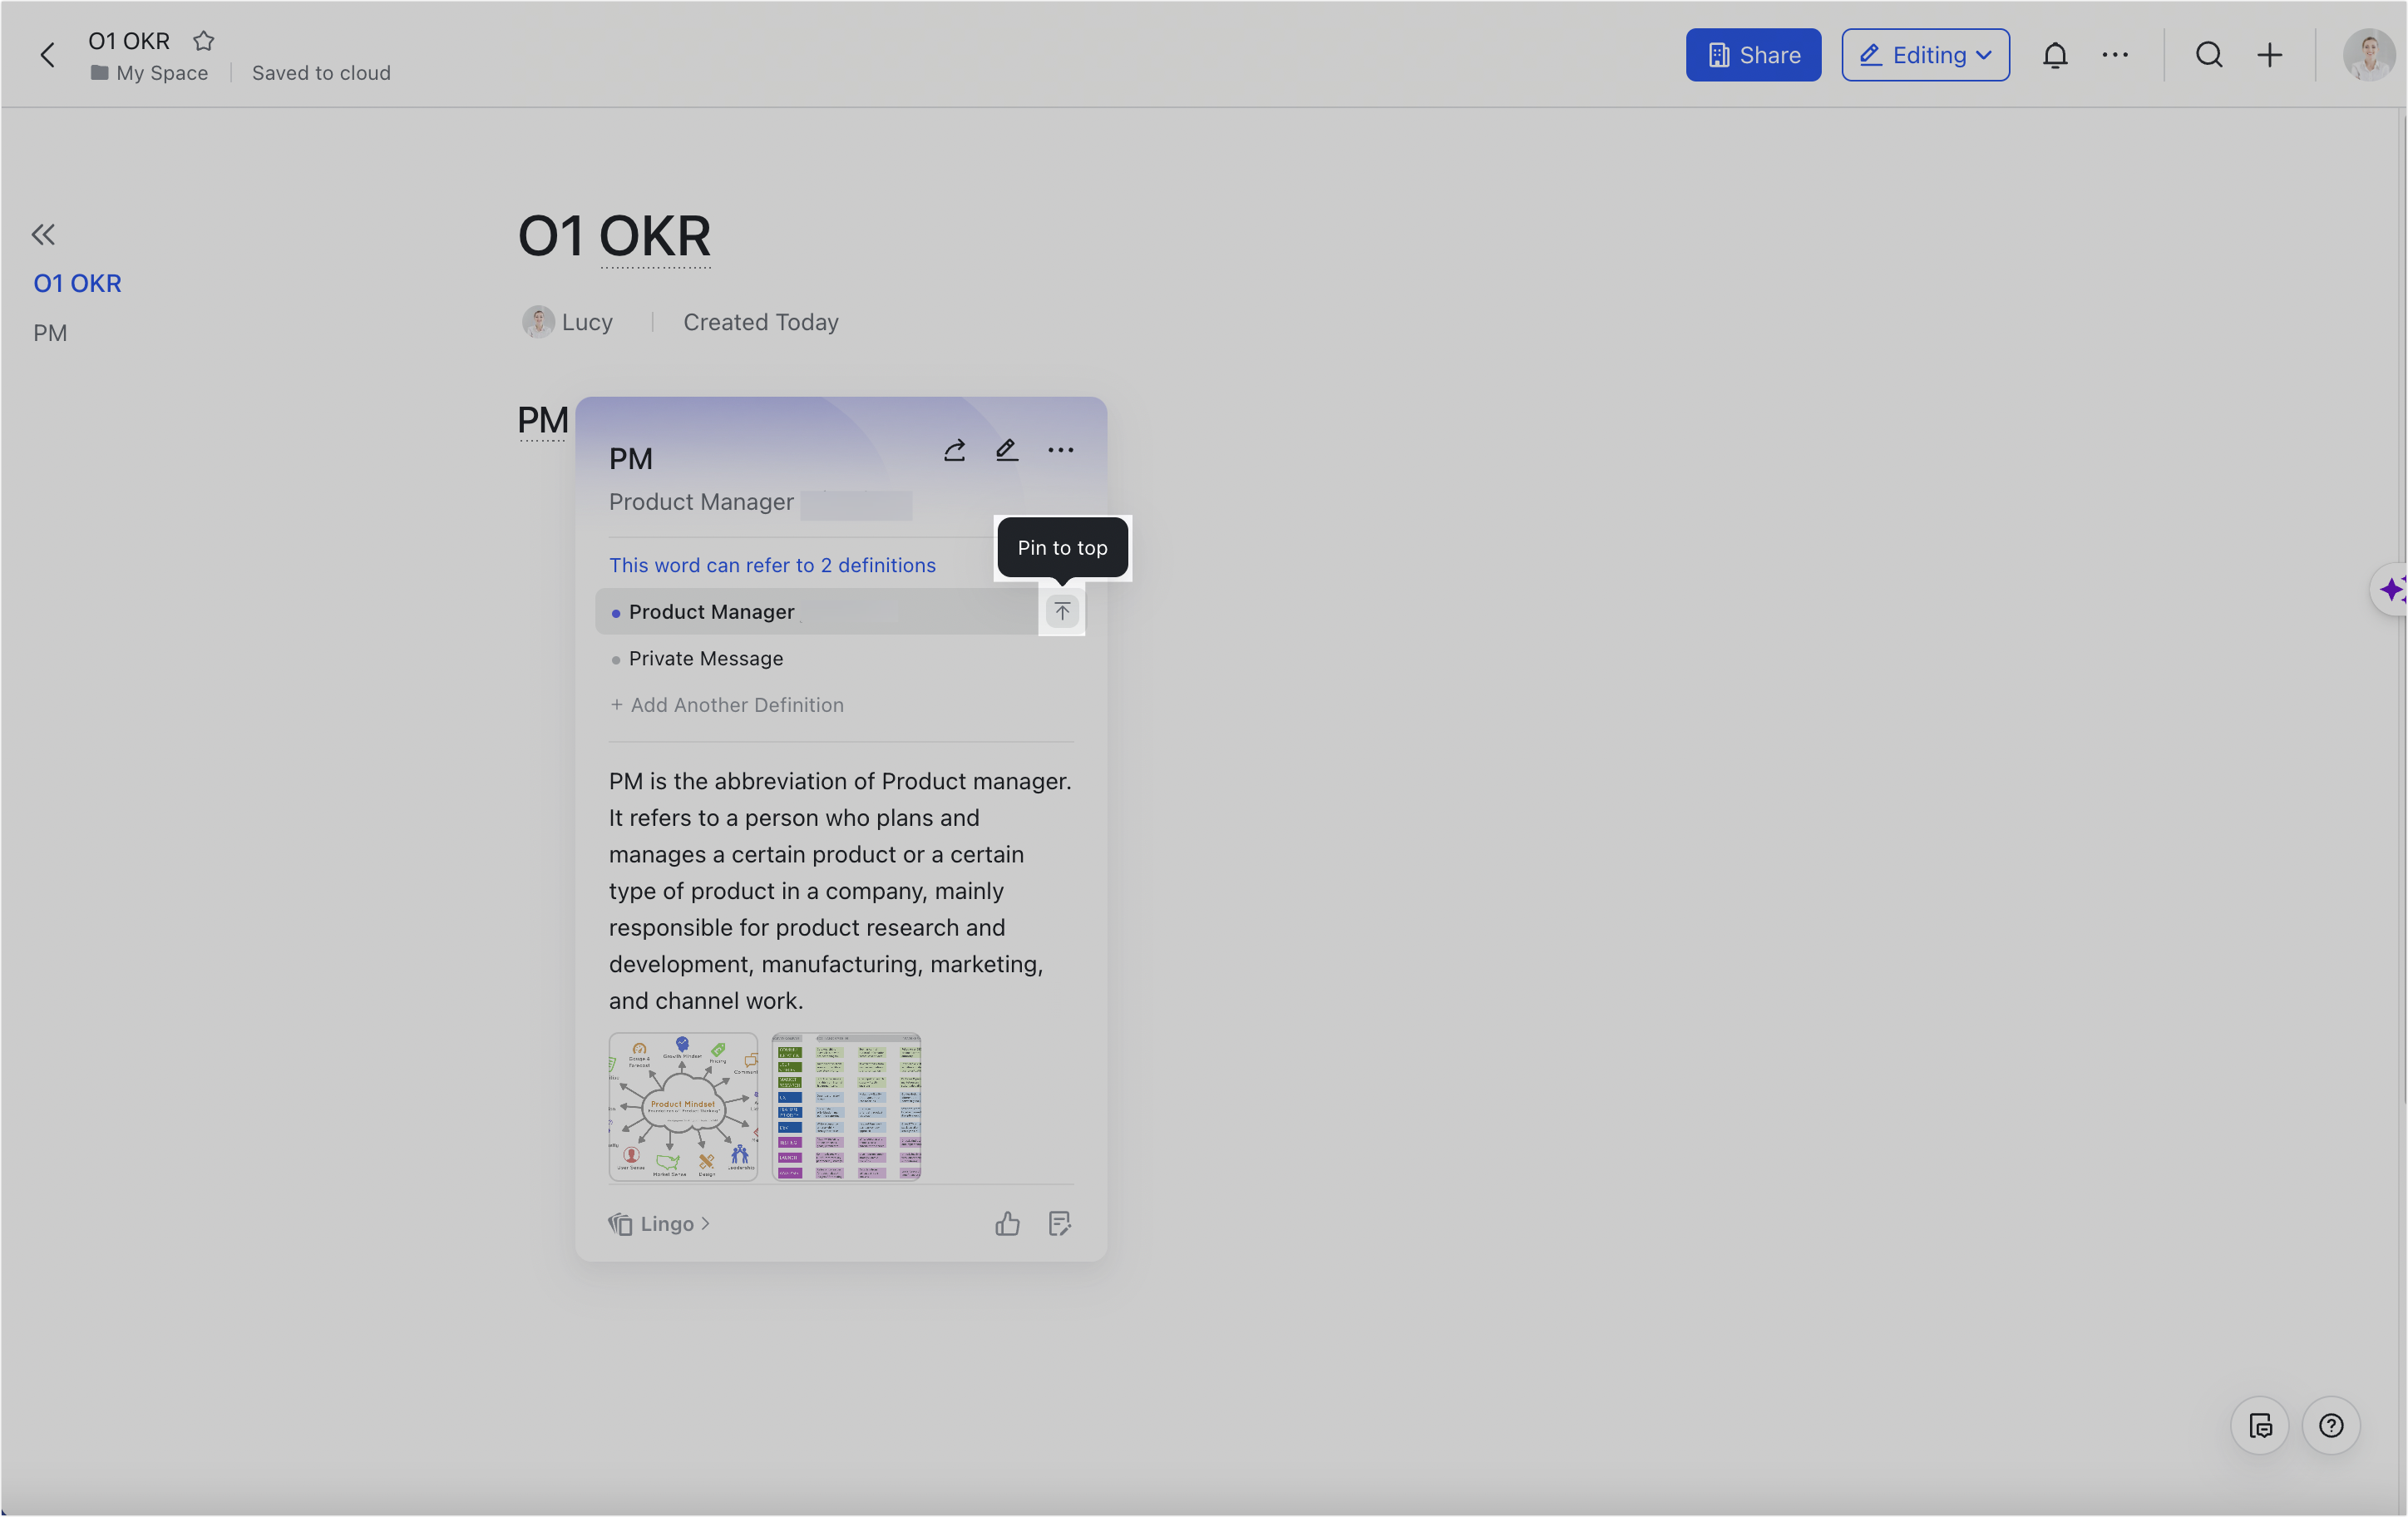
If there are multiple definitions for the same entry within a document, you can click the Pin to top icon next to a definition. This will move the definition to the top of the card so that others viewing the document can see it.
Note: Only users with editing permission for the document can pin a definition to the top of the card.
250px|700px|reset
View in PDF
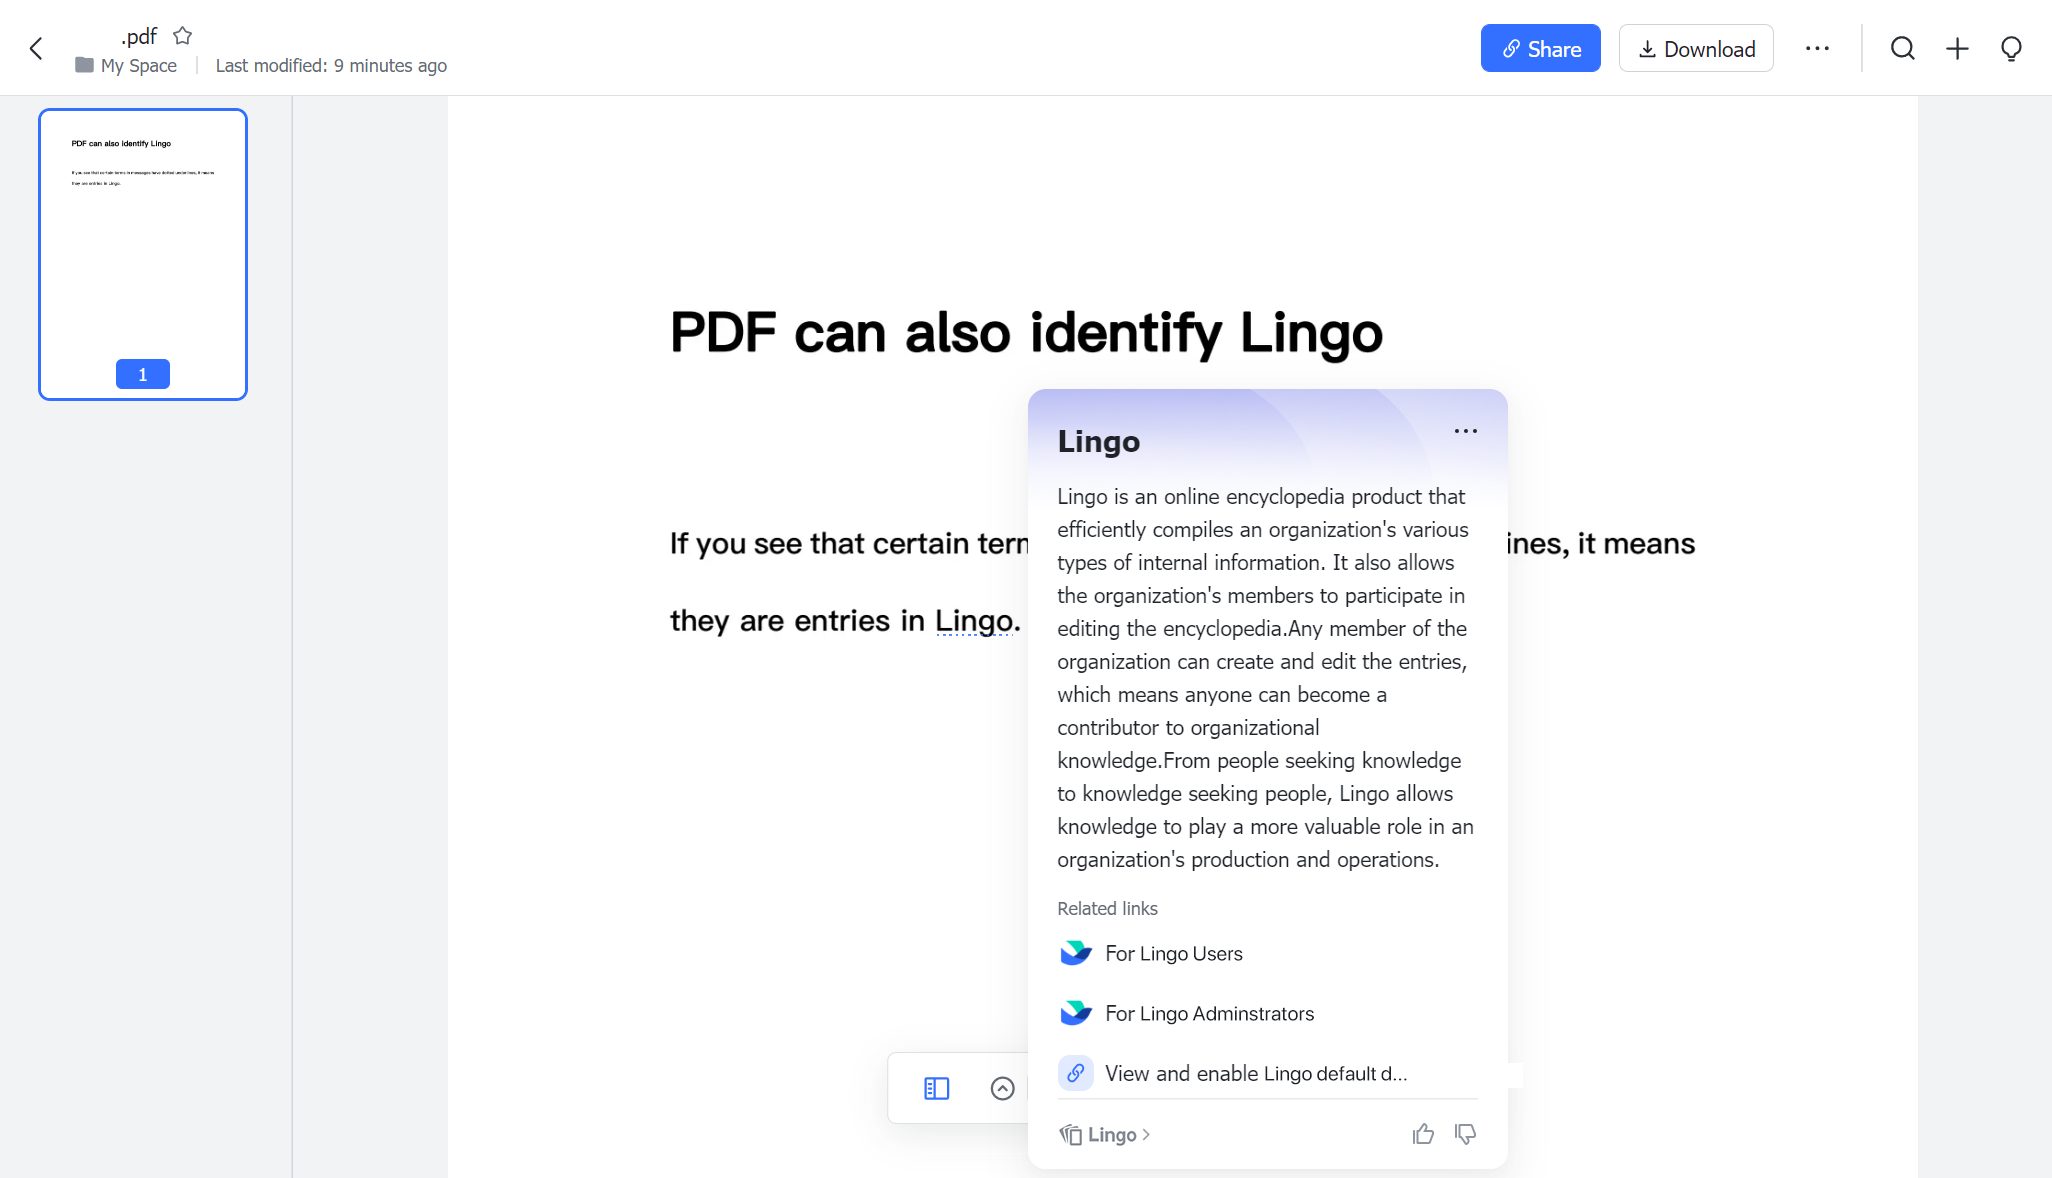
Lingo entries are also visible in PDFs you upload to Lark Docs. You can hover over an entry to view its Lingo card.
250px|700px|reset
View in Search
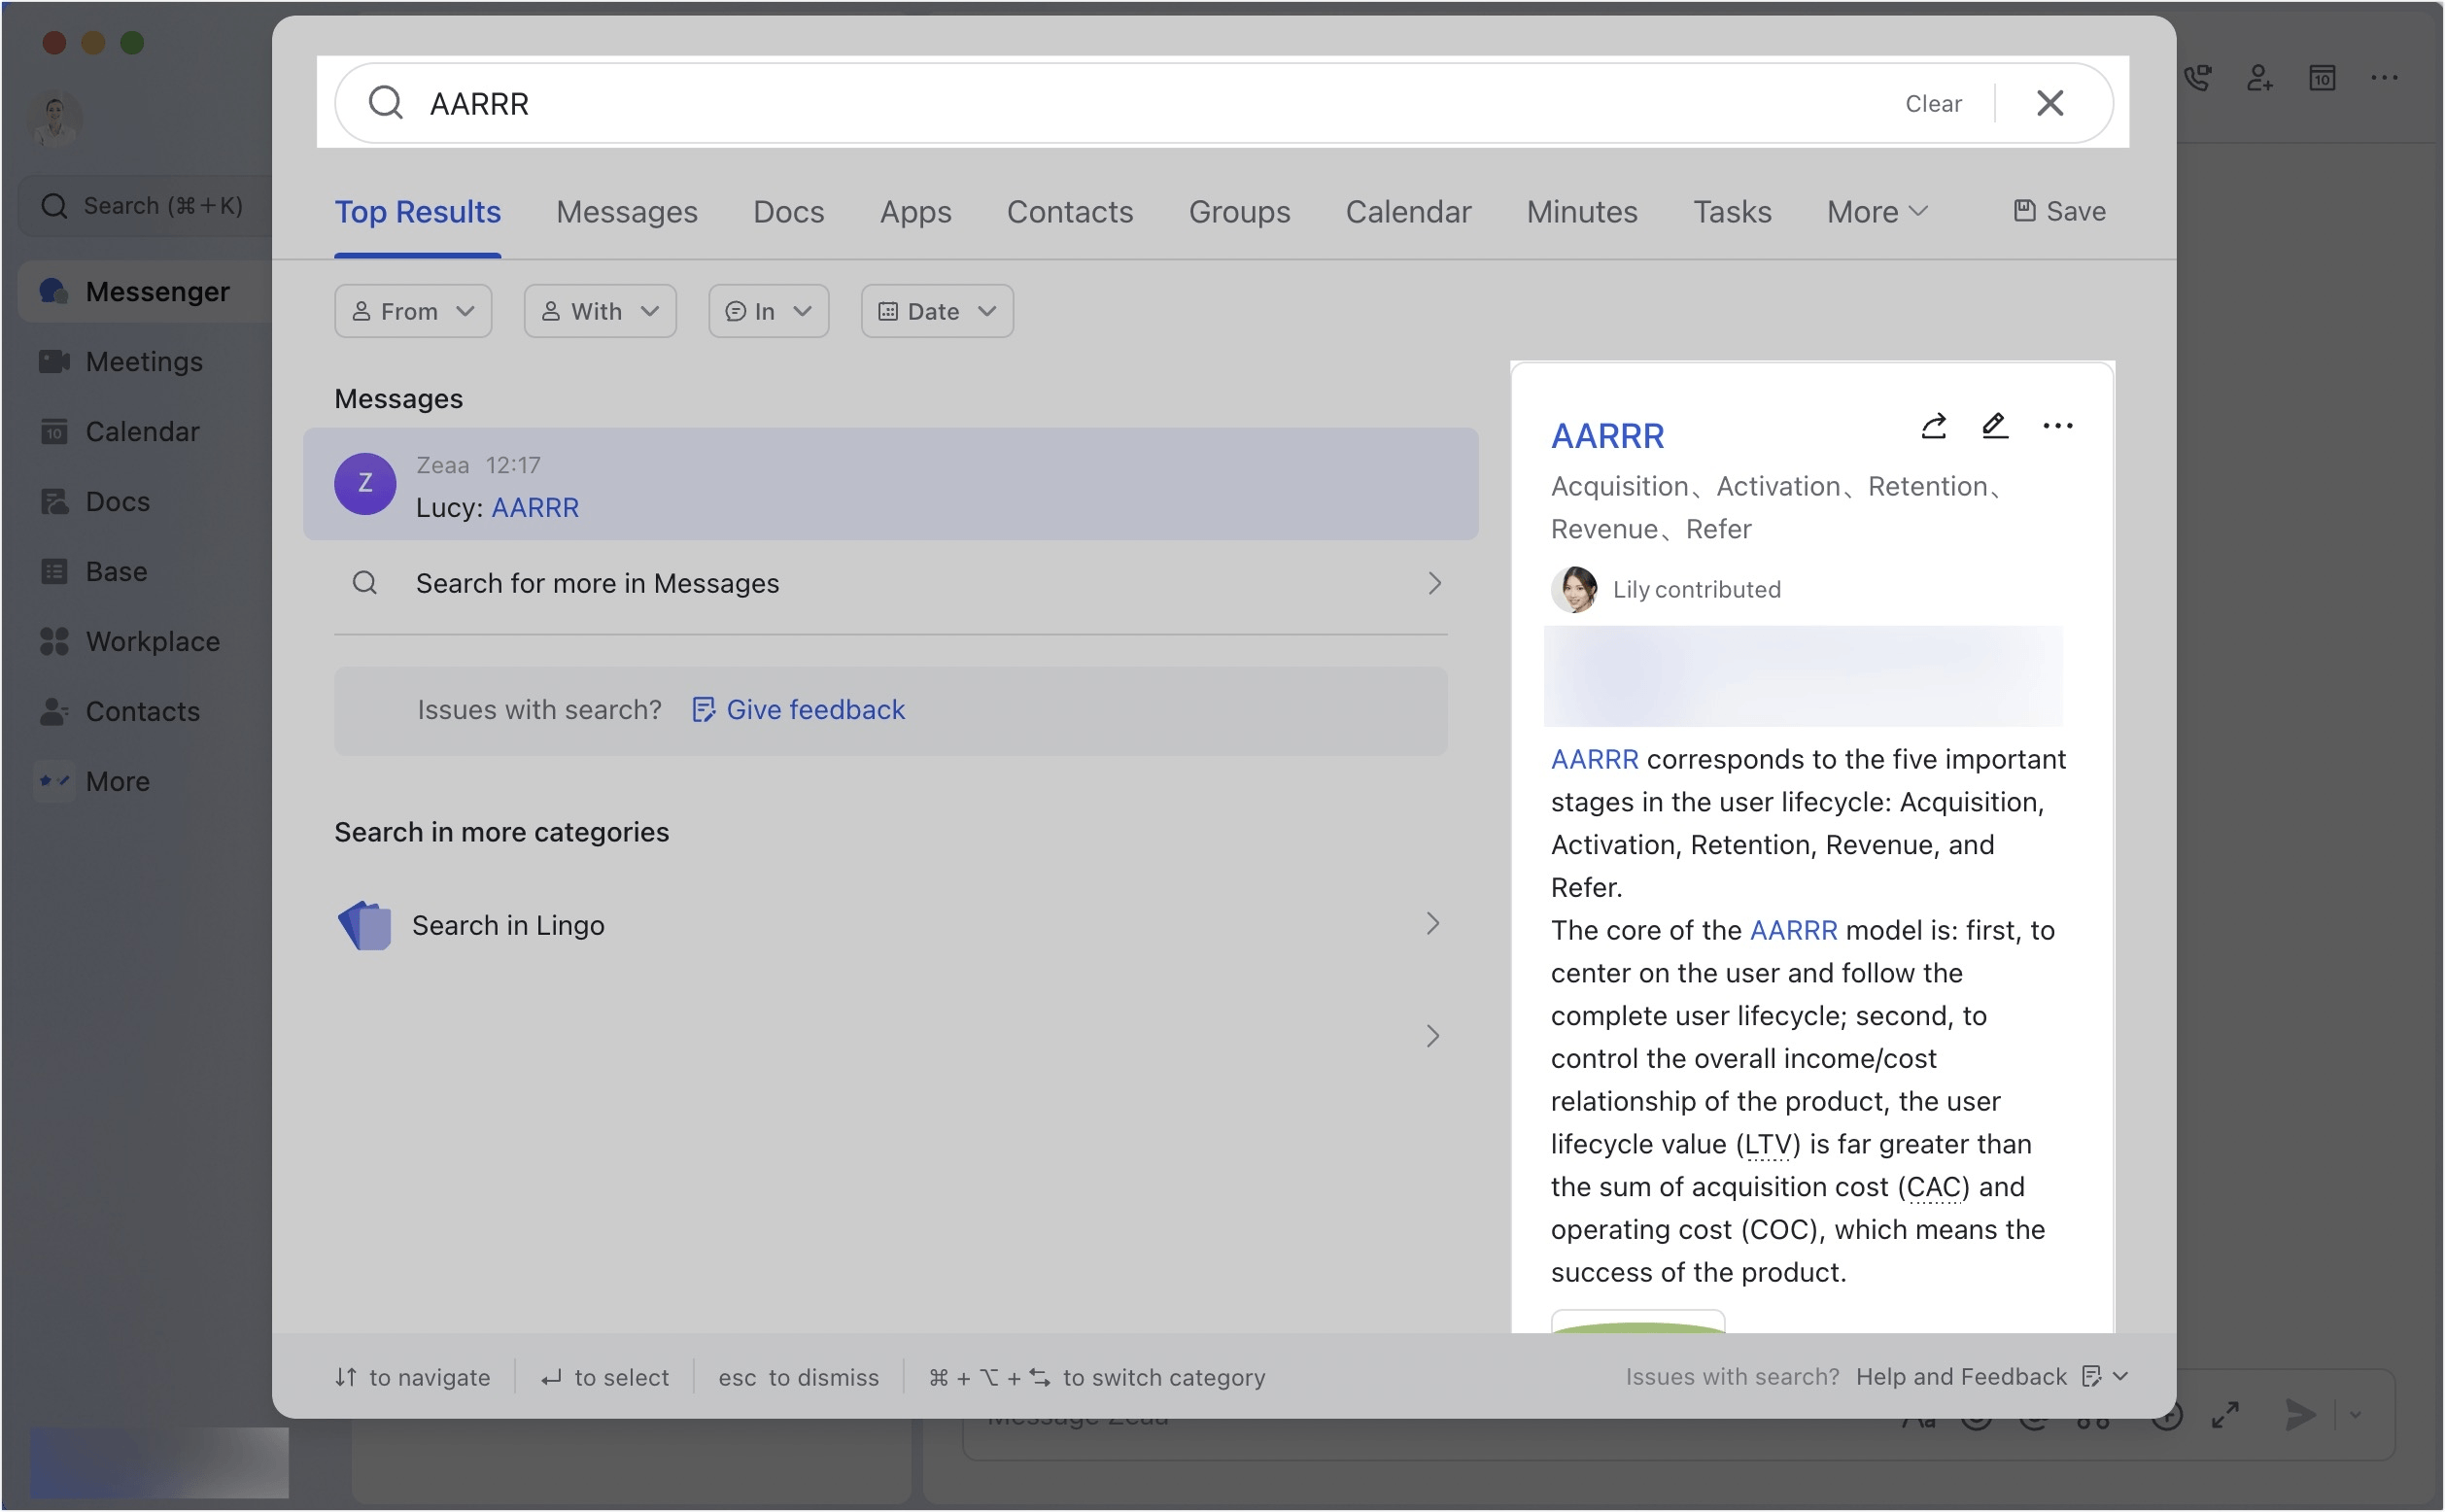
Click the search bar in the upper-left corner of the Lark app. Enter the term you want to search for. If there is a Lingo entry for the term, you'll see its Lingo card on the right side of the Search window.
250px|700px|reset

View from the Lingo homepage
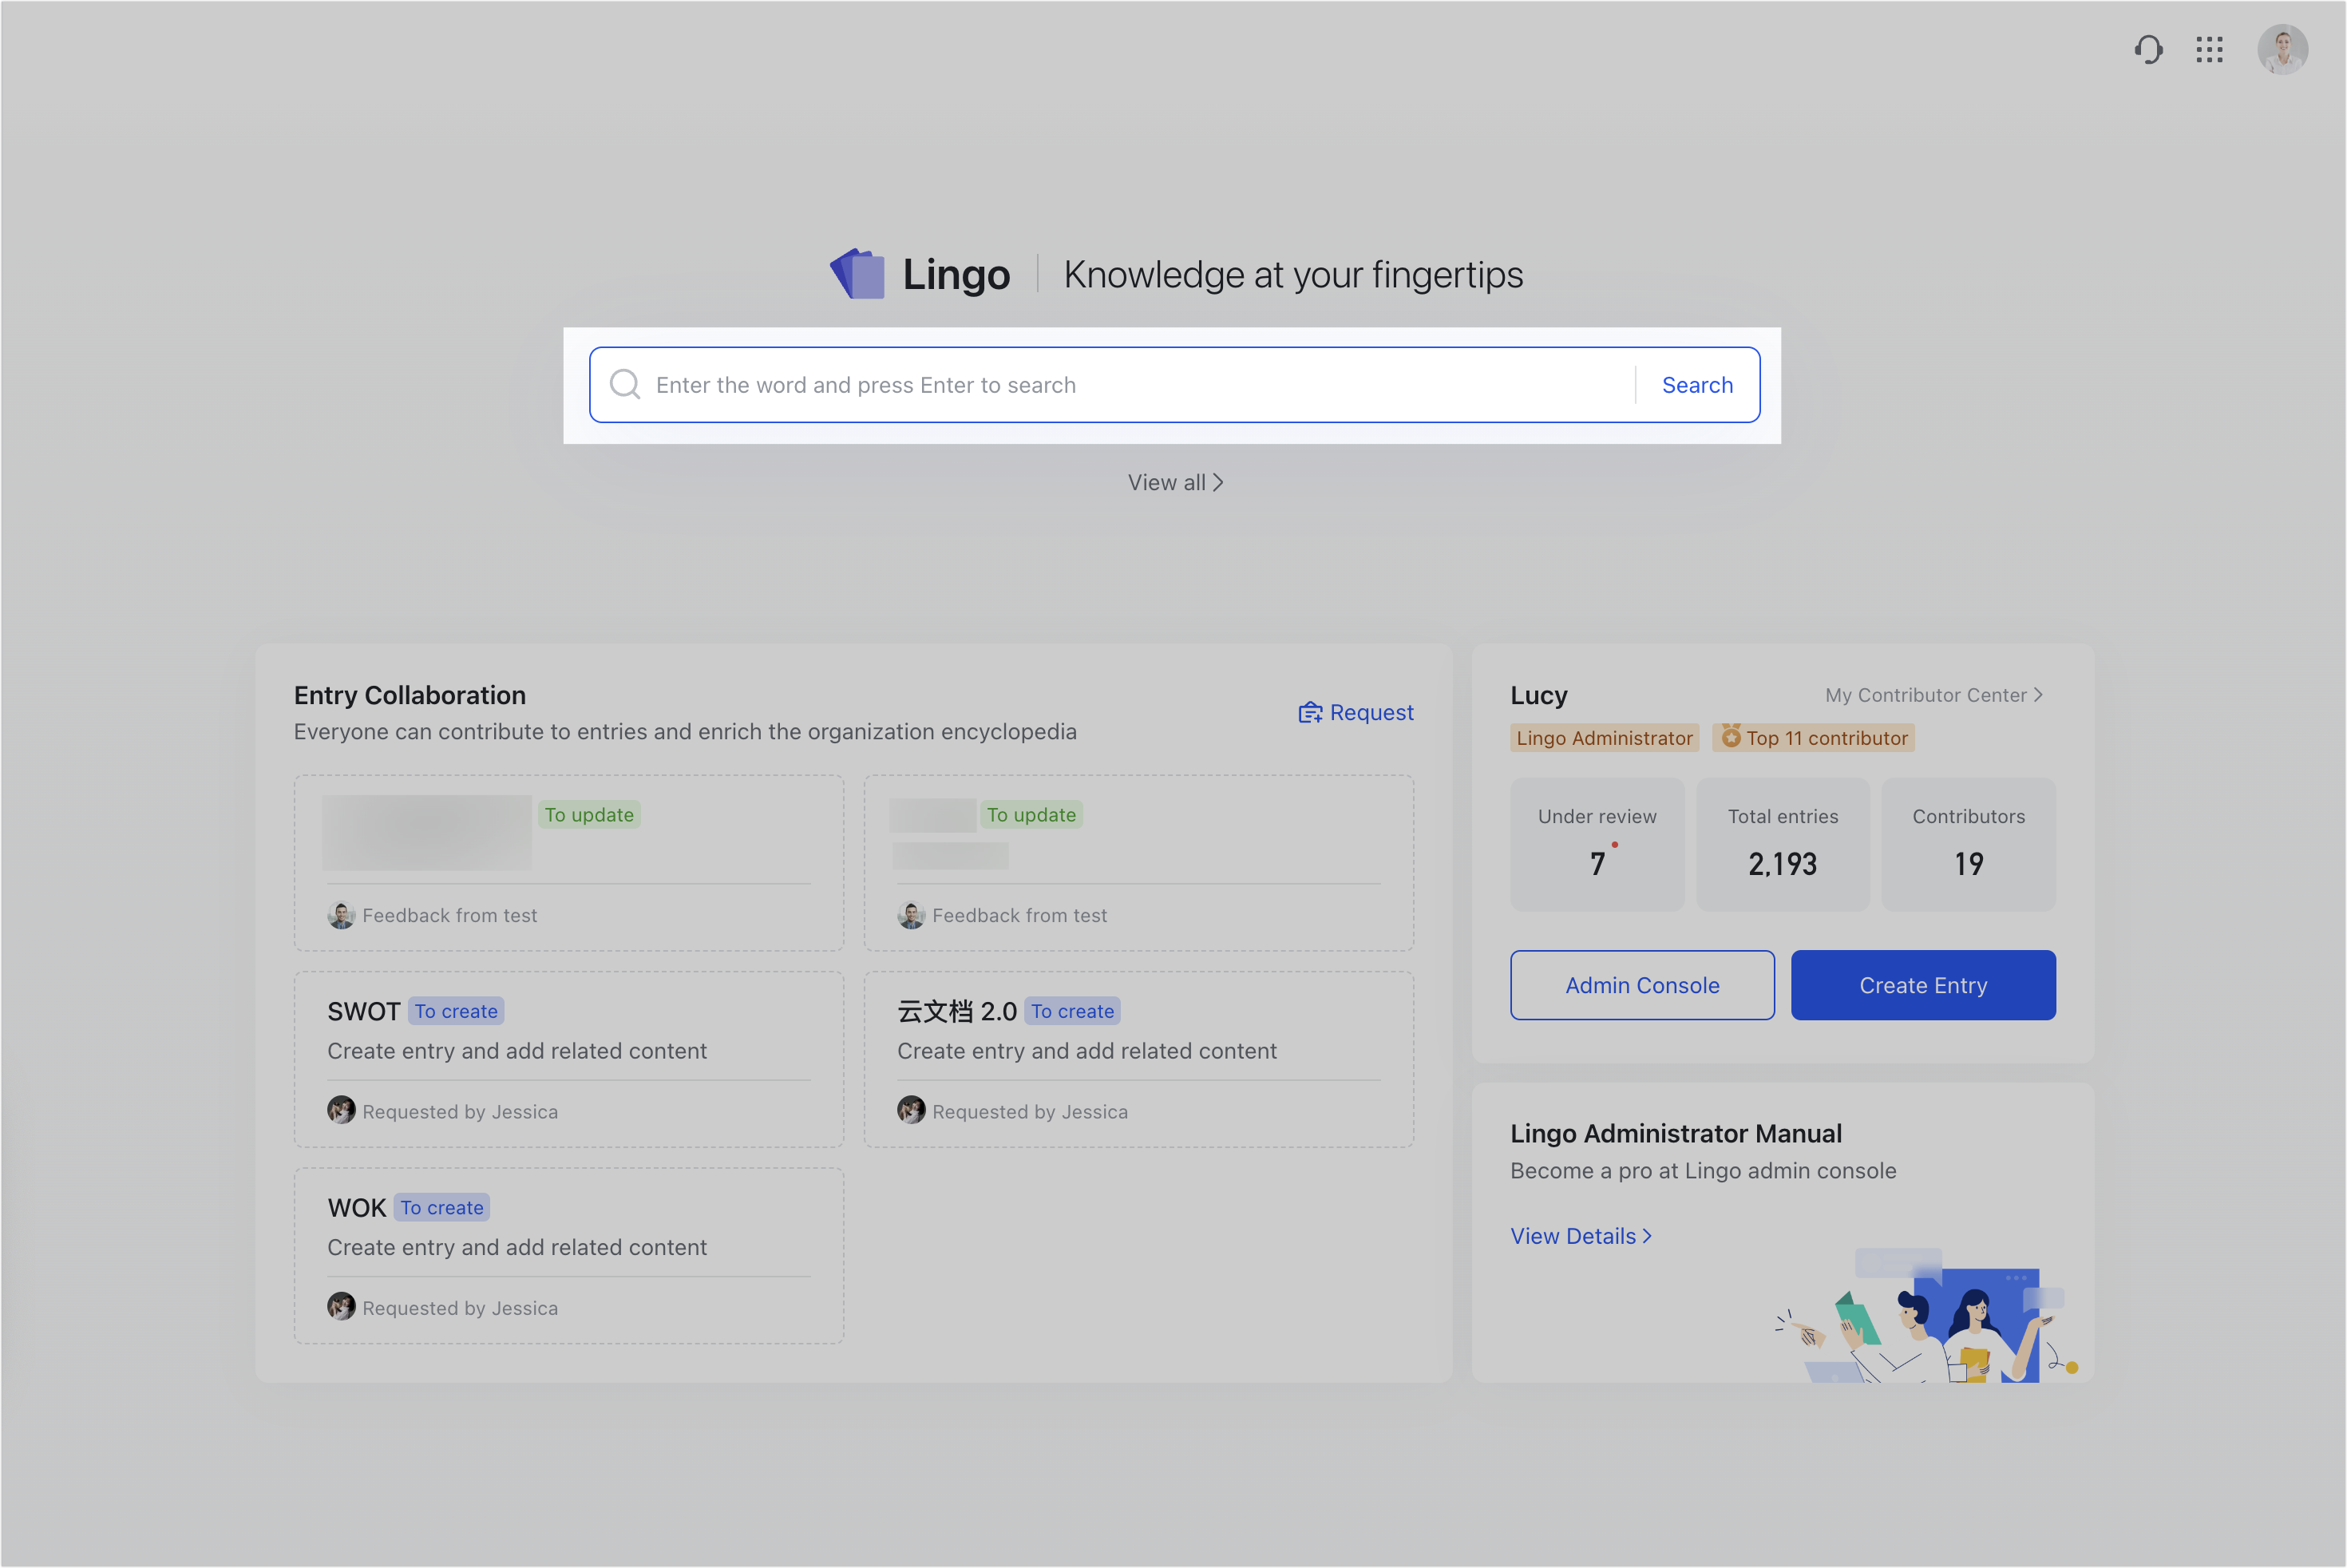
Open the Lingo app. On the Lingo homepage, enter the entry in the search bar and click Search.
250px|700px|reset
Interact with Lingo cards
You can perform the following actions on a Lingo card:
Edit an entry: Click the
Edit entry icon in the upper-right corner of a Lingo card.
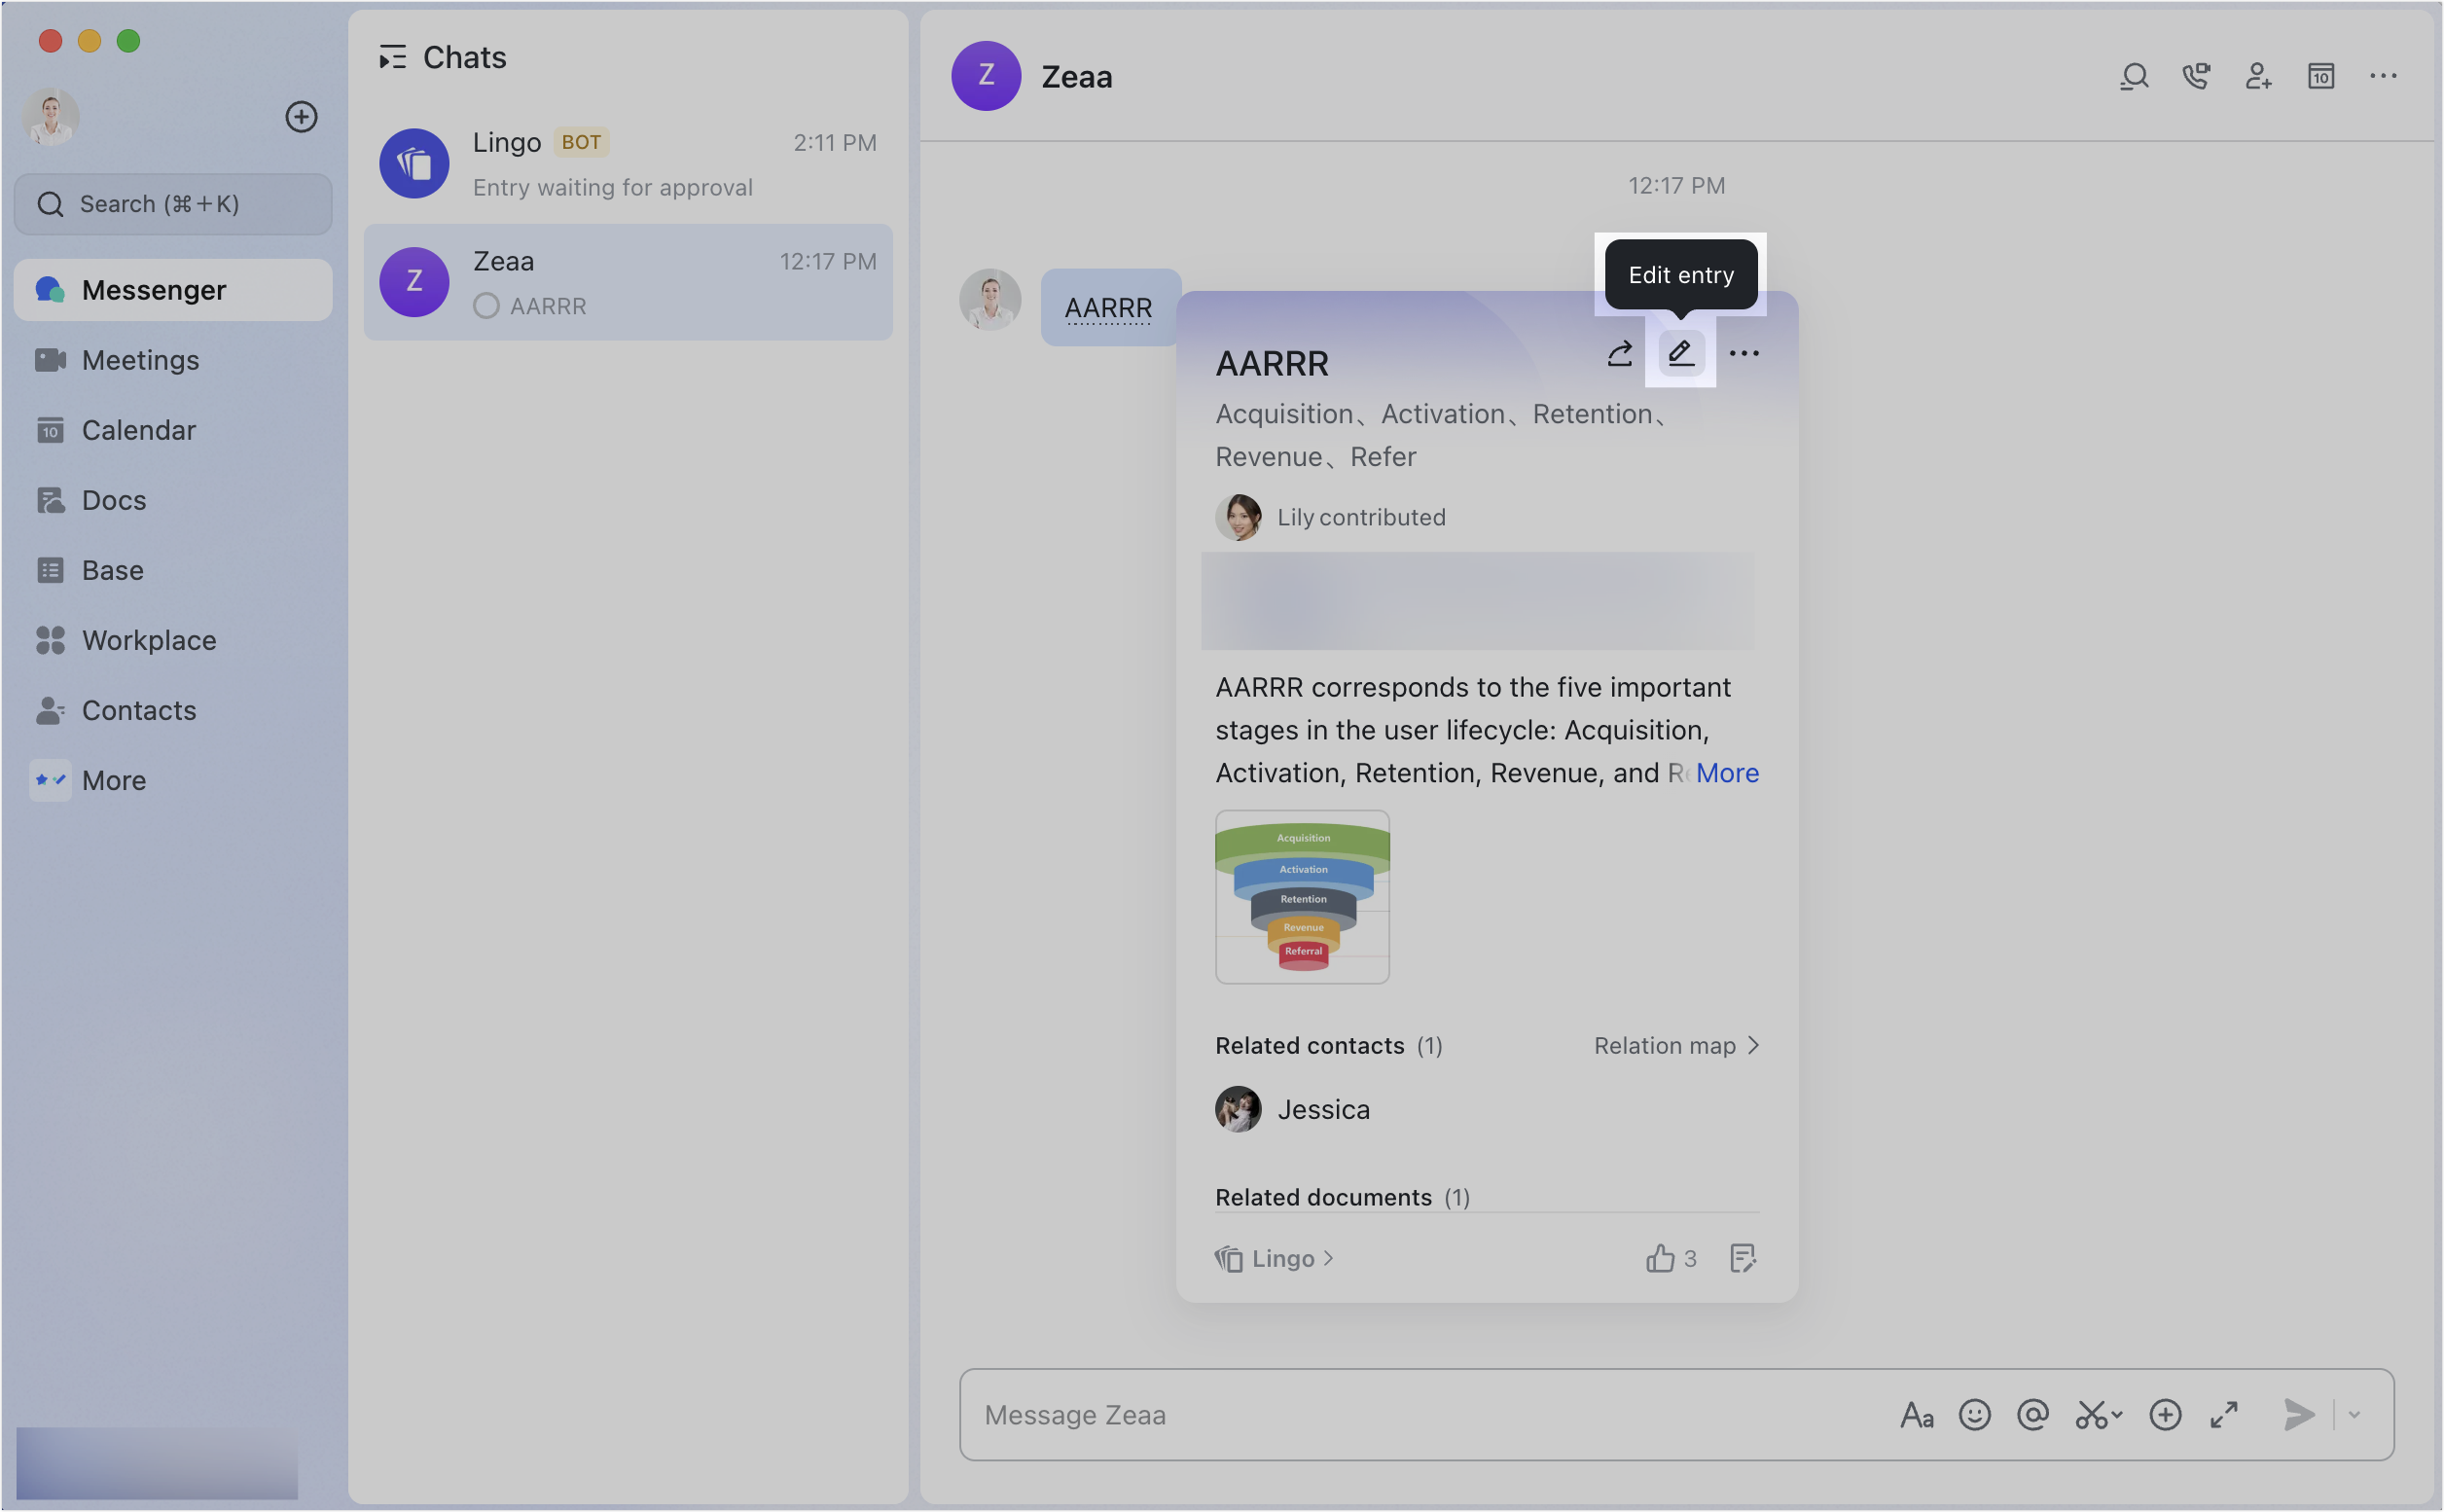
250px|700px|reset
Share an entry: Click the
Share icon in the upper-right corner of a Lingo card, select members or groups, and click Send to share the entry.
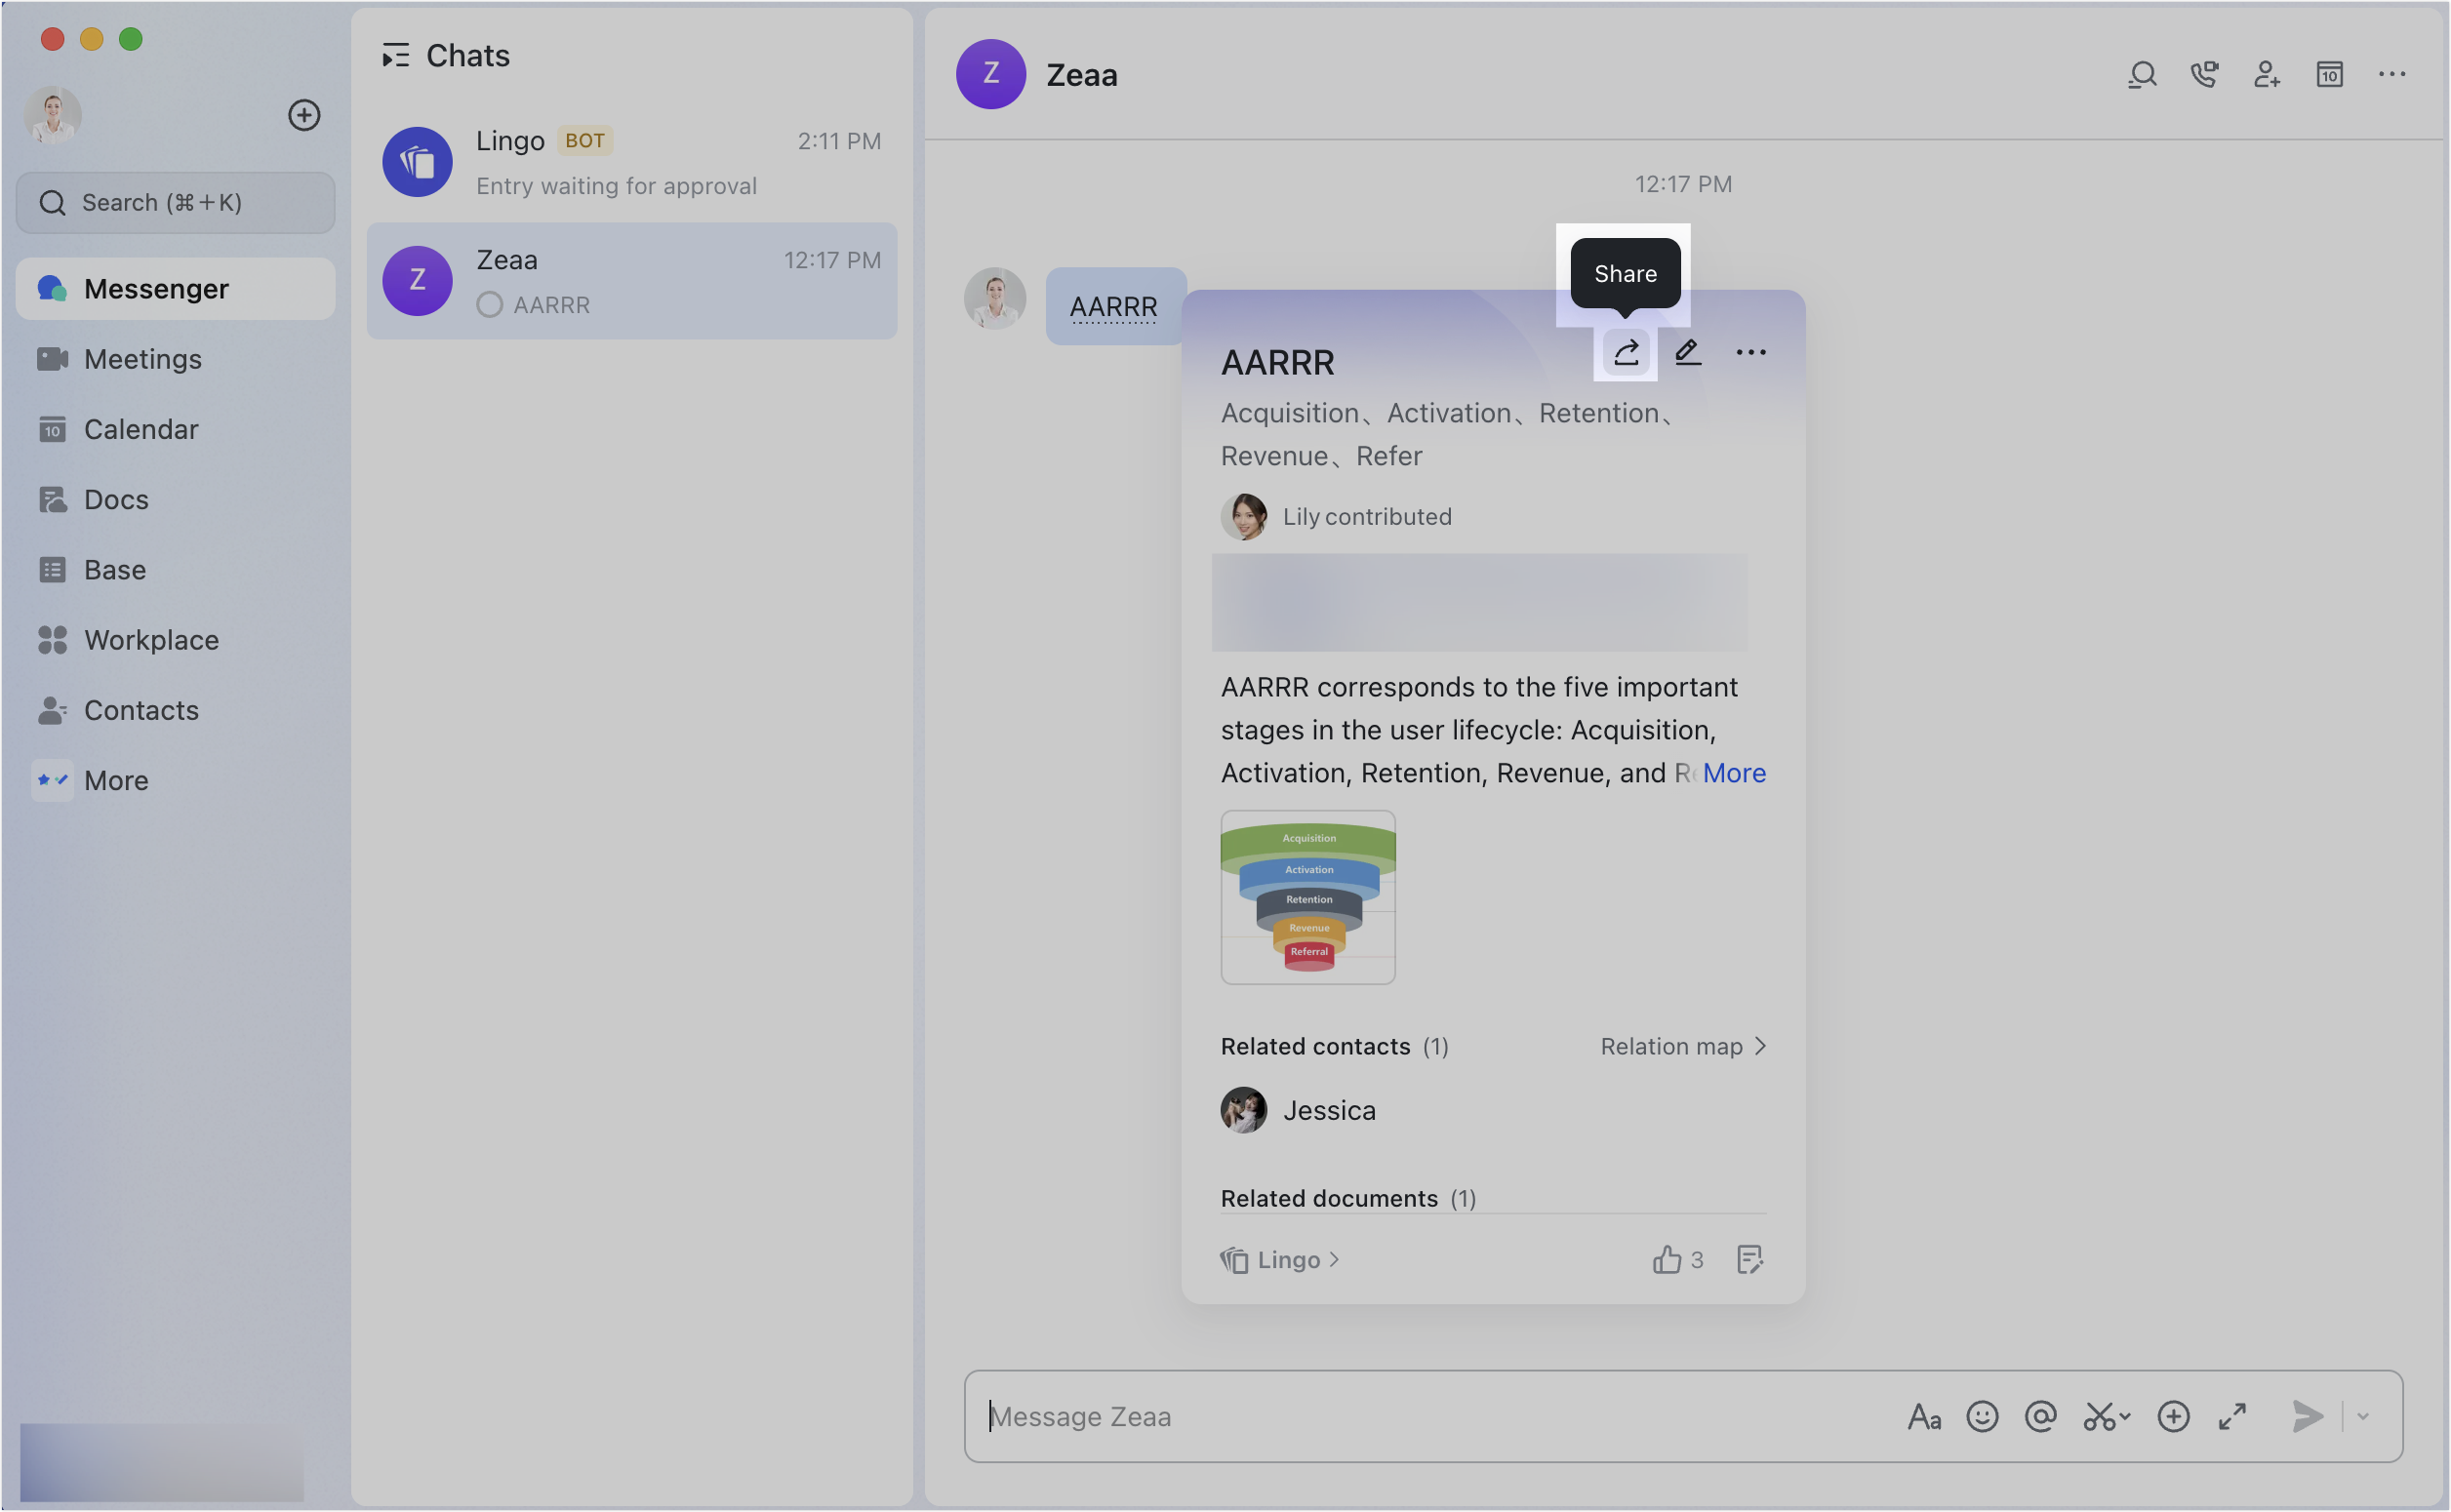
250px|700px|reset
Create a new entry: Click the
icon in the upper-right corner of the Lingo card and select Create Entry.
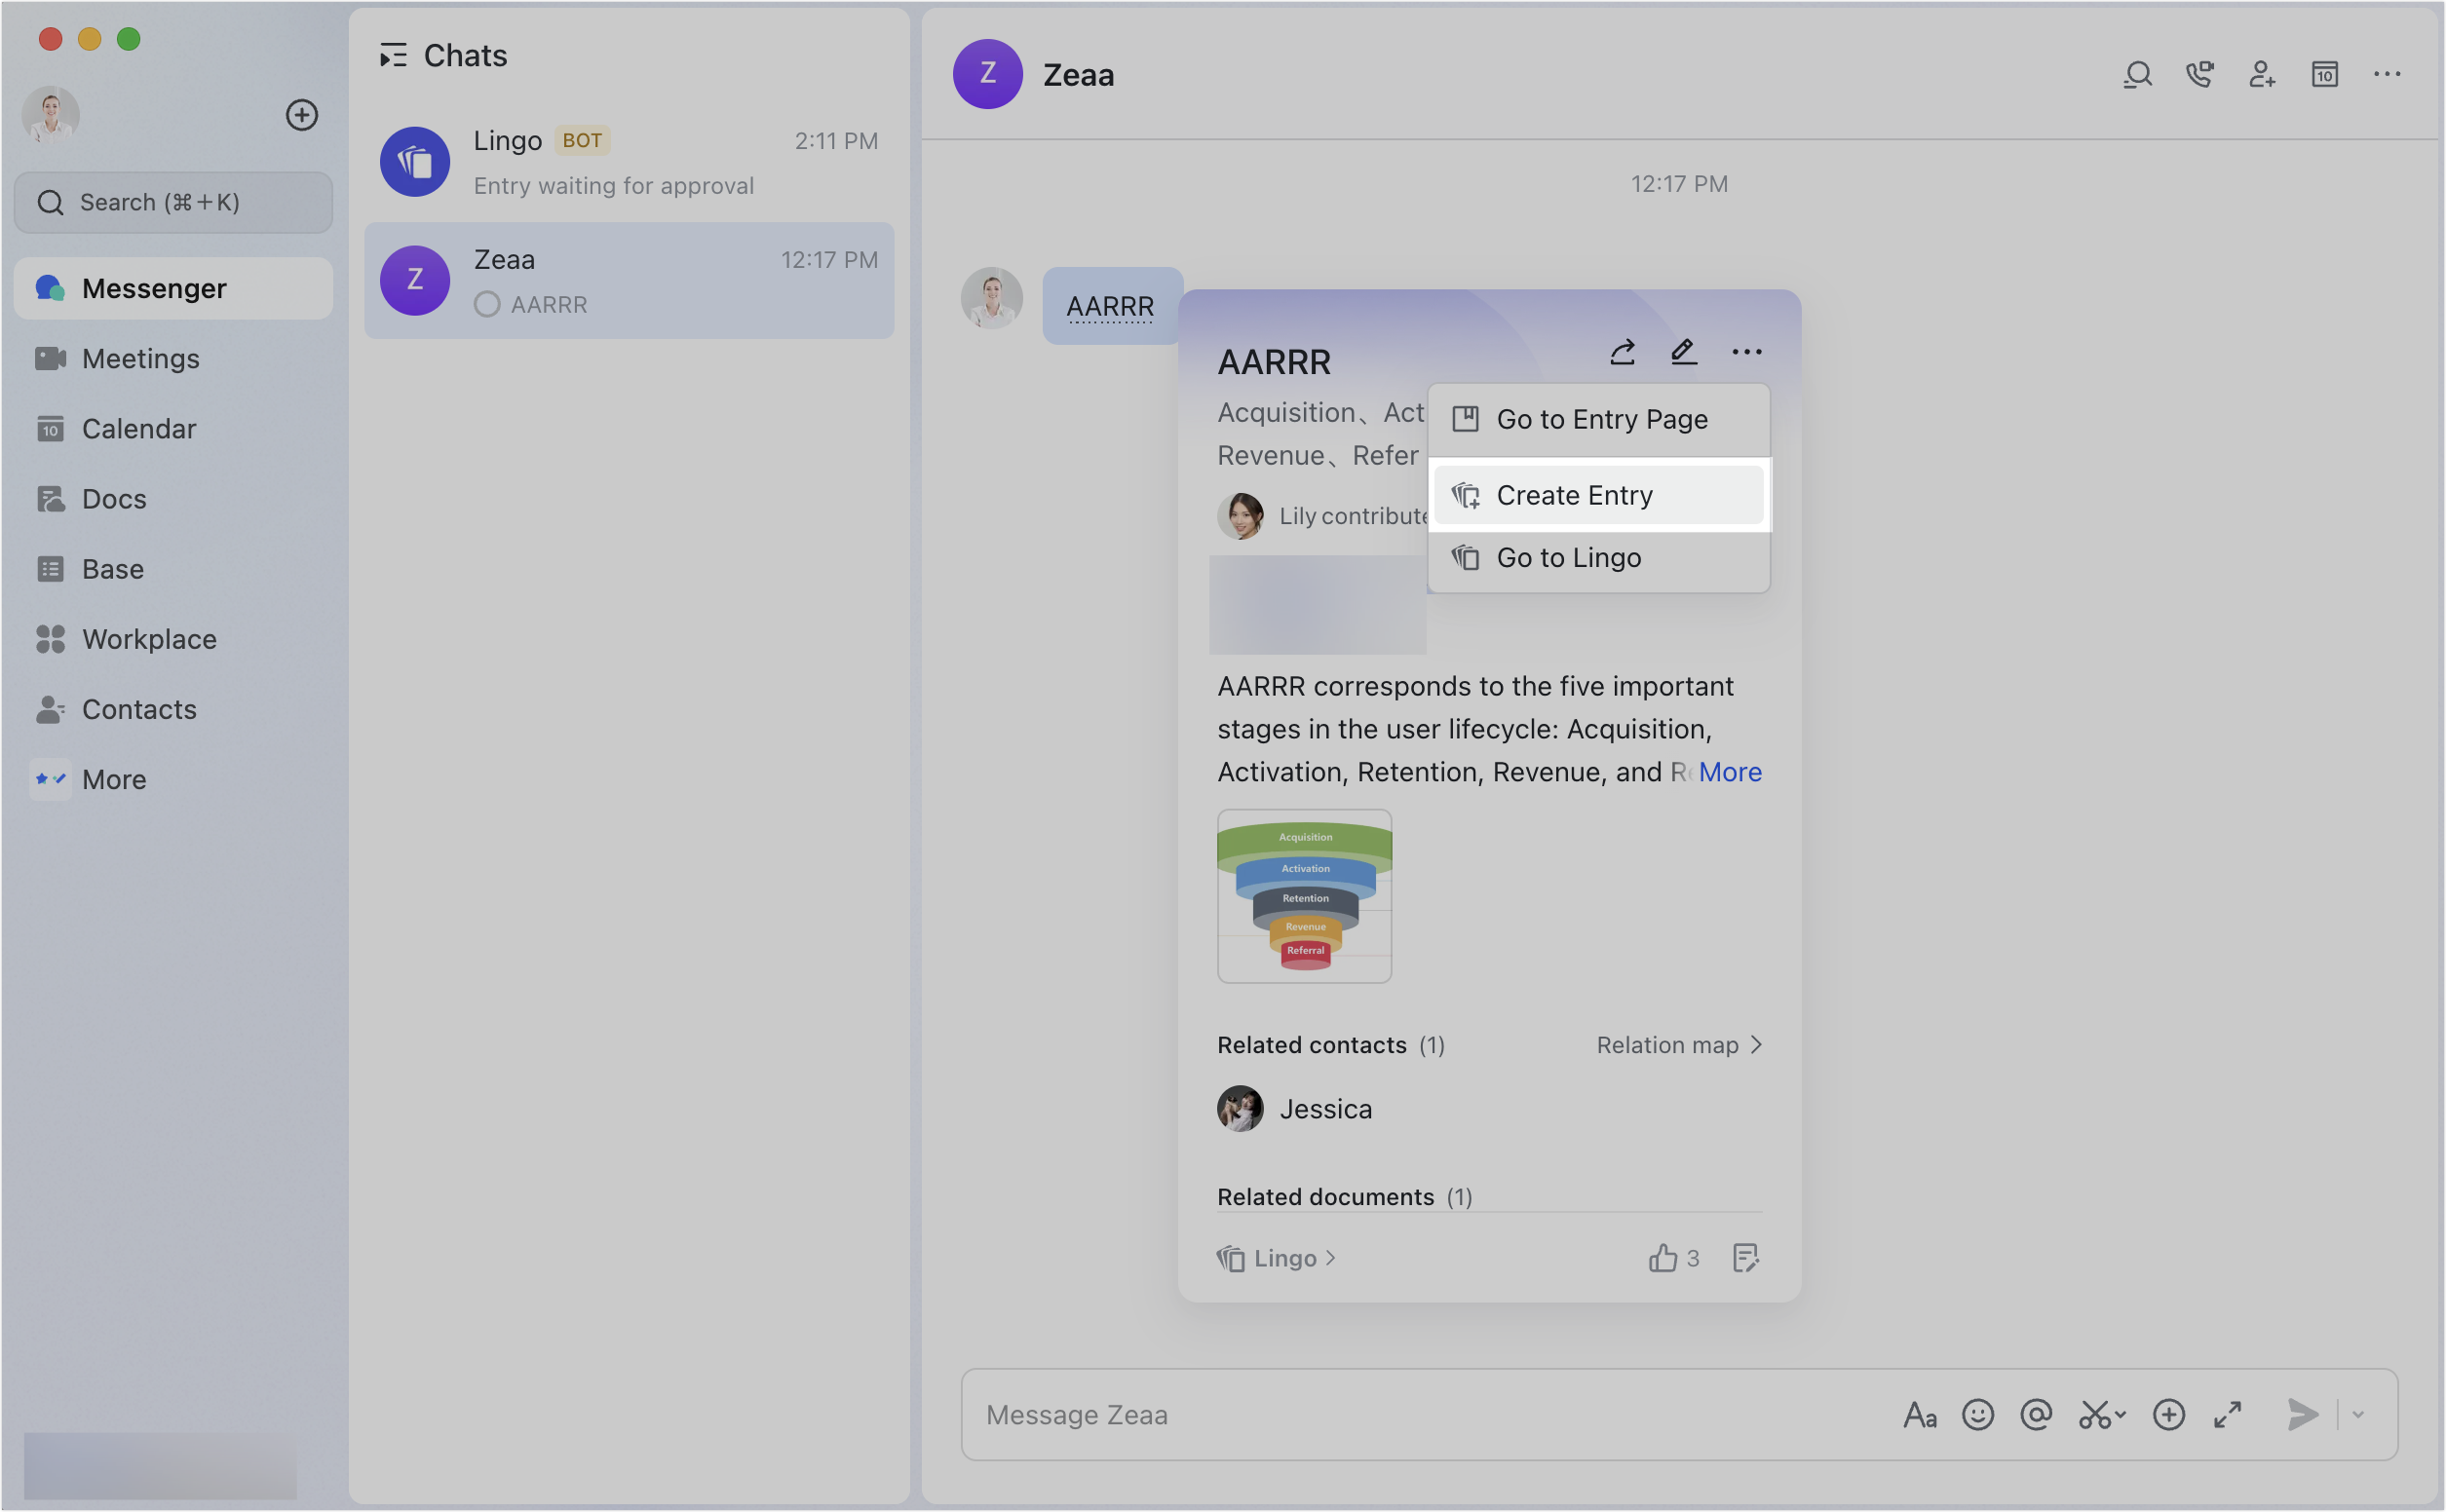
250px|700px|reset
Go to the Lingo app: Click the
icon in the upper-right corner of the Lingo card and select Go to Lingo.
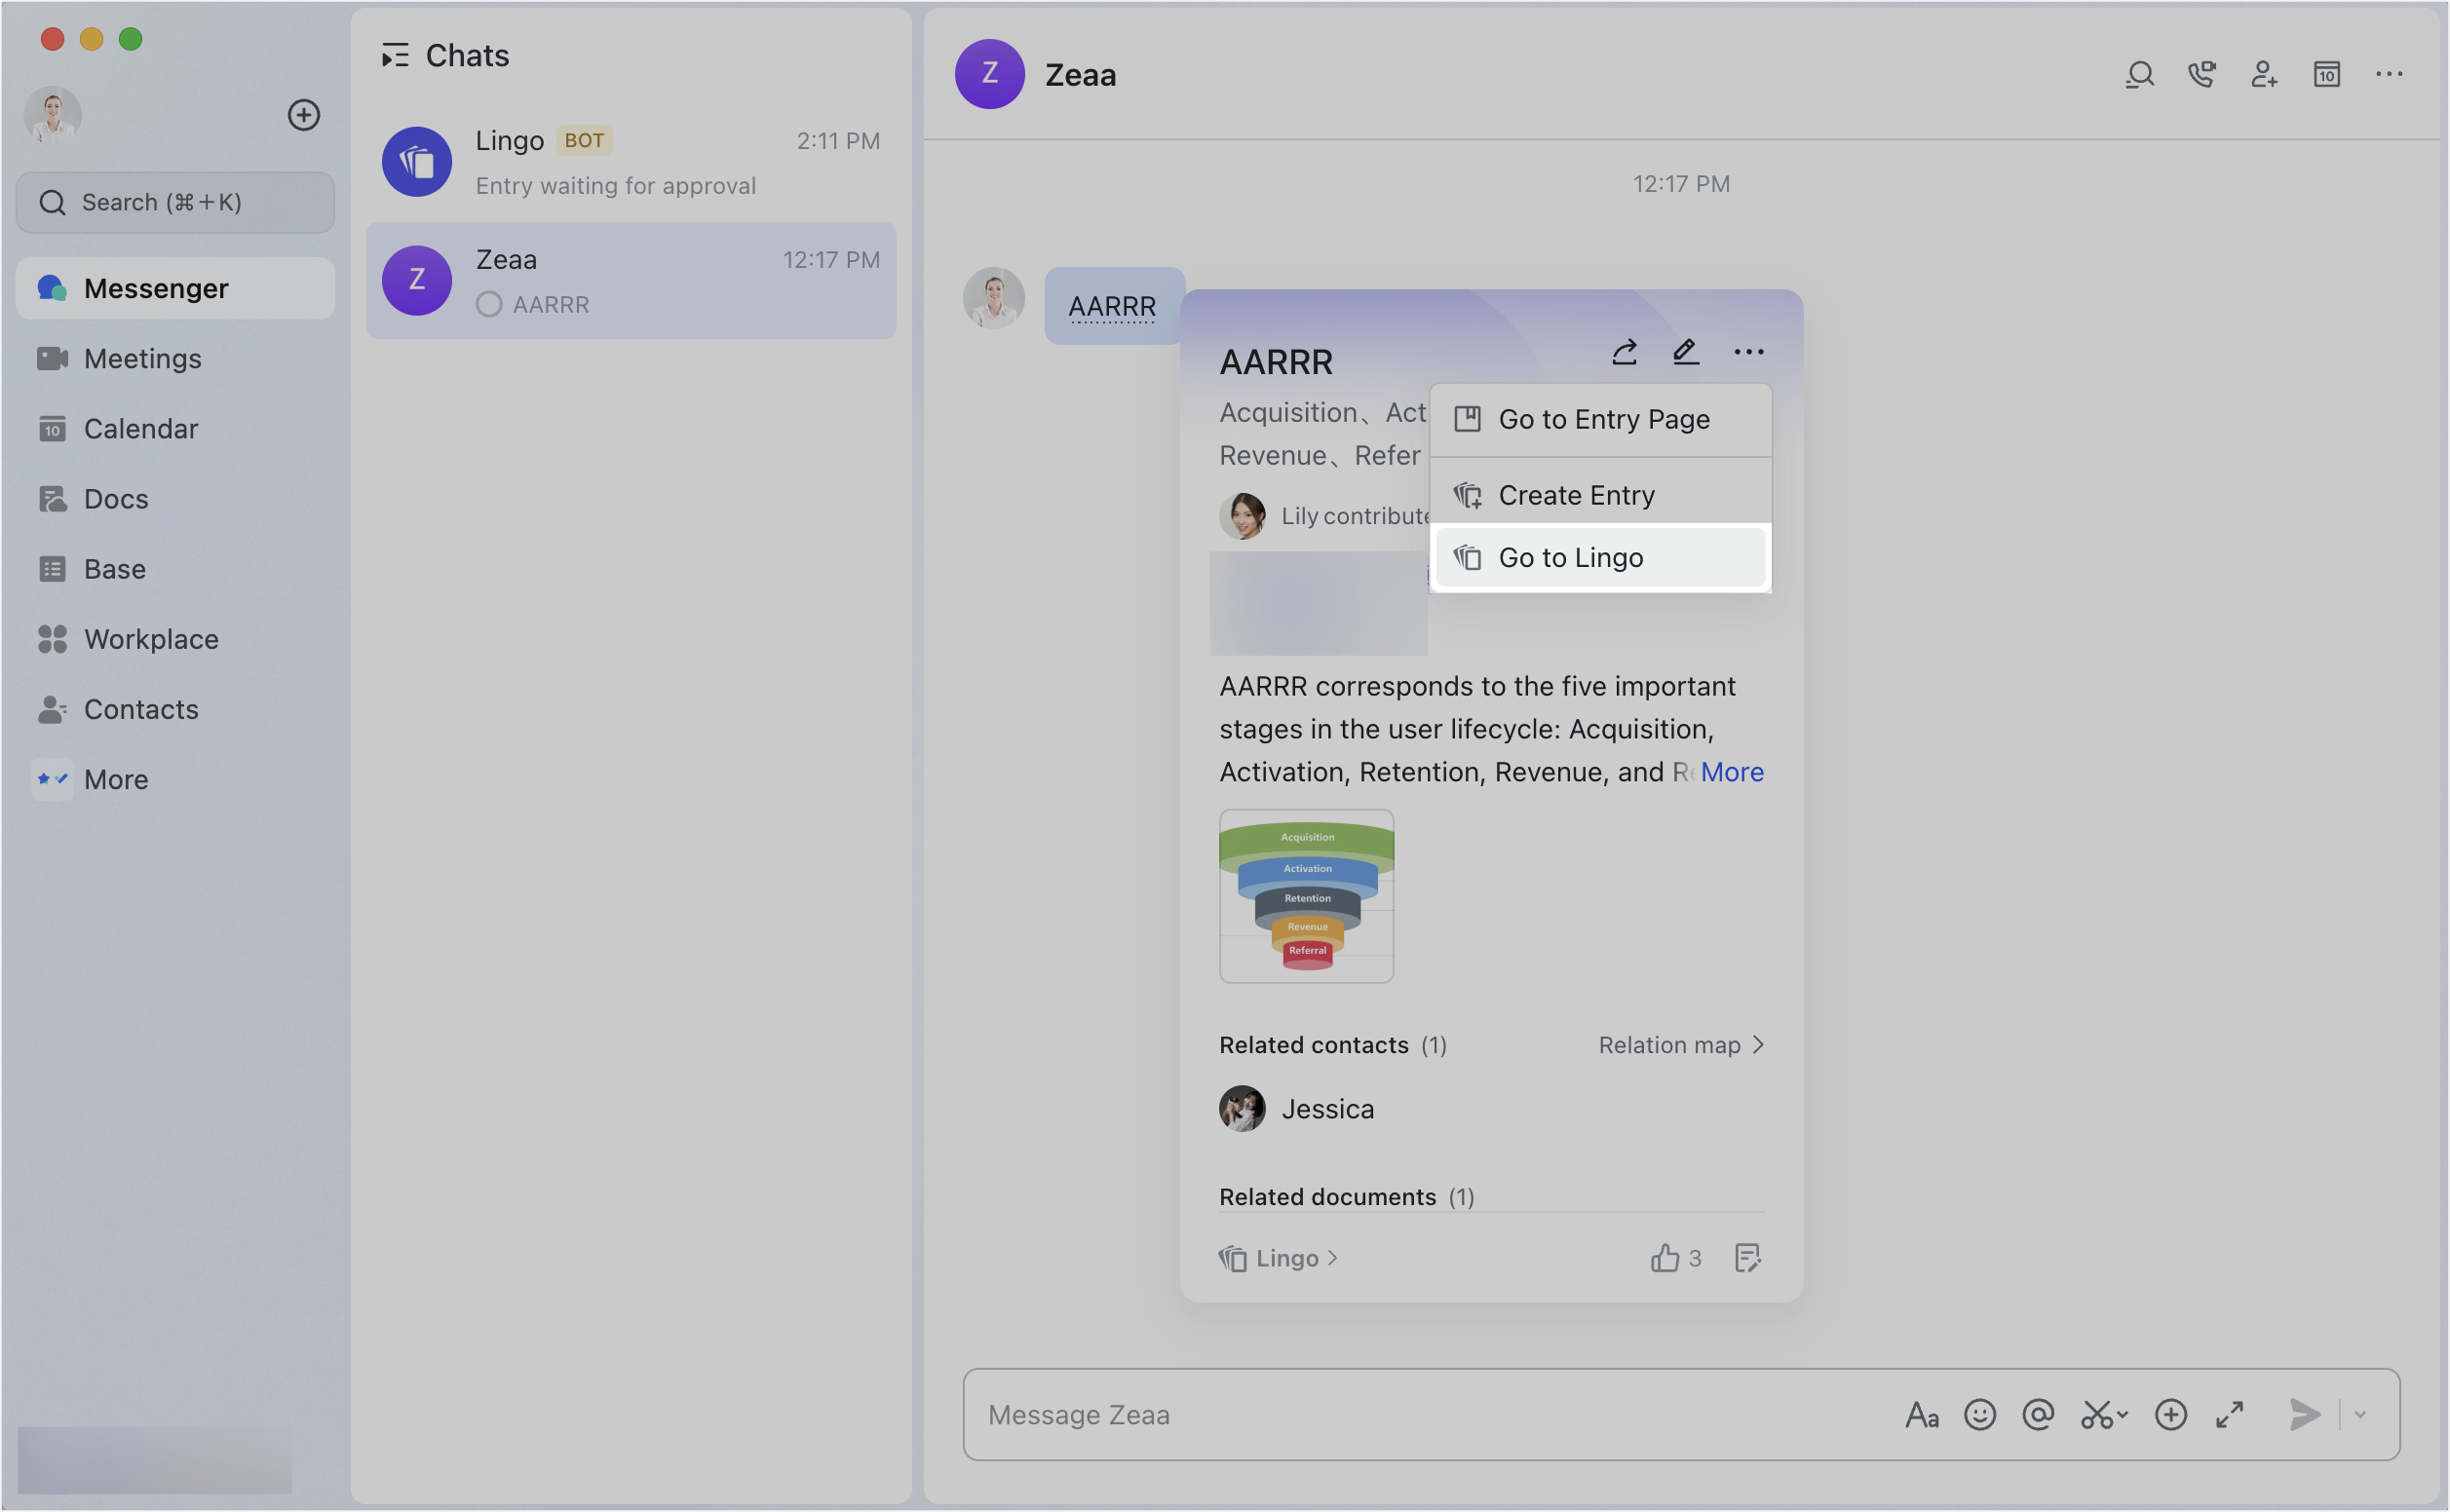
250px|700px|reset
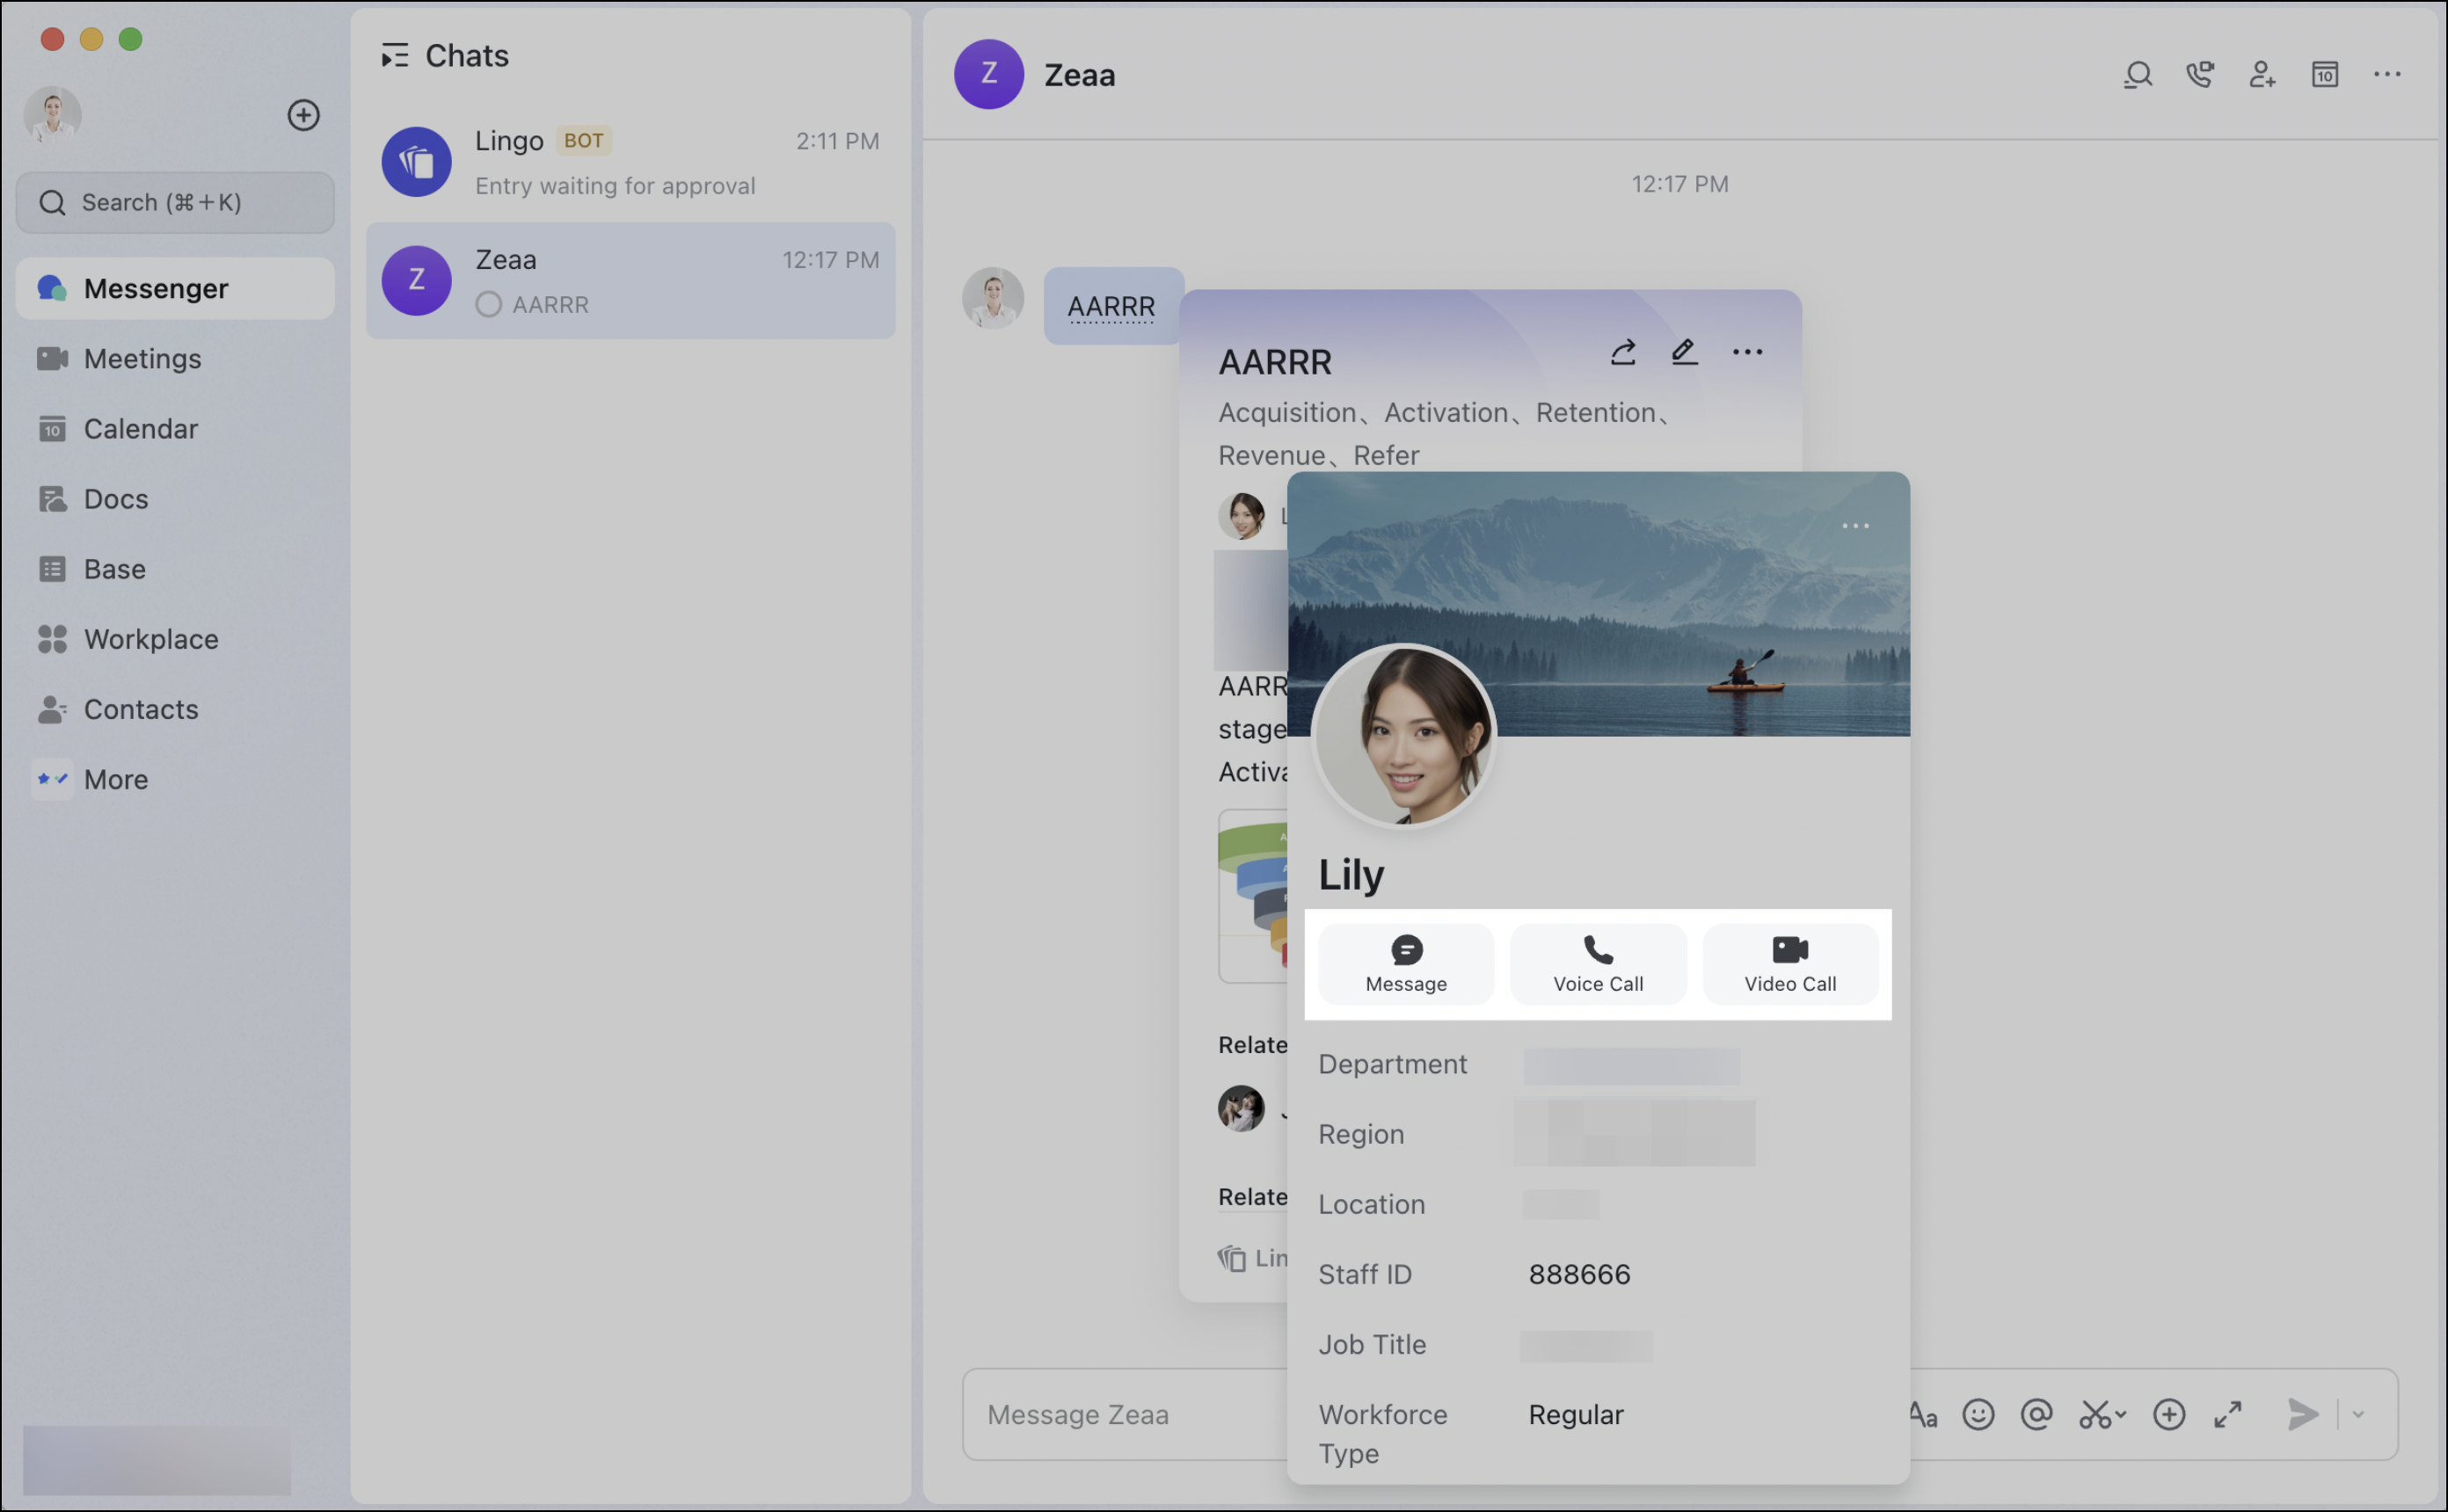
Contact a contributor: Click a contributor's profile photo to open their profile. From there, you can choose a contact method such as sending a message or calling them.
250px|700px|reset
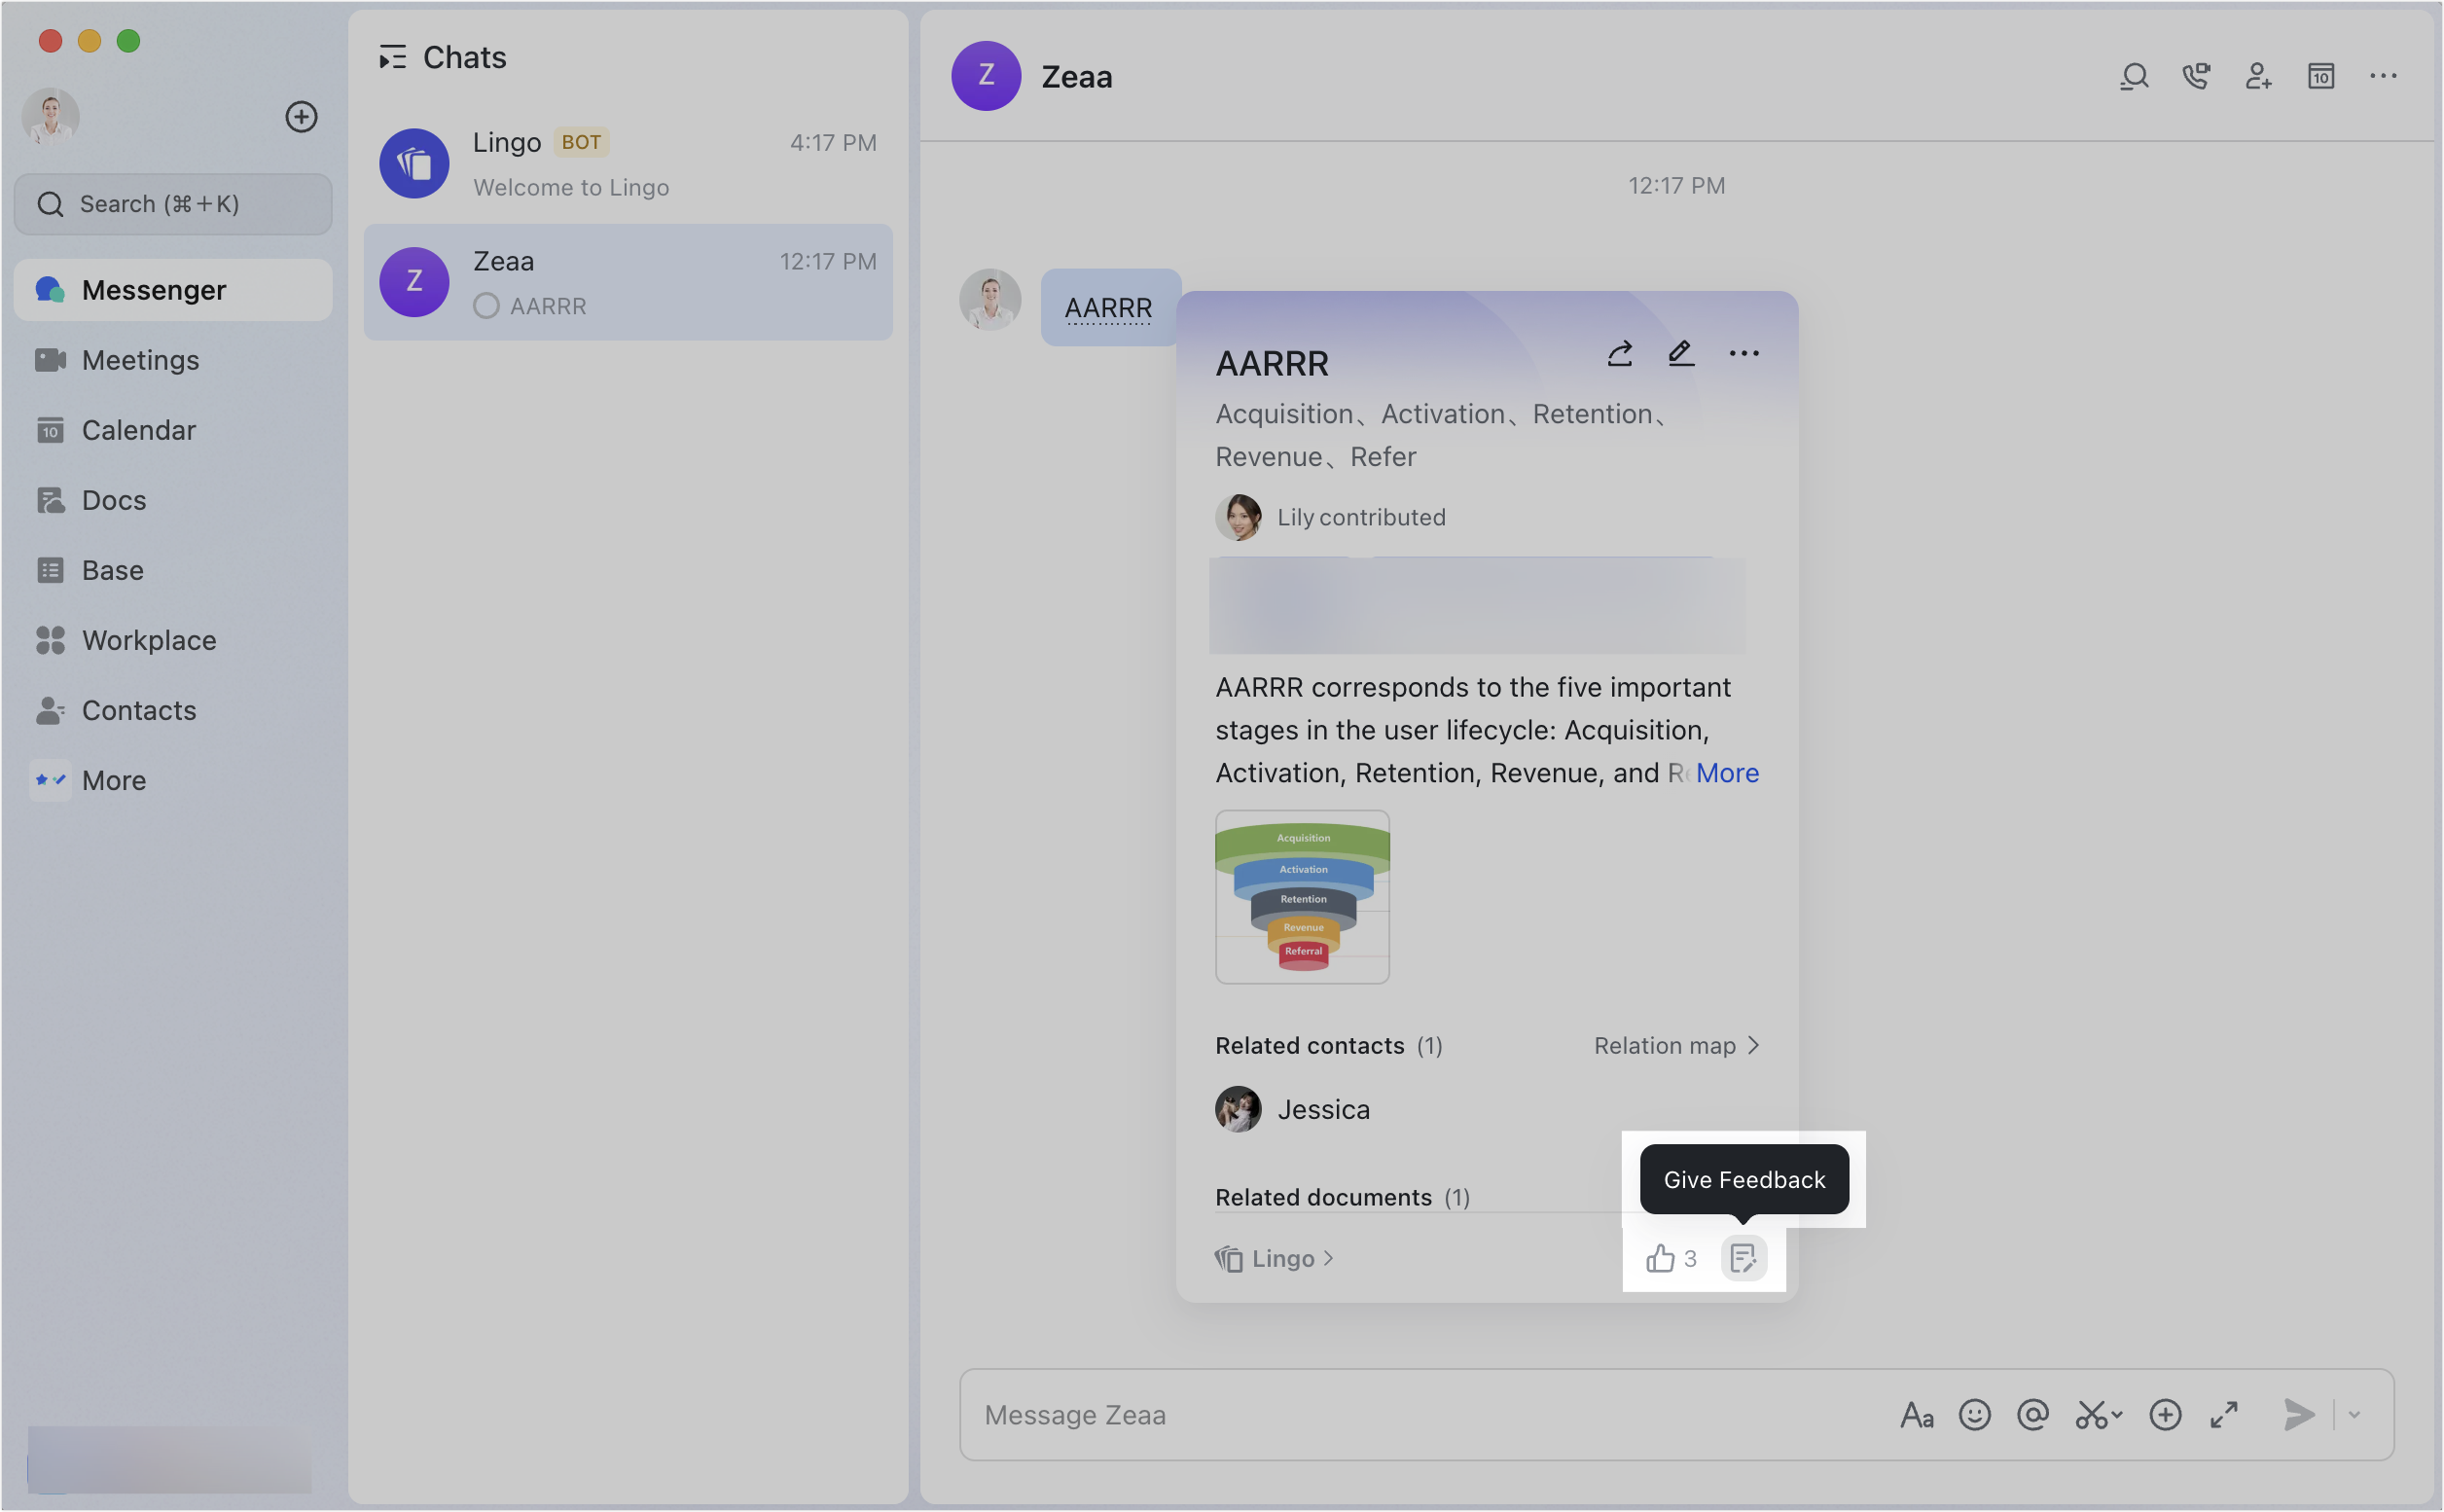
Provide feedback: Click the Give Feedback icon in the lower-right corner of the Lingo card.
250px|700px|reset
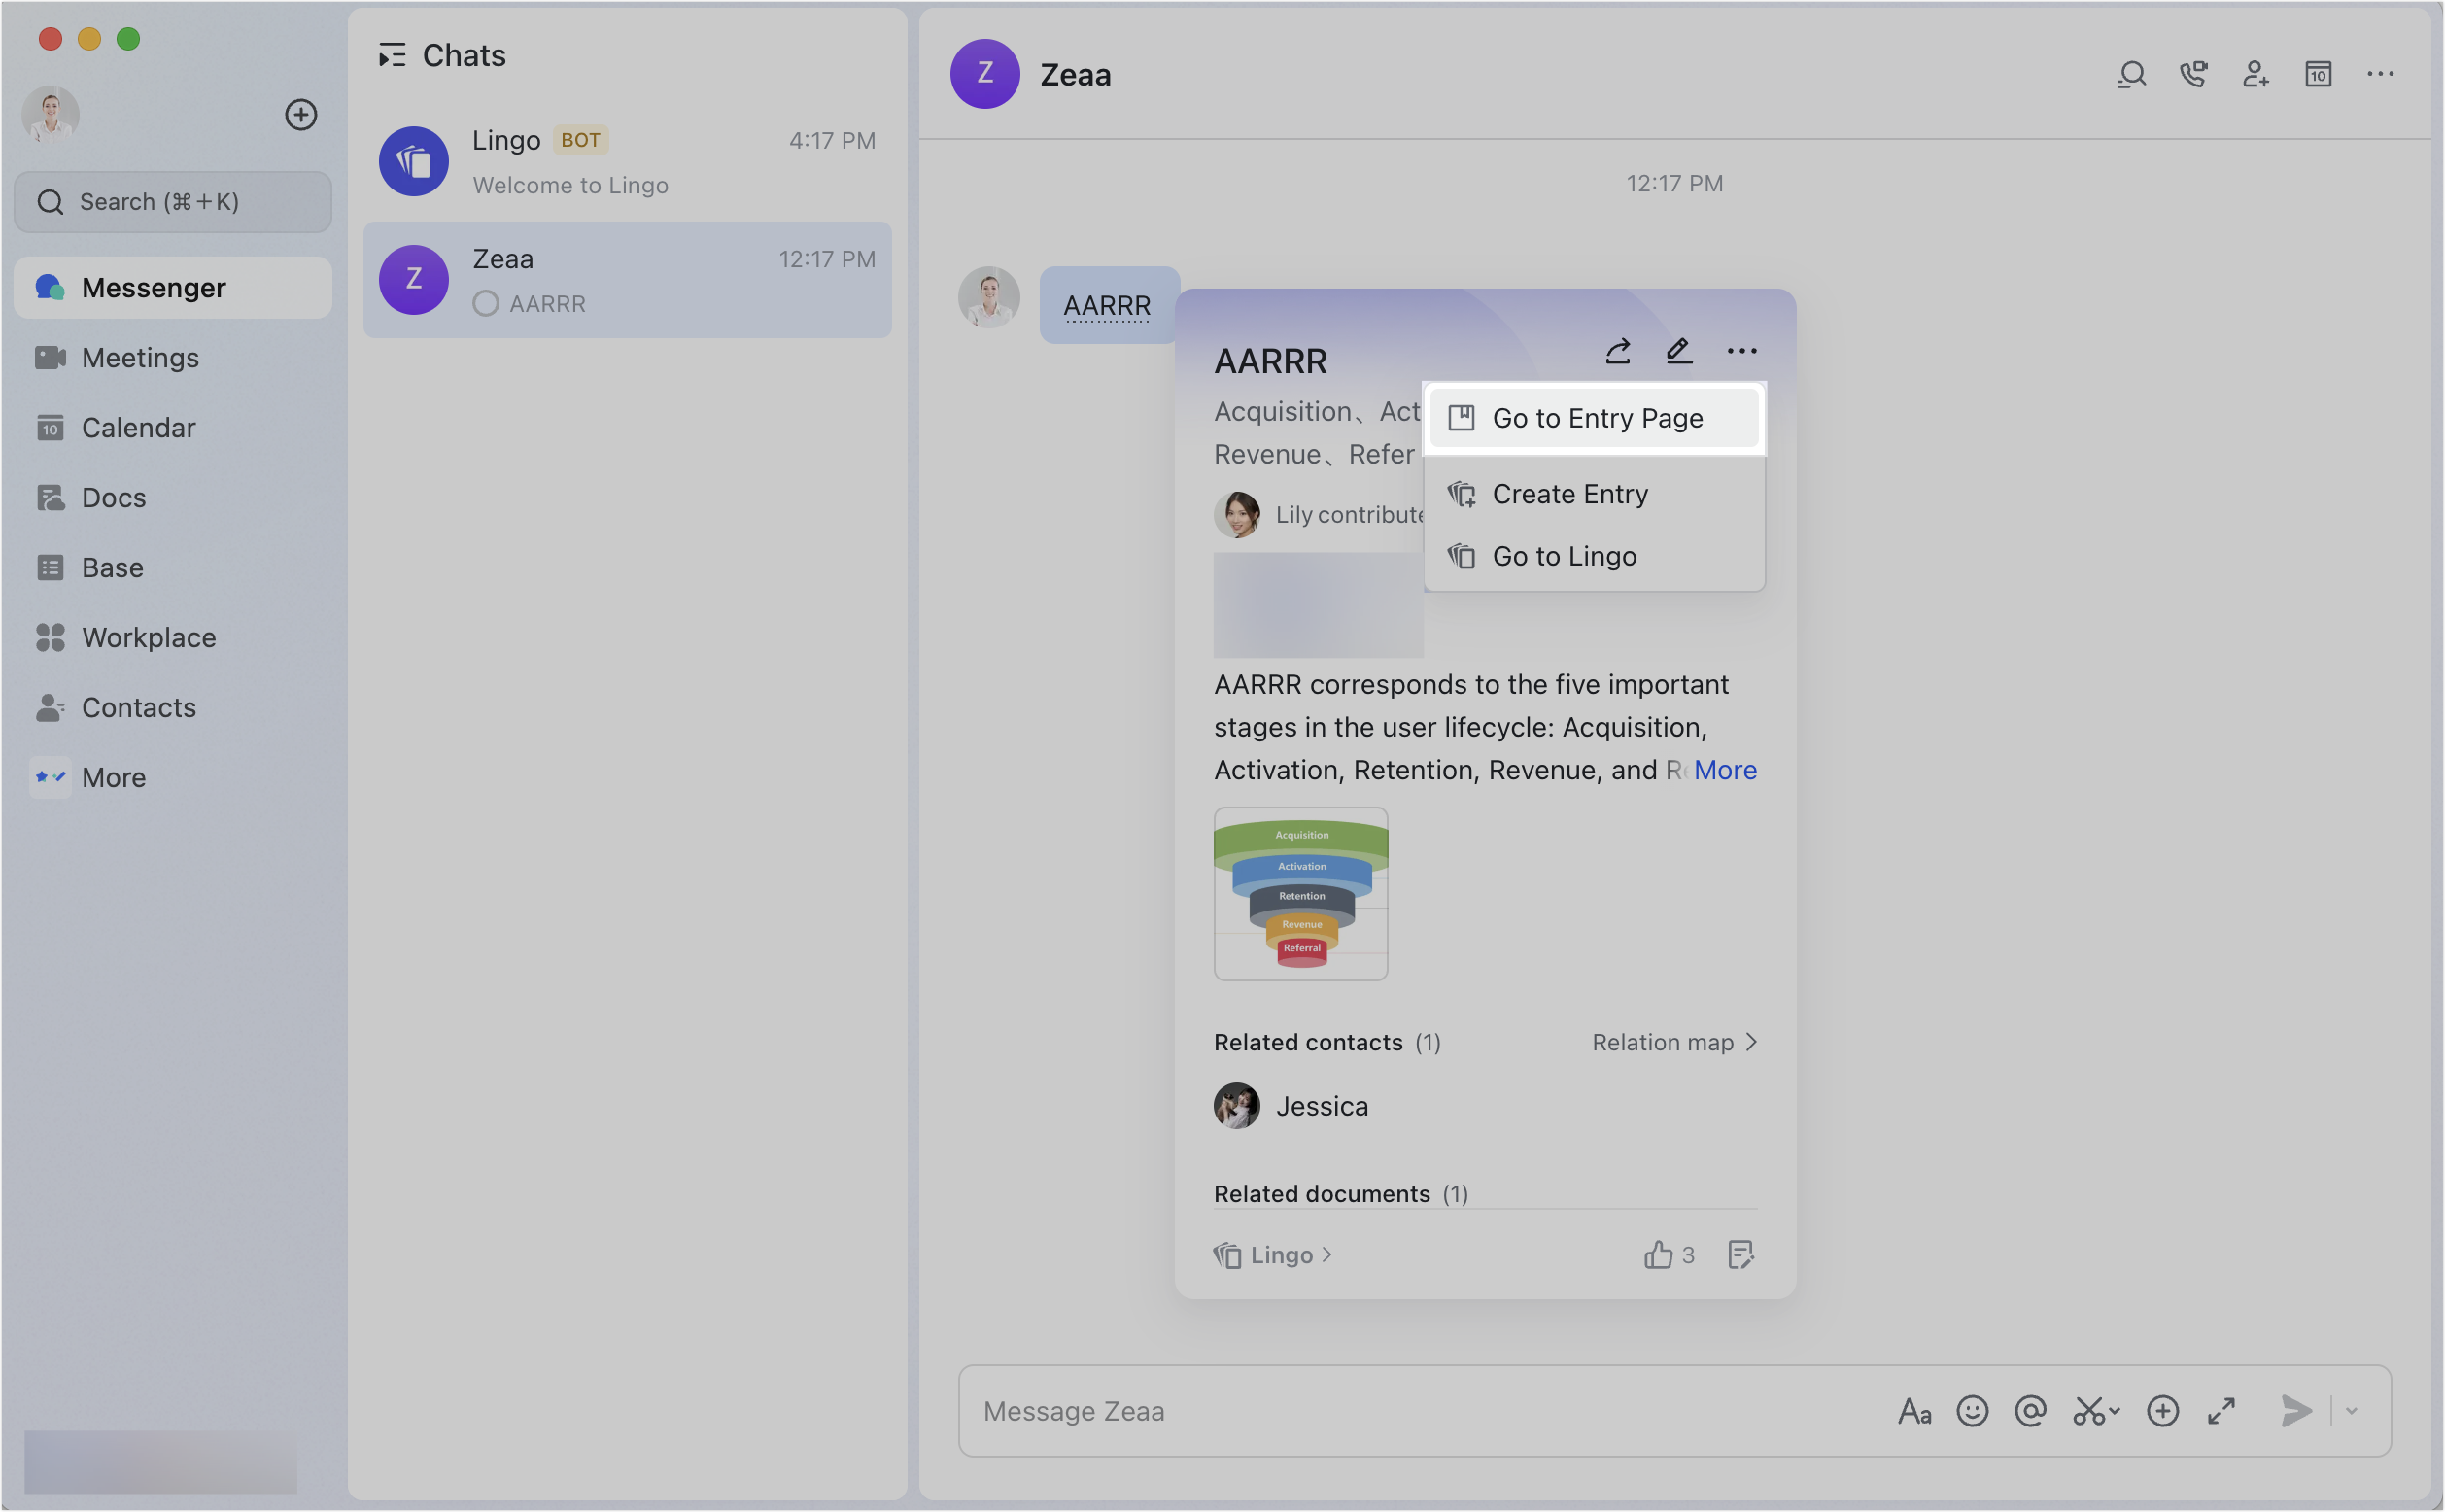
Go to the entry page: Click the
icon in the upper-right corner and select Go to Entry Page.
250px|700px|reset
III. Related
IV. FAQs
