
I. Intro
Who can perform these steps: Primary administrators or administrators with Attendance management permissions.
As an administrator, you can enable the GPS attendance feature to require members to clock in or out when they are within a valid range of the attendance location.
II. Steps
- Open the Attendance admin console and do either of the following:
- Click New to create a new attendance group.
- Click an existing attendance group to open its details page.
- 250px|700px|reset
- Go to Attendance Method. Click Edit if you're viewing an existing attendance group.
- 250px|700px|reset
- Select Clock in/out by GPS.
- 250px|700px|reset
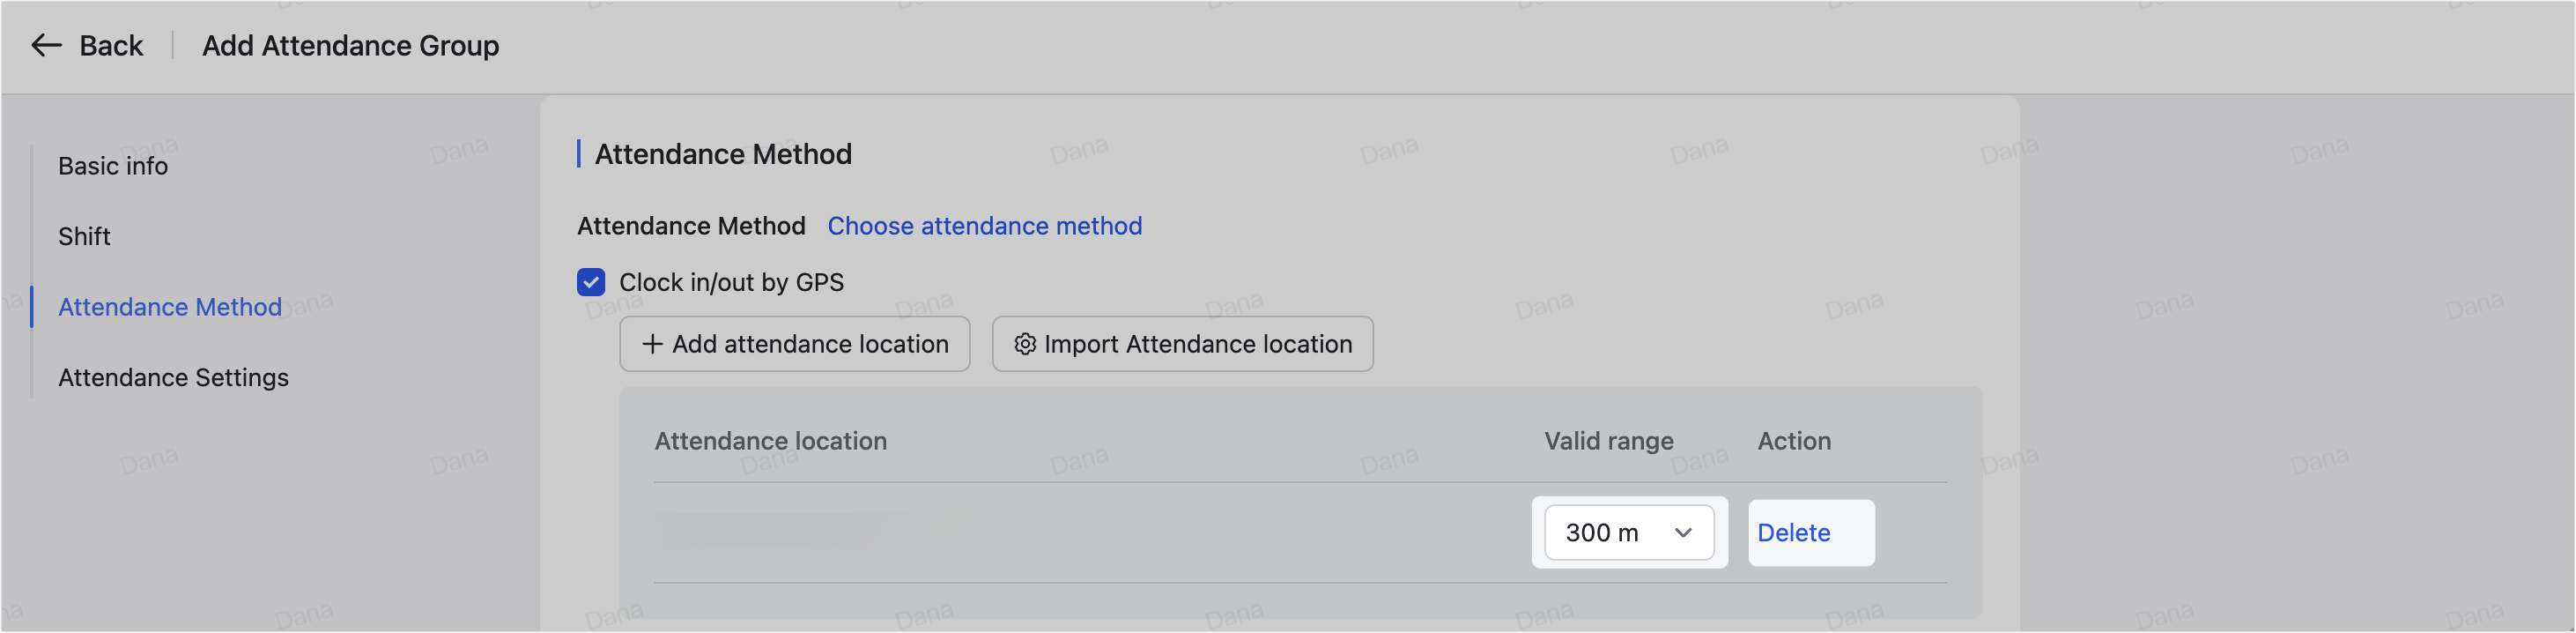
- Set the attendance locations in two ways.
- Add locations one by one.
- Click Add attendance location, select or search for a place on the map that pops out, and select a range by clicking the drop-down menu next to the search box.
- You can specify a valid range from 100 m to 3,000 m.
- Note:
- In the upper-right corner of the current map, you can switch to other map providers. We recommend that you use Google Maps.
- If you enable the offsite attendance feature, members can clock in or clock out in offsite mode when they are beyond the valid ranges of attendance locations.
- 250px|700px|reset
- Click Next, then enter a name for the location, which will show up in the Attendance admin console or member's clock-in page. Click Confirm.
- 250px|700px|reset
- Repeat the previous two steps to add more locations. Members can clock in at any of the locations.
- Batch add locations.
- Click Import Attendance location. In the pop-up, click Export to download a template.
- If attendance locations have been set to the attendance group before, the template includes the information on those existing locations.
- 250px|700px|reset
- Fill in the required information in the template and click Import to upload the saved template file again.
- Note: You can add up to 2,500 locations for a single attendance group.
- 250px|700px|reset
- Click Save or Confirm to apply the settings to the attendance group.
If you need to change the locations, go back to the Attendance Method page to modify the range or click Delete to remove the location.
250px|700px|reset
III. FAQs