I. Intro
Who can perform these steps: Primary administrators or administrators with "Attendance" permissions.
As an administrator, you can view, export, import, and modify members' leave balances in the Attendance admin console.
II. Steps
View and export leave balances
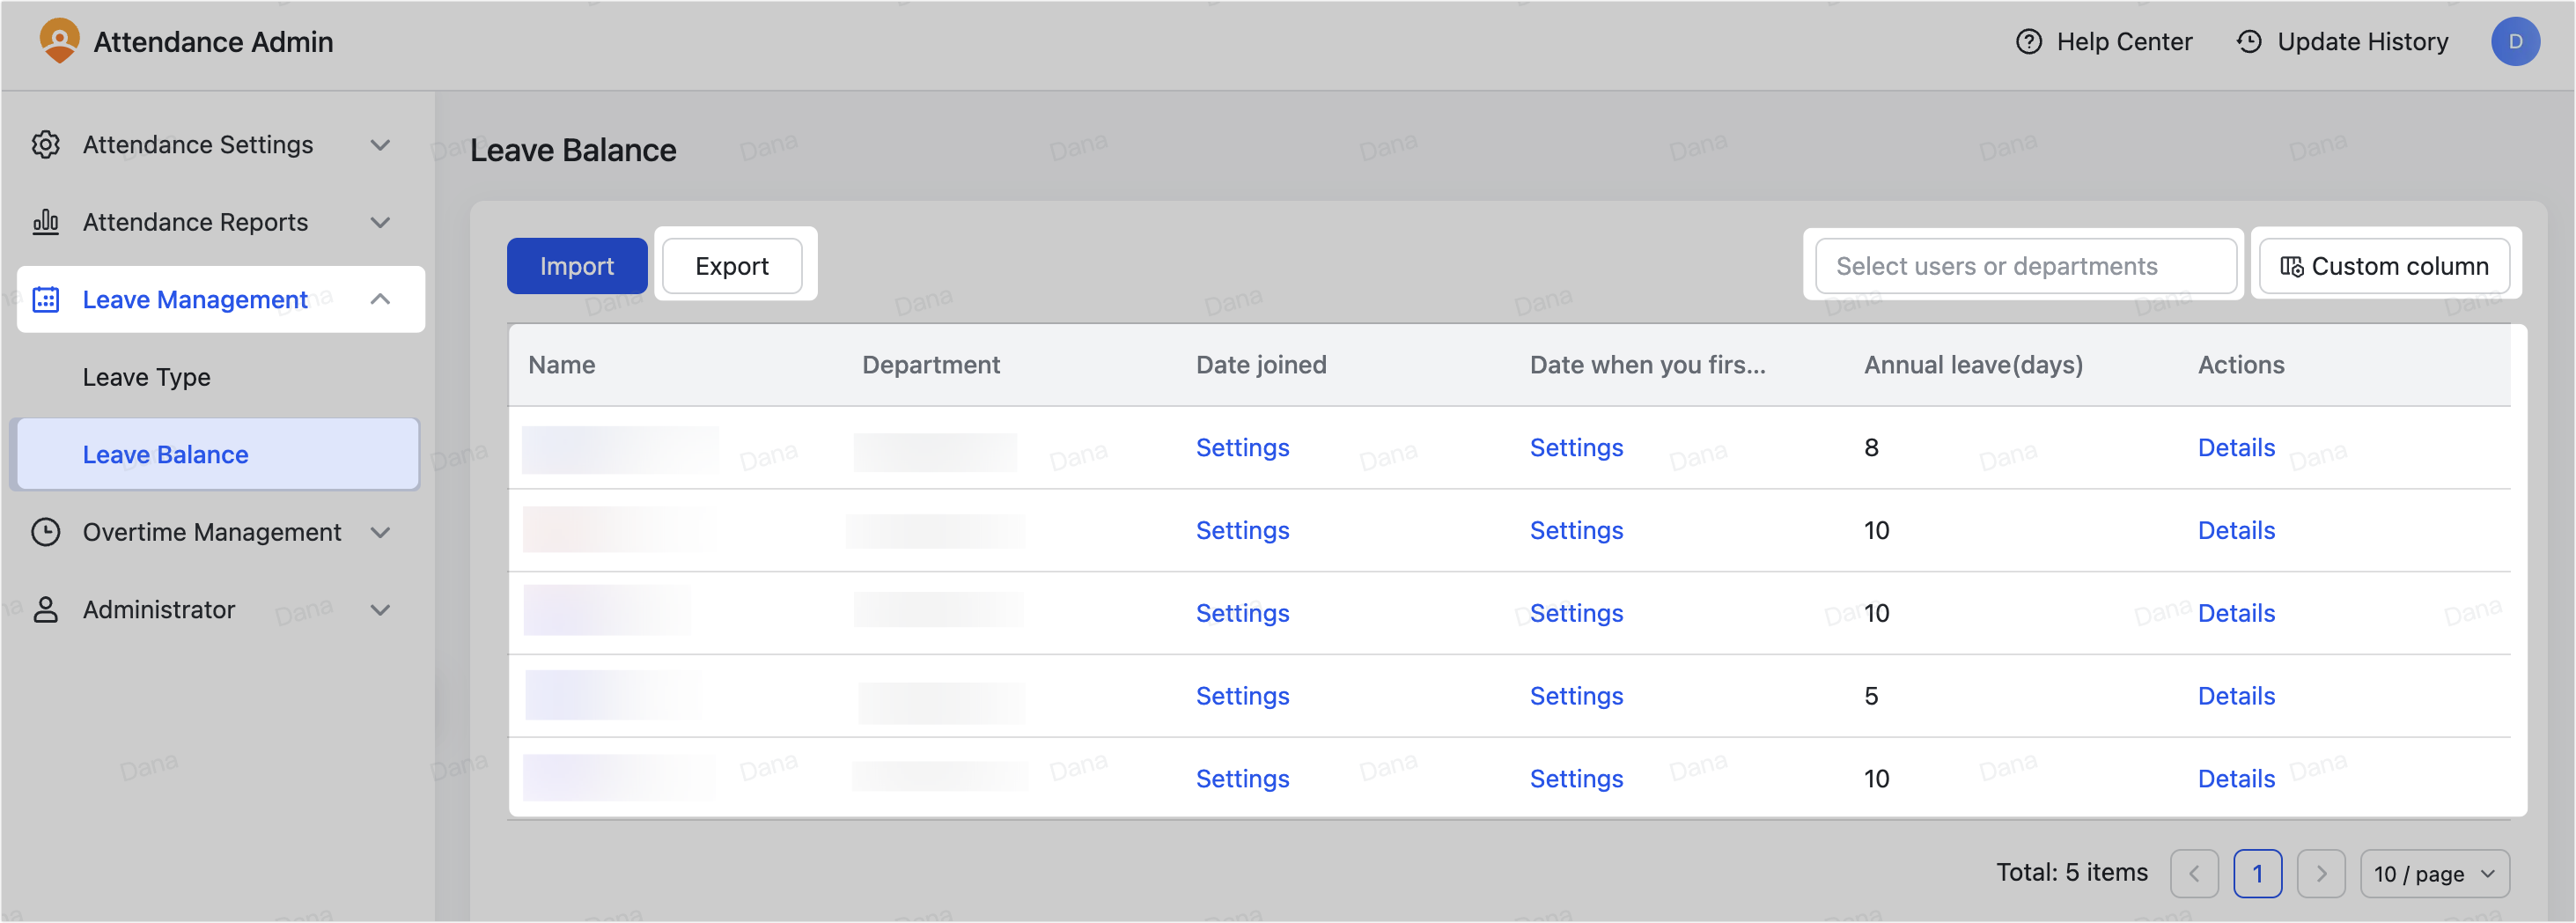
Open the Attendance admin console and click Leave Management > Leave Balance to view and export members' leave balances.
- Click the Select users or departments box to filter the leave balances by members or departments.
- Click Export to download the leave balance data as a .xlsx file.
- Click Custom column to select the fields to be displayed in the report; the unselected fields will not be displayed. You can also drag the fields to adjust the field order.

250px|700px|reset
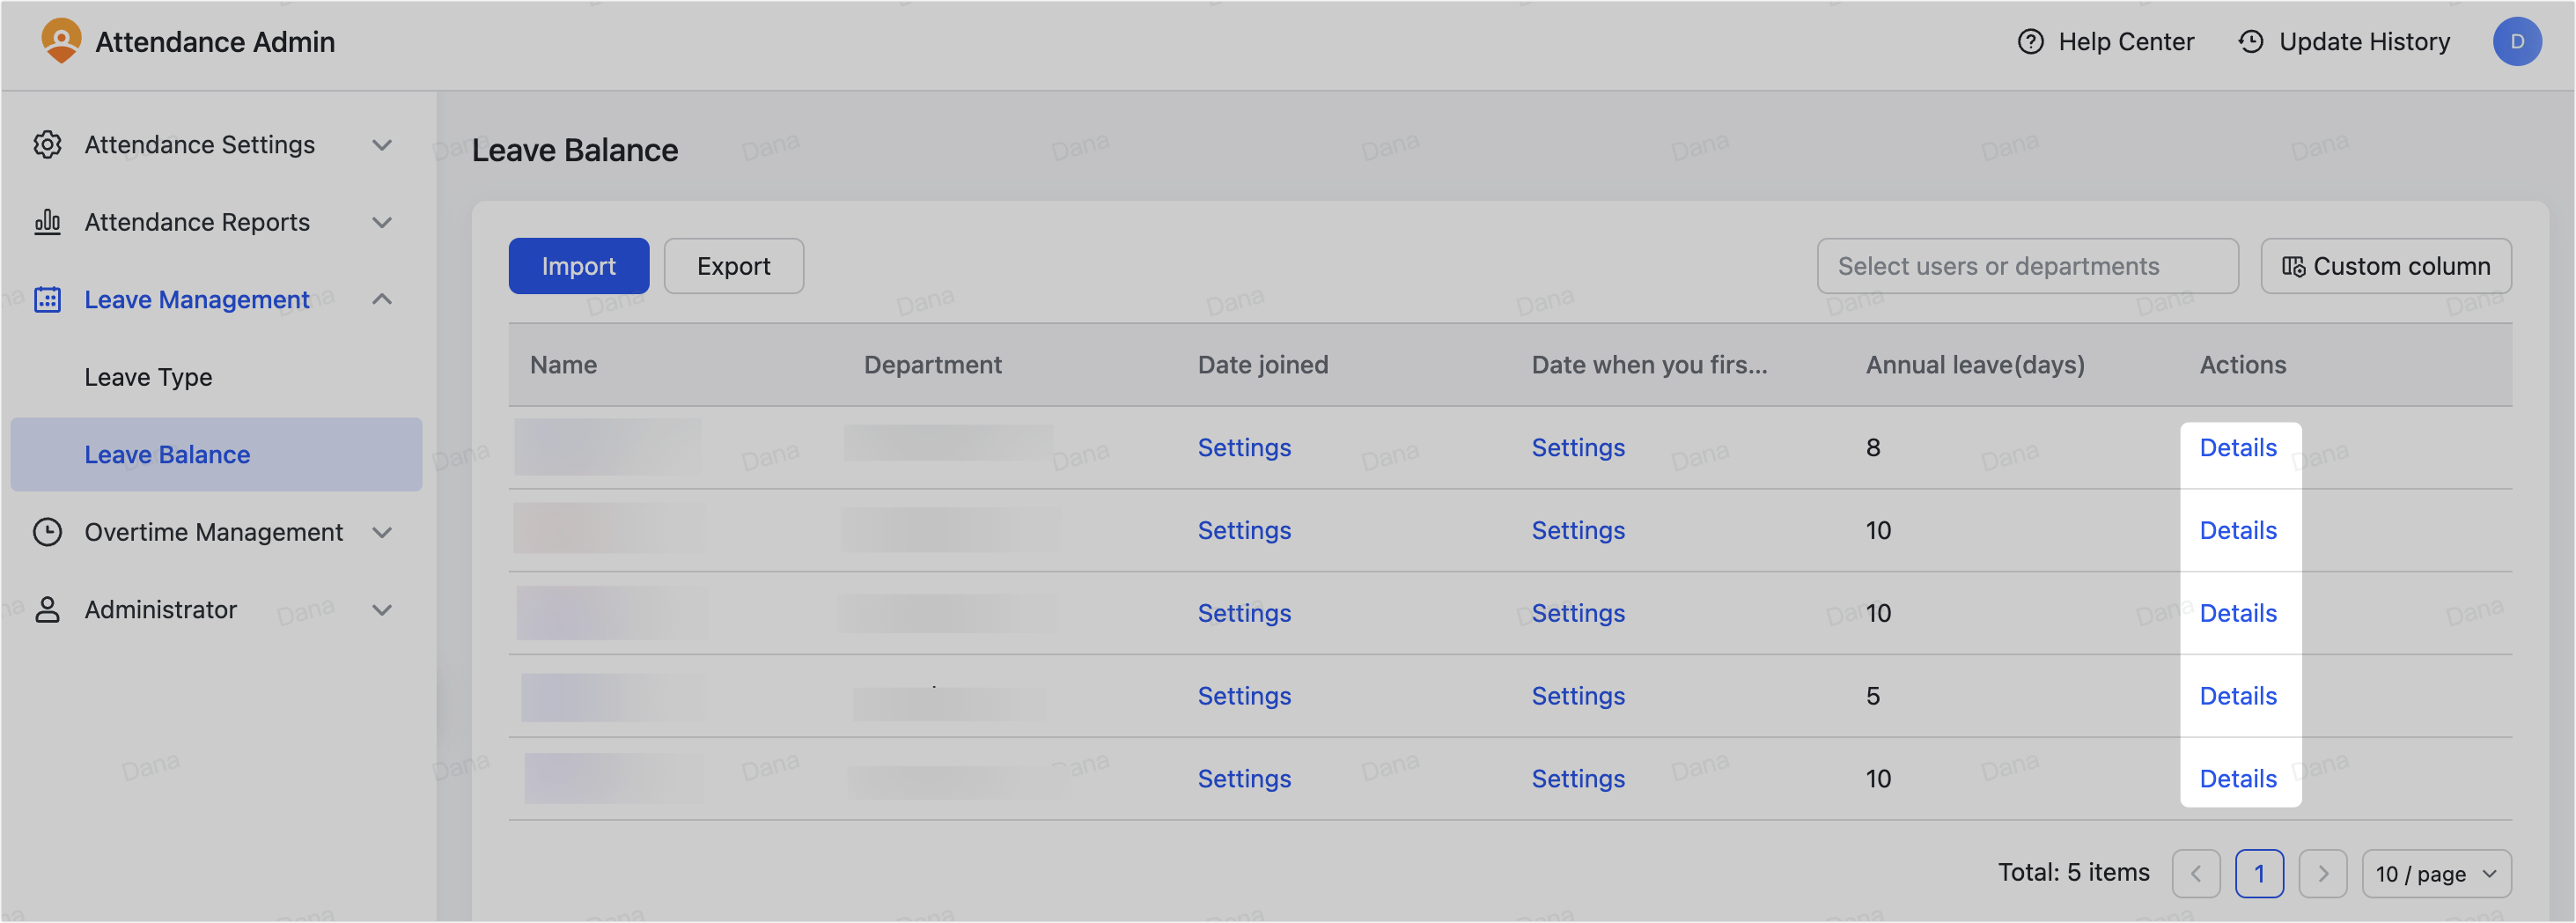
If you need to view a member's detailed leave balance, click Details. You can find detailed data on each type of leave, including accrued and used balances, as well as source.
Note:
- When the source of leave records is Old system data migration, it indicates that the leave balances are carried over from the previous system to the new system. When members take leave, the remaining leaves of Old system data migration will be deducted first. The Used hours refer to the total amount that has been deducted so far.
- The leave balance is pre-deducted when members submit a leave request before it is approved. However, if an administrator deletes the leave request record in the Approval admin console, the deducted leave time will be returned.

250px|700px|reset
Import leave balances
You can use an Excel table to batch import leave balances. This applies to scenarios such as batch accrual or batch modification of leave balances.
- Open the Attendance admin console and click Leave Management > Leave Balance, then click Import.
- 250px|700px|reset
- In the Import window that pops out, select Leave type and Member or department, which will be populated into the template.
- 250px|700px|reset
- Scroll down the window and click template to download the Excel template file, then fill in the template as needed.
- To increase the leave balance, enter a positive number (such as 1) under Days accrued, and the corresponding number of days will be added for the member on the day of Accrual date.
- To reduce the leave balance, enter a negative number (such as -1) under Days accrued, and the corresponding number of days will be subtracted for the member on the day of Accrual date.
- Note:
- The import method that the system uses is Addition, that is, the balance after import = current balance + number of days imported.
- If Accrual date is empty, accrual will be done on the date of import.
- 250px|700px|reset
- 250px|700px|reset
- Save the template and drag it to the Import window, or click Select File to upload the file, then click Confirm to start importing.
- 250px|700px|reset
Modify leave balances
You can manually modify the leave balance of members.
Possible use case:
When you change the leave rules or apply new leave types for members, the leave entitlement they get after the change may be the full leave quota of the year without deduction. Then you can manually adjust the leave balance as appropriate, such as deducting the leaves a member has already taken in the current cycle.
Method 1: Batch import
Import an Excel file to batch-modify members' leave balances. For more information, see the "Import leave balances" section in the article.
Method 2: Manually update a member's leave balance
- Open the Attendance admin console and click Leave Management > Leave Balance, and click Details of the member to open their details page.
- 250px|700px|reset
- Select the tab of the leave type that needs to be modified, and click Modify balance.
- 250px|700px|reset
- In the popup window, enter the number of days you want to add or deduct, select the date you want the accrual to happen, and enter a description.
- 250px|700px|reset
- Click Confirm.
- A record of this modification will show up in the details table.
- If needed, you can click Edit to modify the change again, or click Withdraw to cancel the change.
- 250px|700px|reset
III. FAQs
