
I. Intro
Version requirement: Lark version 5.15 or above.
Platform requirement: These steps can only be performed on the Lark desktop app.
You can use the screenshot tool to record your screen and take scrolling screenshots.
Note: This functionality is not supported on the mobile app.
II. Steps
Create a screen recording
- You can activate the screen recording function using the following two methods:
- Method 1: Use the shortcut Alt + Shift + R (Windows) or Option + Shift + R (Mac) to select an area to record.
- Method 2: Hover over the Screenshot icon in the message input field, click Record Screen, and then select an area to record.
- 250px|700px|reset
- Select MP4 or GIF format, and then click Record. Depending on the format you choose, the following will be recorded:
- MP4 GIF Mouse movements Recorded Recorded Camera Recorded Recorded Speaker Recorded Not recorded Microphone Recorded Not recorded
- Click Stop to end the recording. You can then crop the video, download it, or copy it to send to another chat. If the recording is larger than 5 GB, it will be sent as a file that needs to be downloaded before viewing.
- Note: A screen recording cannot exceed 1 hour in length.
- 250px|700px|reset
Take a scrolling screenshot
- You can take a scrolling screenshot using the following methods:
- Method 1: Use the shortcut Ctrl + Shift + A (Windows) or ⌘ + Shift + A (Mac) to open the screenshot window, click Scrollshot in the upper toolbar, then select the area to capture.
- Note: You can modify the shortcut keys based on your preferences.
- Method 2: Hover over the Scissors icon in the message input field, then click Scrollshot.
- 250px|700px|reset
- Select an area to capture.
Note:
- For better results, we recommend selecting only the area you wish to capture. Additionally, avoid including the scrollbar and any moving elements, as this will increase the likelihood of a successful scrolling screenshot.
- Avoid including animations or videos, as this may result in an unsuccessful scrolling screenshot.
- Refer to the following images when selecting a scrolling screenshot area:
- 250px|700px|reset
- Click Start Scrollshot.
- 250px|700px|reset
- You can take a scrolling screenshot in the following two ways:
- Method 1: Scroll slowly to capture the content. If you scroll too quickly, an error may appear. When scrolling, move the mouse vertically and avoid horizontal movements.
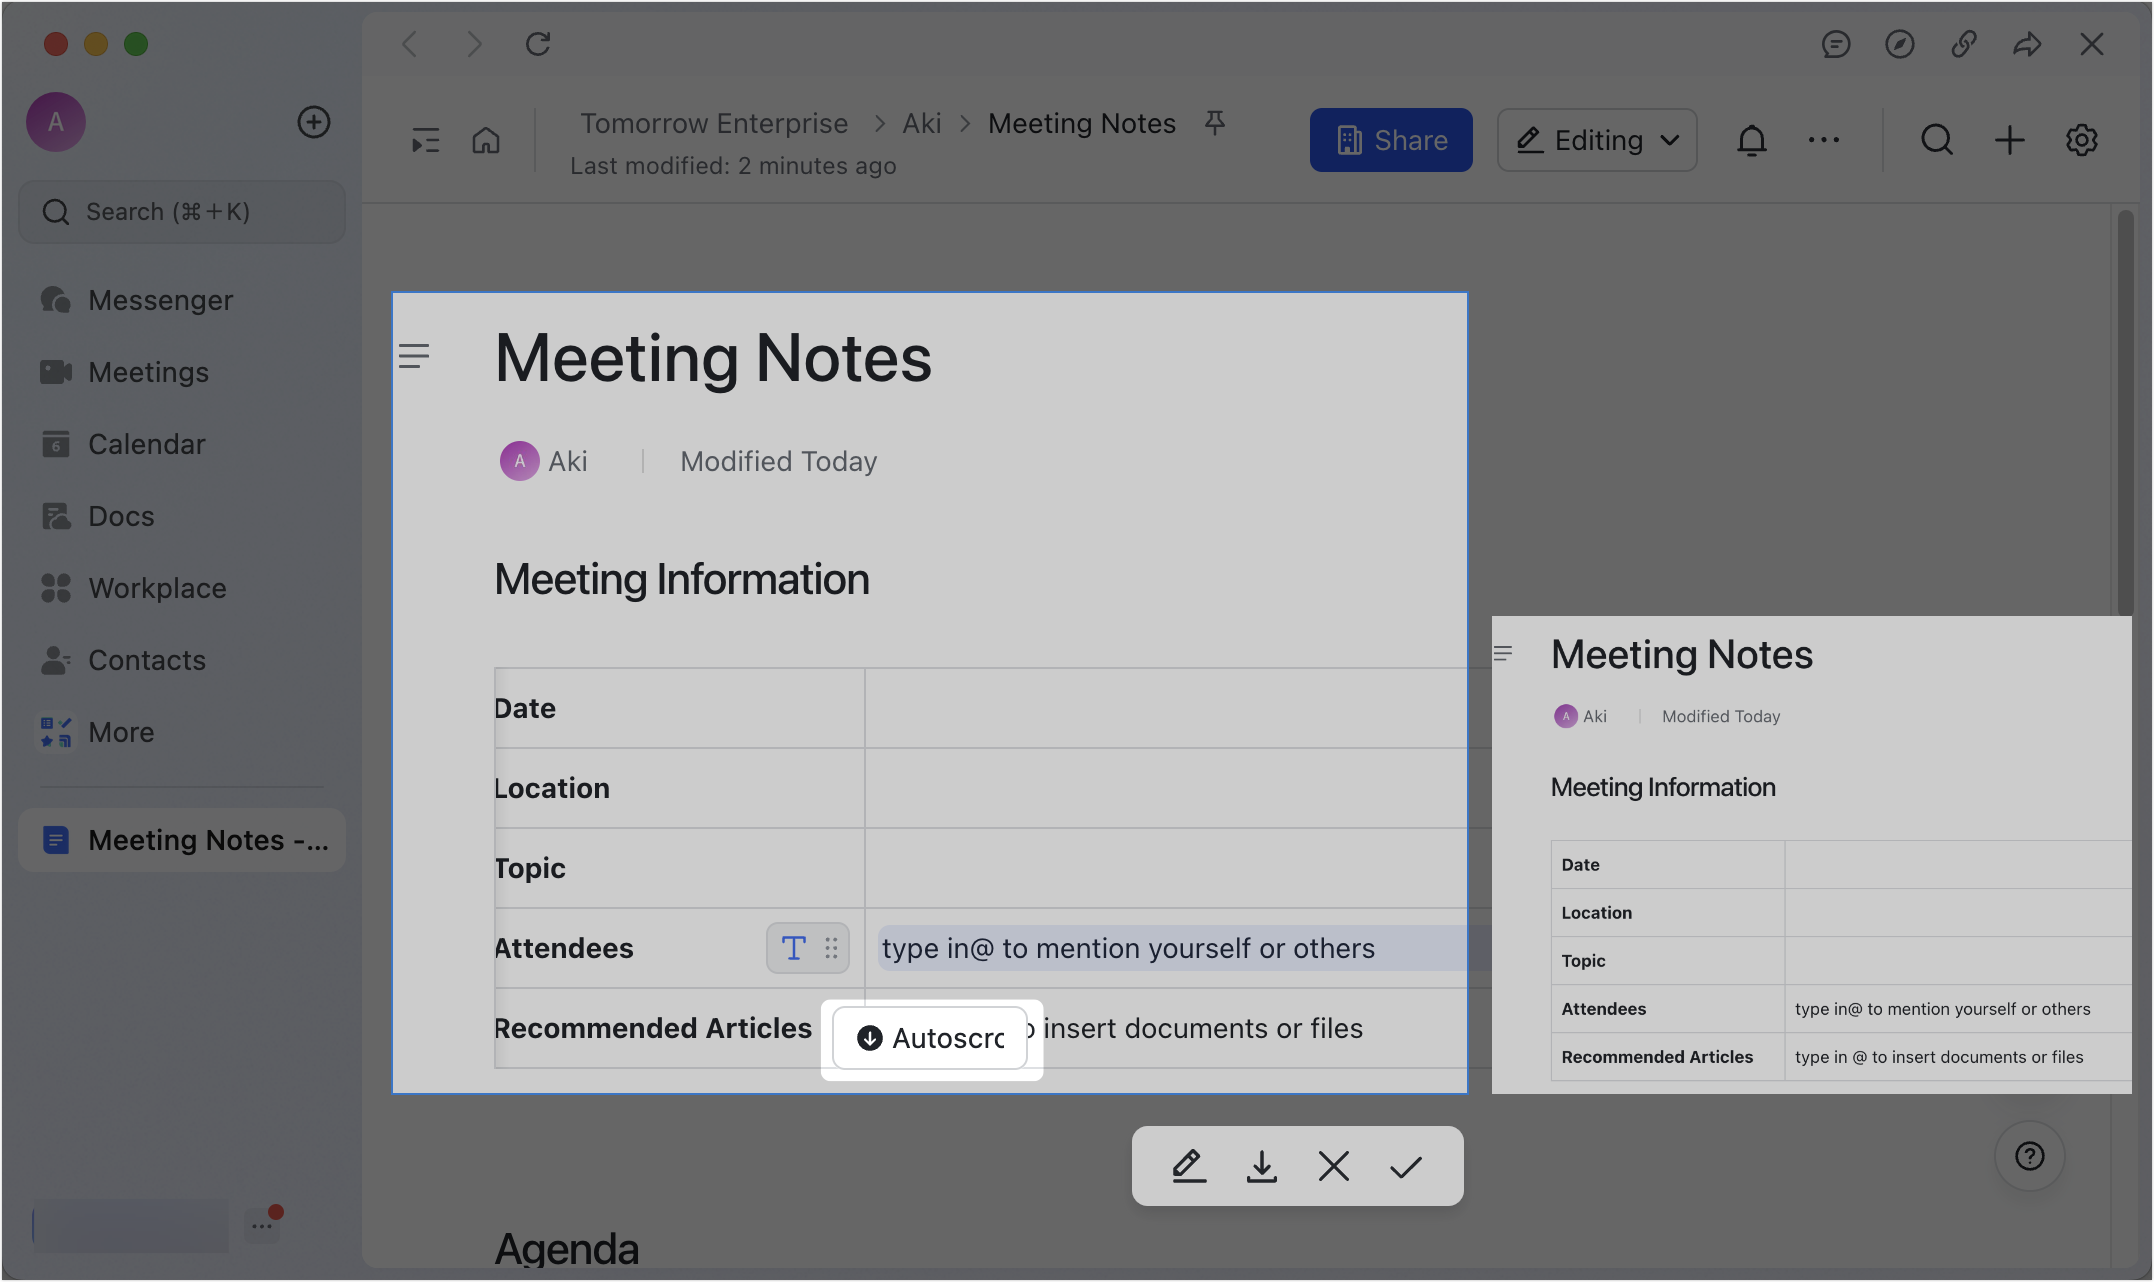
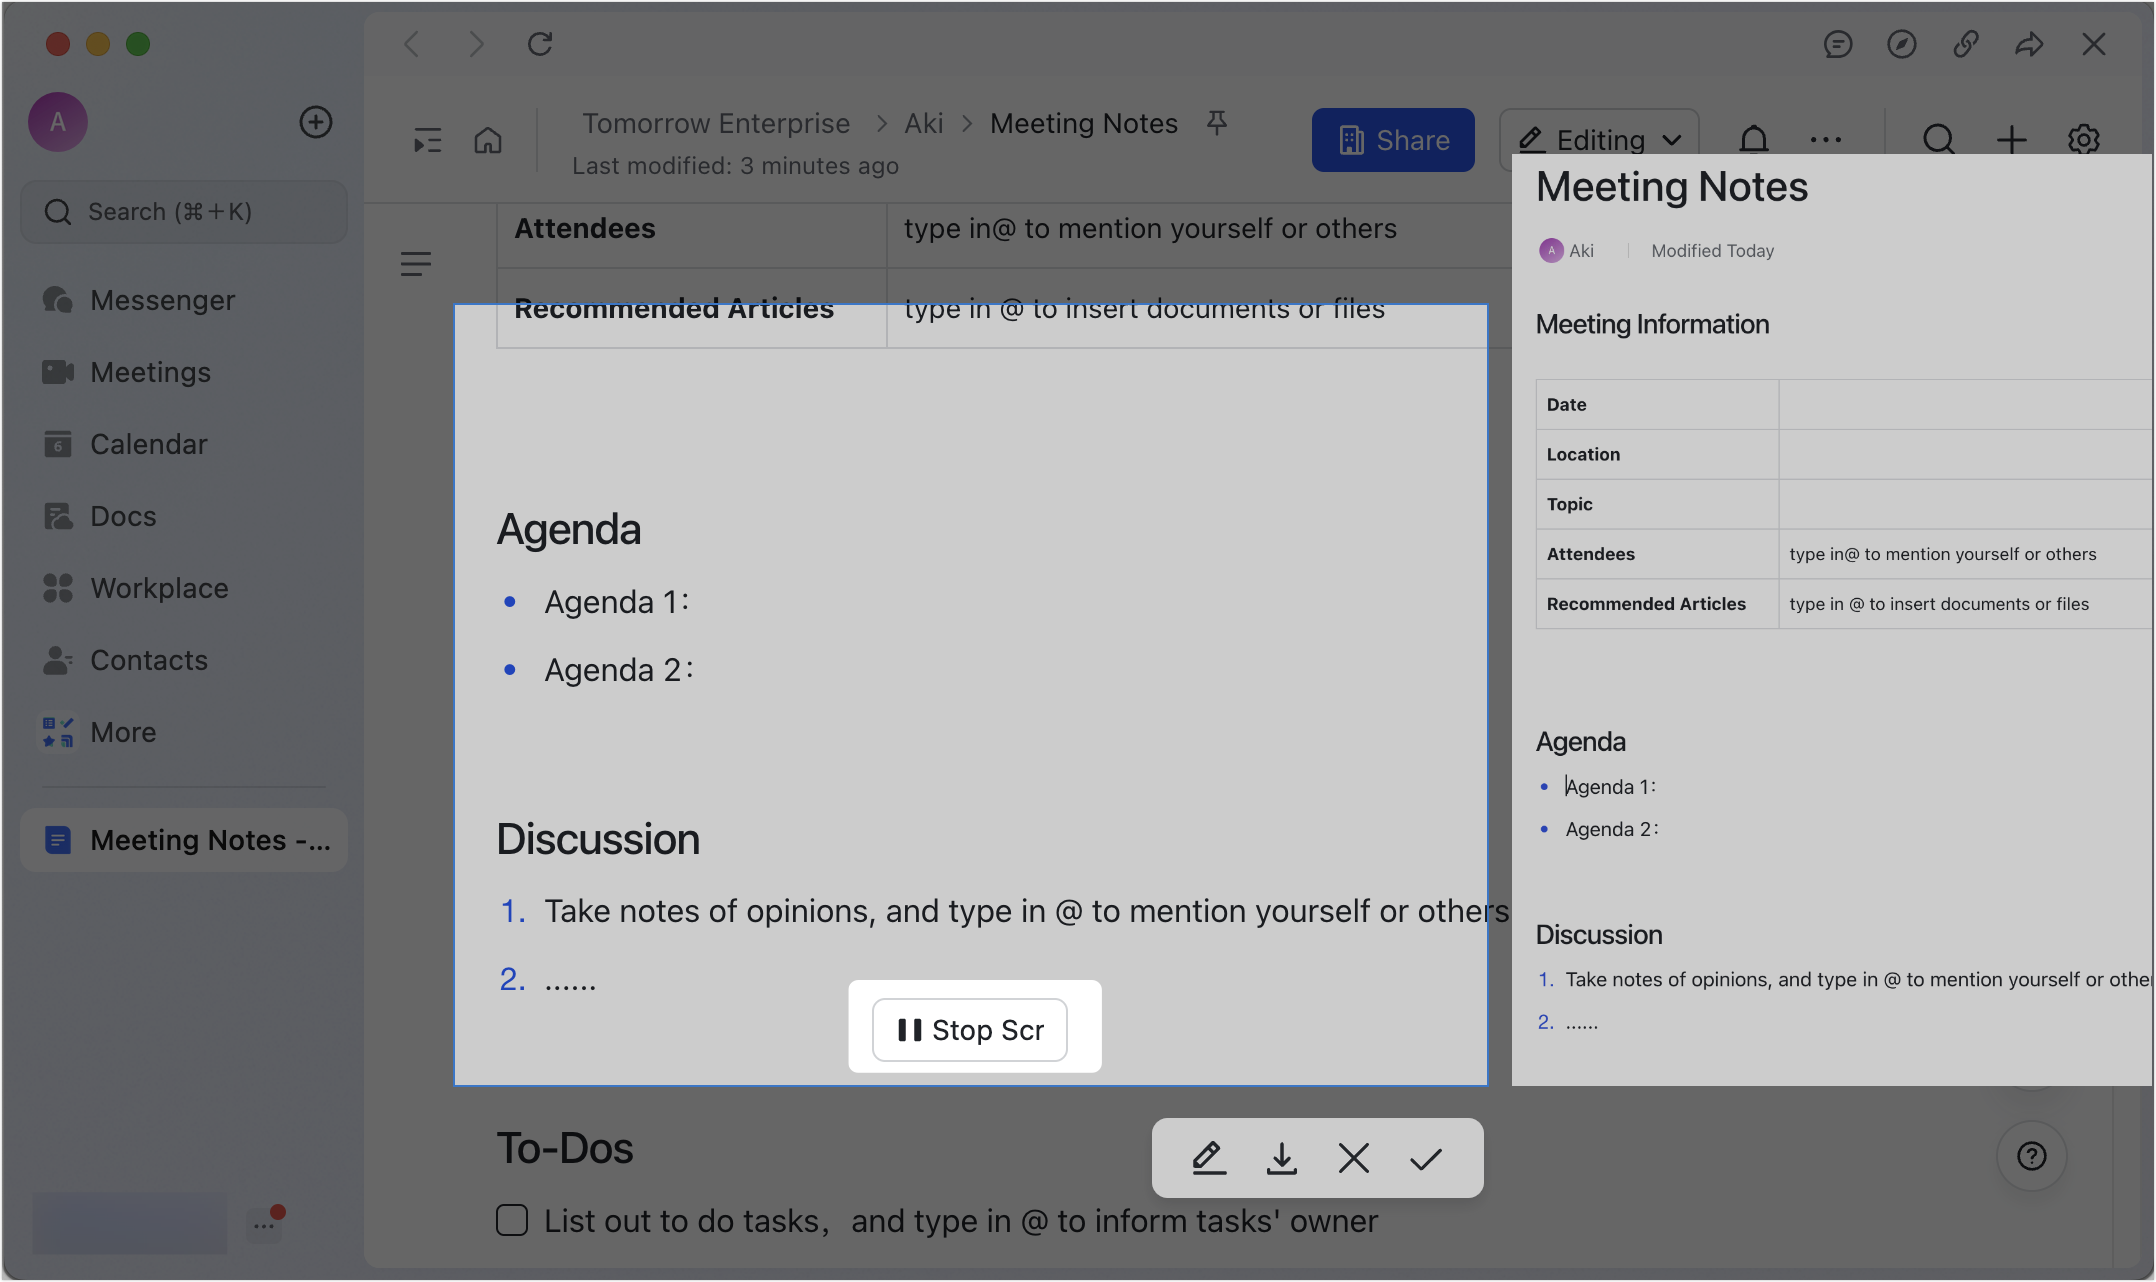
- Method 2: Click Autoscroll, and Lark will automatically scroll the page you need to take a screenshot of. You can click Stop Screenshot when needed.
250px|700px|reset
250px|700px|reset
- To stop capturing content, do one of the following:
- Click the Save to clipboard icon to paste the screenshot to a chat or document later.
- Click the Download icon to save the screenshot to your device.
- Click the Edit icon to edit the scrollshot.
- Click the Cancel icon to cancel the taking a scrollshot.
- 250px|700px|reset