
Available with these plans:
Starter
Basic
Pro
Enterprise
Up to 20 group members
Up to 500 group members
Up to 500 group members
Up to 5,000 group members
To upgrade your Lark Plan or for more information, contact Support or your Customer Success Manager. The Lark Basic plan supports only specific countries and regions.
I. Intro
When you need to collaborate with multiple members and share information efficiently, you can create a group chat and invite relevant members. Groups can be categorized based on different criteria such as regular groups (chat groups) and topic groups, meeting groups and department groups, internal groups and external groups, and so on. For more information, see Description of message group chat types.
Note: Both organization administrators and members can create groups.
II. Steps
Create a group from the Messenger homepage
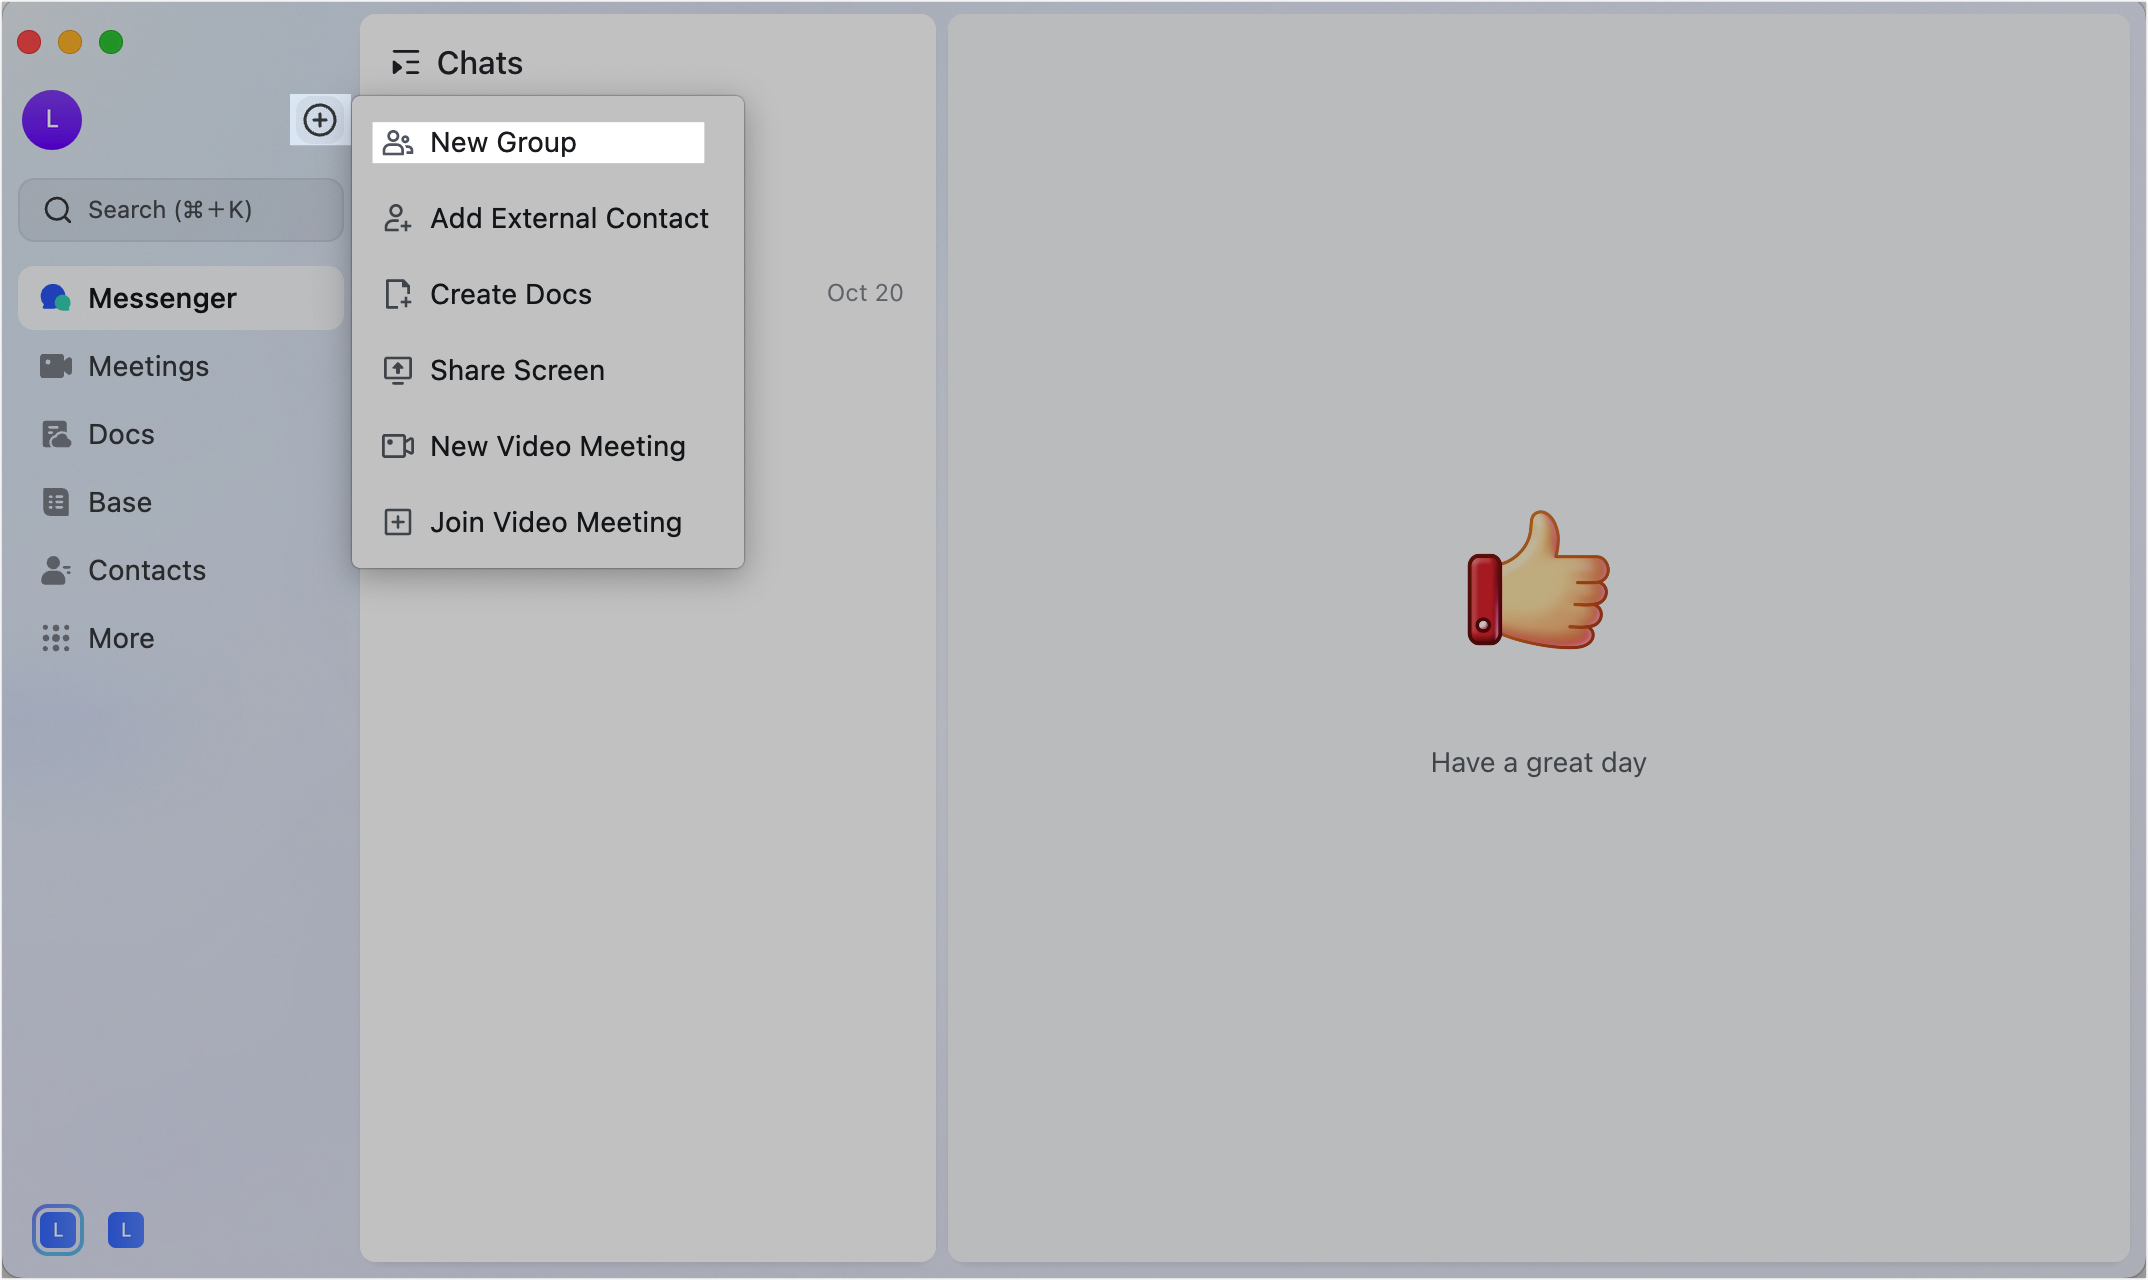
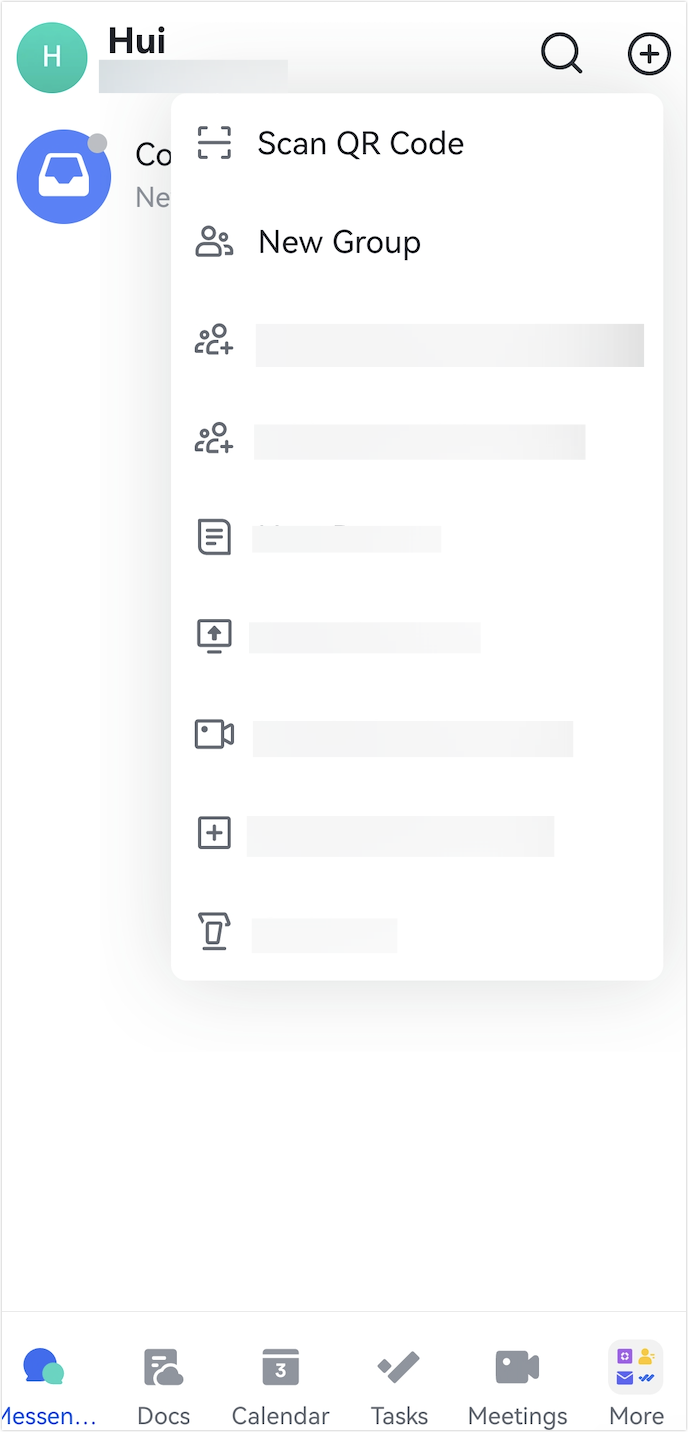
- Find your profile photo on the Lark app. Click the New icon to the right of your profile photo and select New Group.

250px|700px|reset
250px|700px|reset
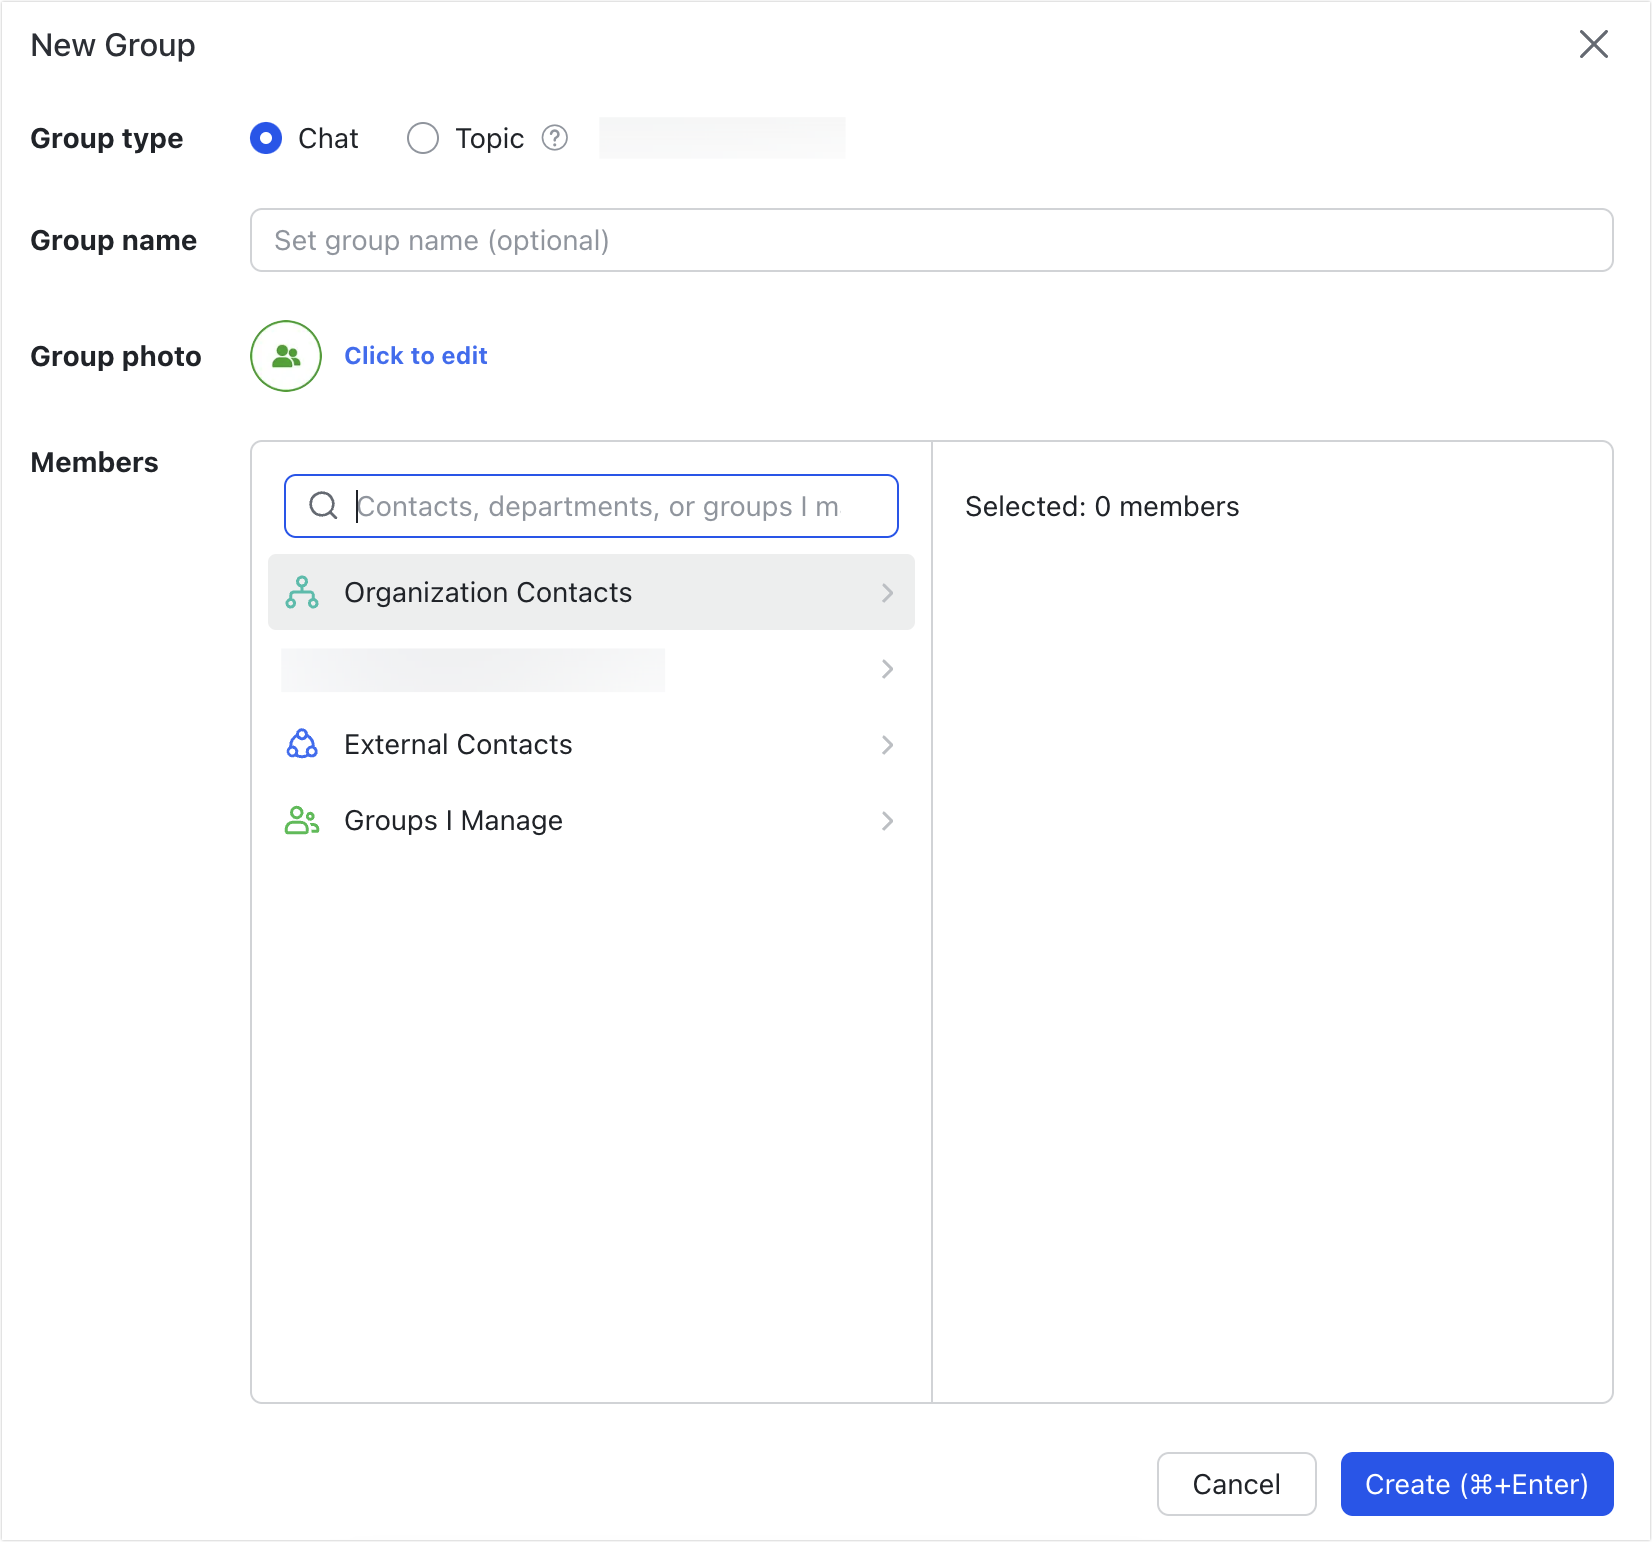
- Select the group type, set a Group name (optional), and add a Group photo (optional).
- Chat: Discussions happen in a standard chat format, and chat messages can be converted into topics.
- Topic: Discussions are organized under a specific topic, similar to forum threads. For more information, see Use topic groups.
Note: You can set a group name and group photo after the group is created if needed. For more information, see Edit group information.
250px|700px|reset
250px|700px|reset
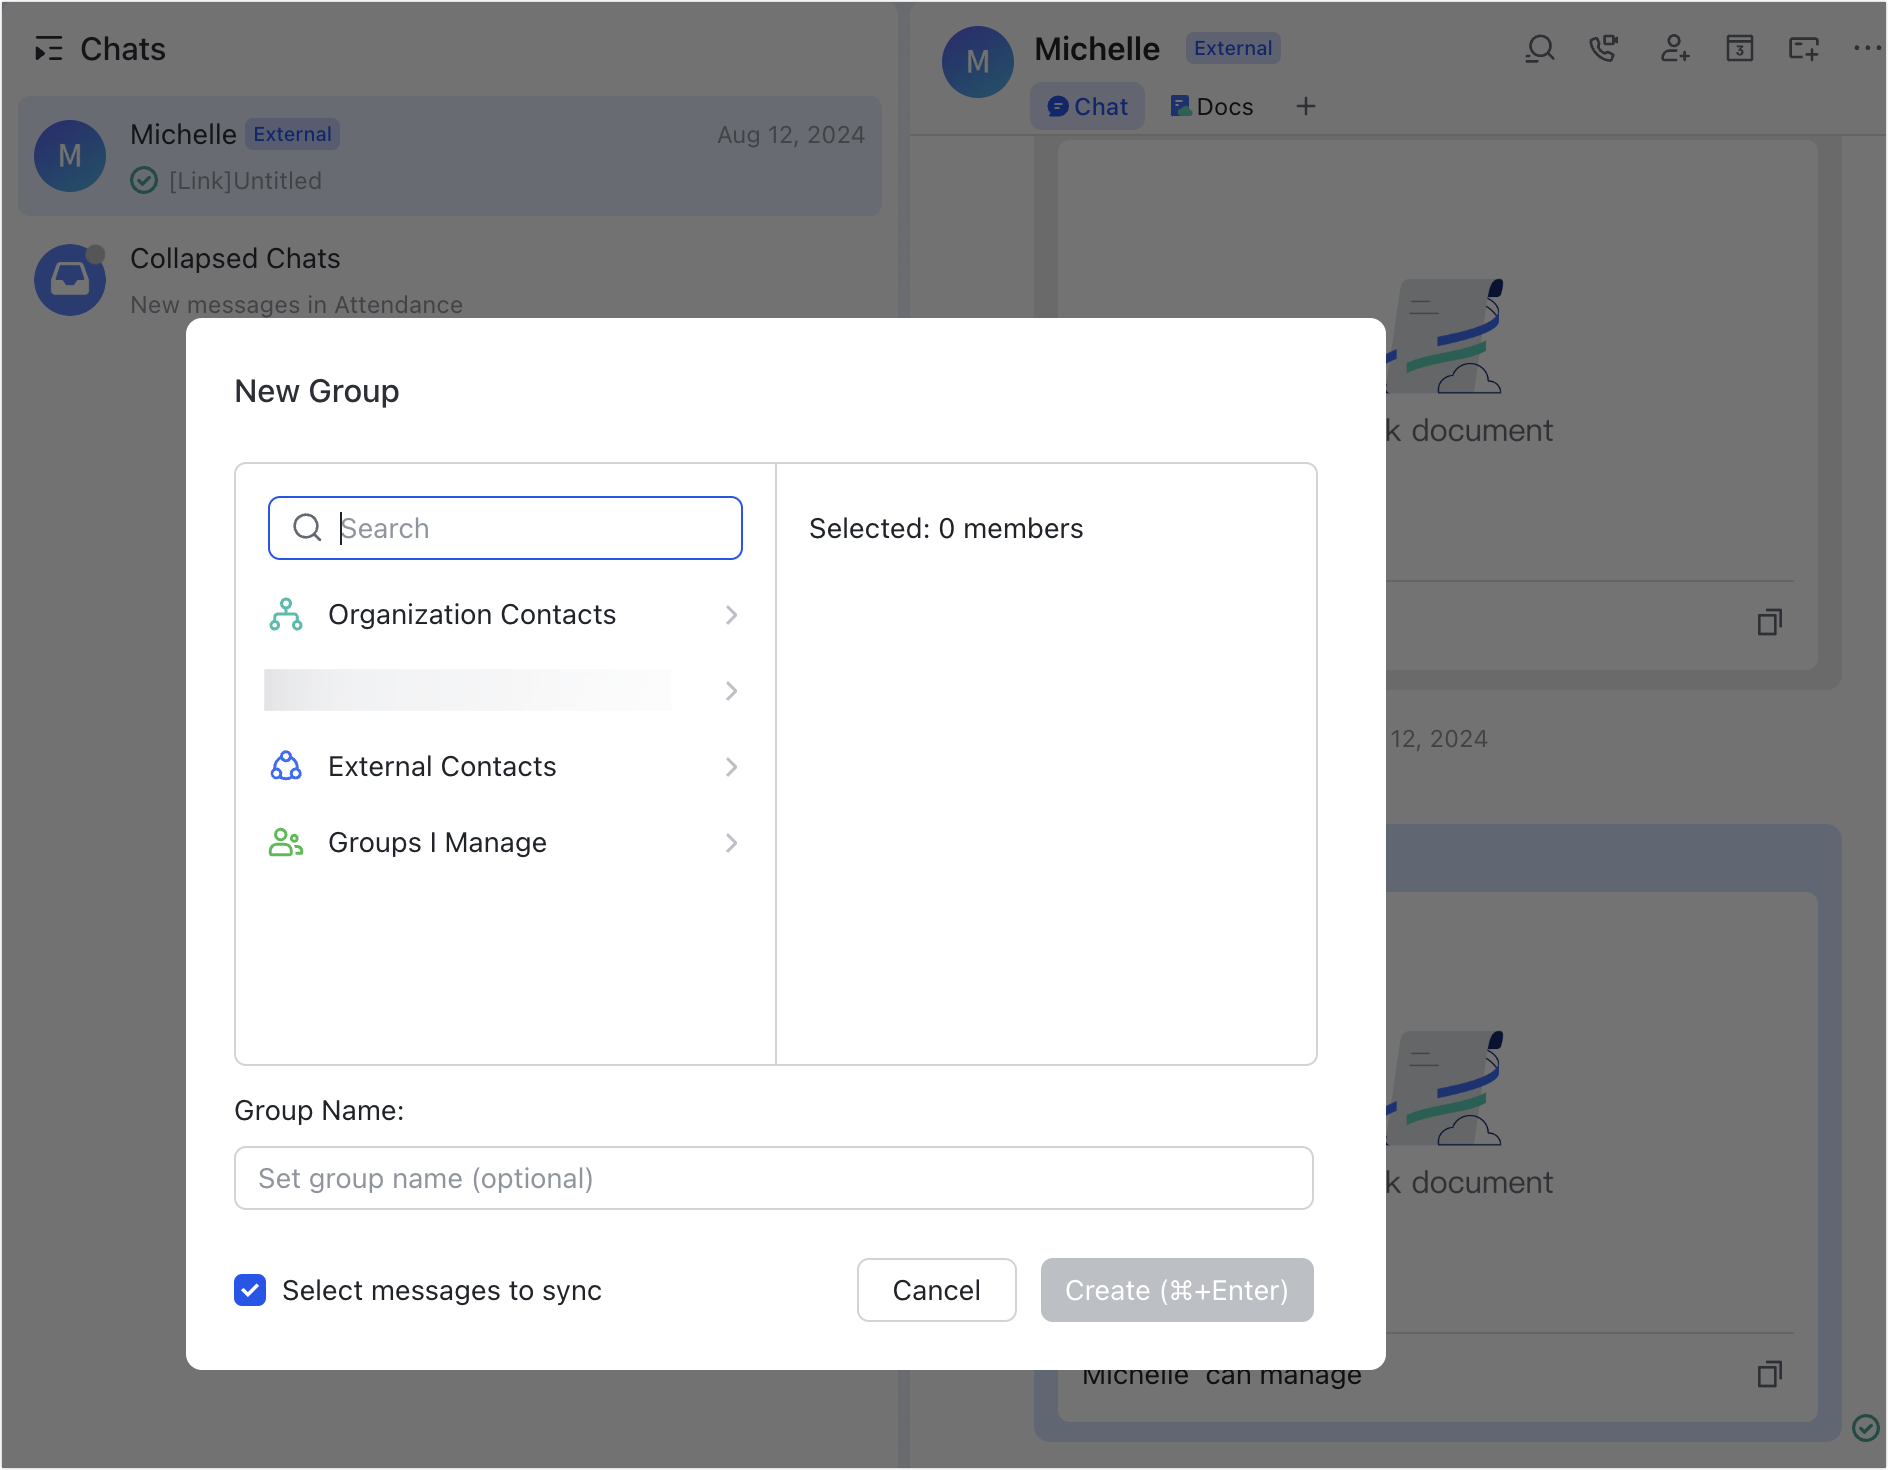
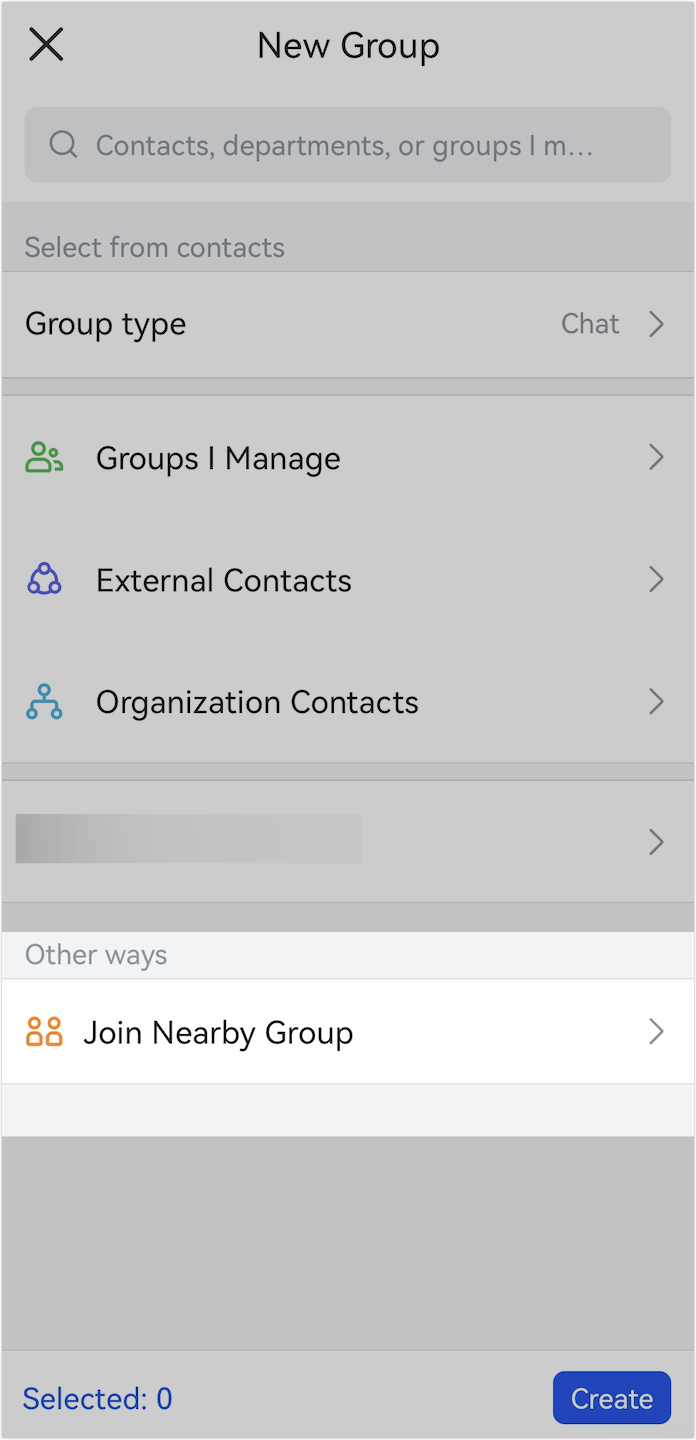
- Add group members in one of the following ways:
- Search for the names of contacts, departments, or groups and select the relevant members. In this way, you can create an internal or external group. If the group members include one or more external contacts, the group will become an external group.
- Click Organization Contacts to select all members of a department based on the organizational structure. To view and select specific members, click Expand on the right side of the department name to display the full list of department members. The group created in this way is an internal group.
- Click External Contacts and select the relevant external contacts. The group created in this way is an external group.
- Click Groups I Manage, then select a group from the list to add all its members to the new group that you are creating. The group created in this way is an internal group.
Note:
- Adding all members of a department based on the instructions above creates a regular non-department group. Only department supervisors and organization administrators can create department groups. For more information, see Create department groups.
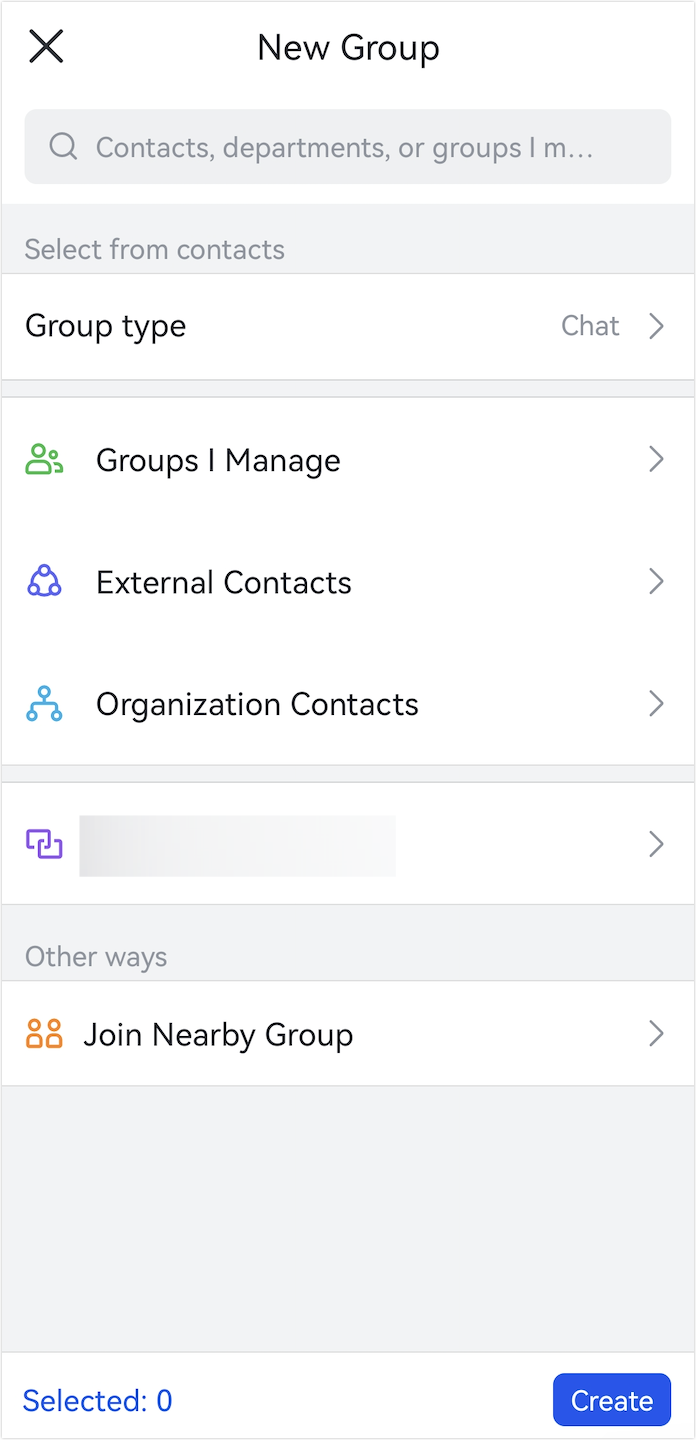
- On the Lark mobile app, you can create groups face-to-face using the "Join Nearby Group" feature. Groups created in this way are external groups. For more information, see the section "Join a nearby group" below.
- Click Create.
Create a group from a private chat
You can create a group directly from a private chat by adding additional members. The chat history from the private chat can also be synced to the new group. This helps group members understand the context and previous discussions.
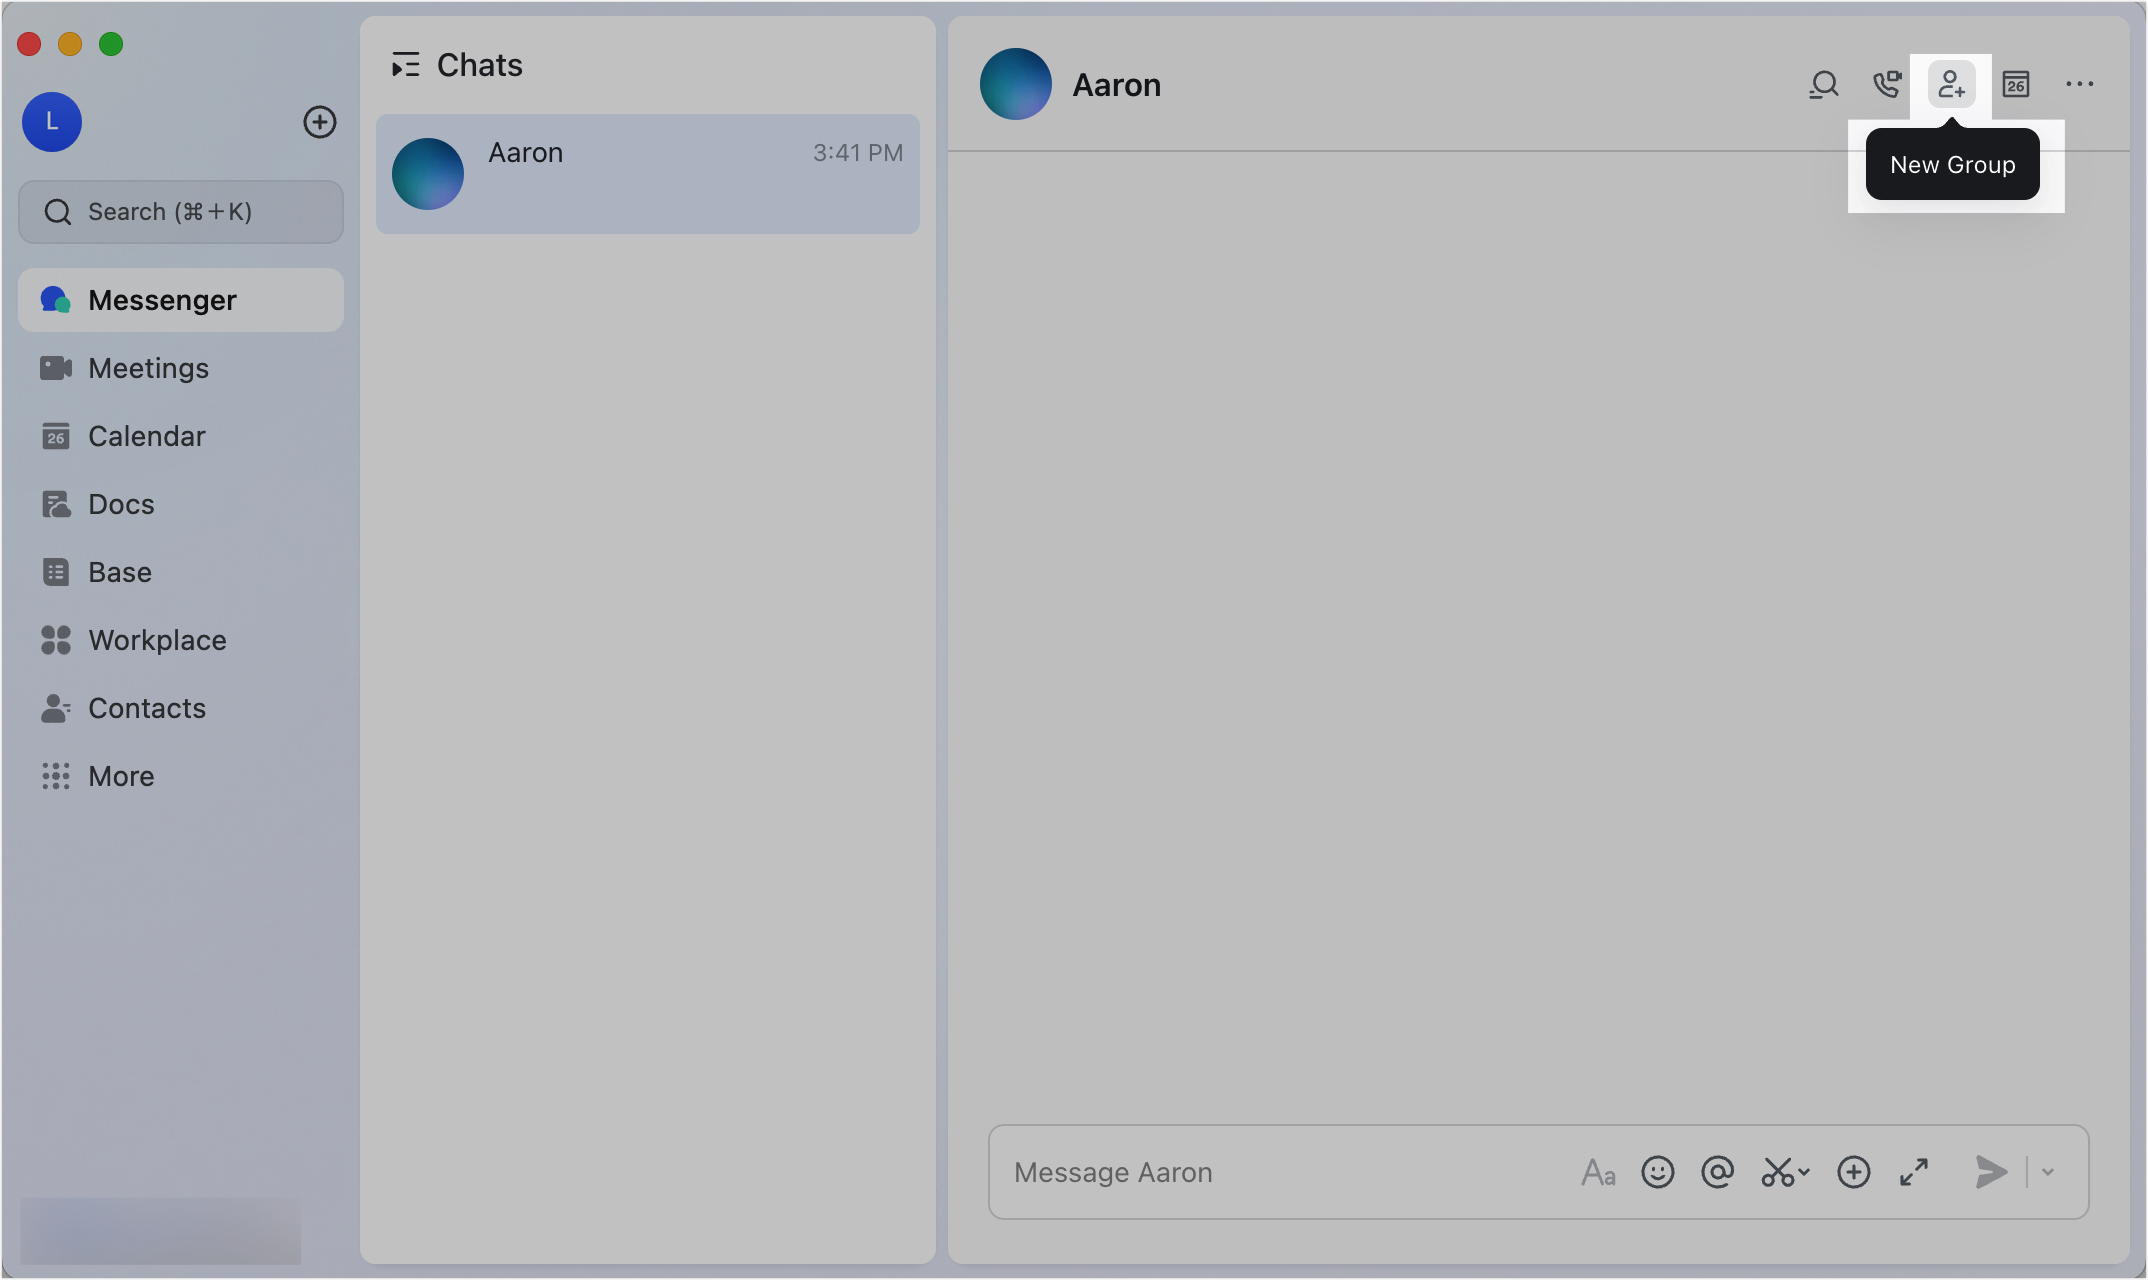
- Click the New Group icon in the upper-right corner of a private chat.
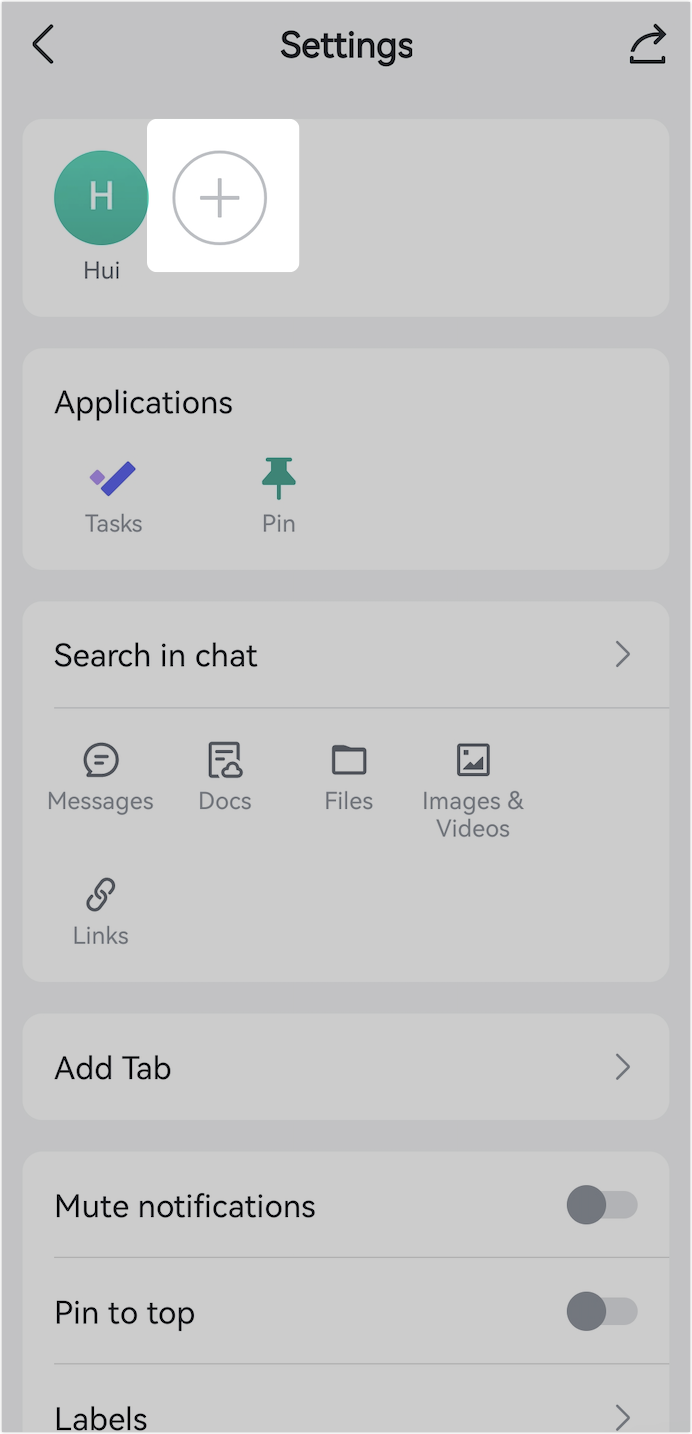
- Note: When performing actions on the Lark mobile app, open the chat, tap the More icon in the upper-right corner of the page, and then tap the New icon to the right of the other person's profile photo to create a group.
250px|700px|reset
250px|700px|reset
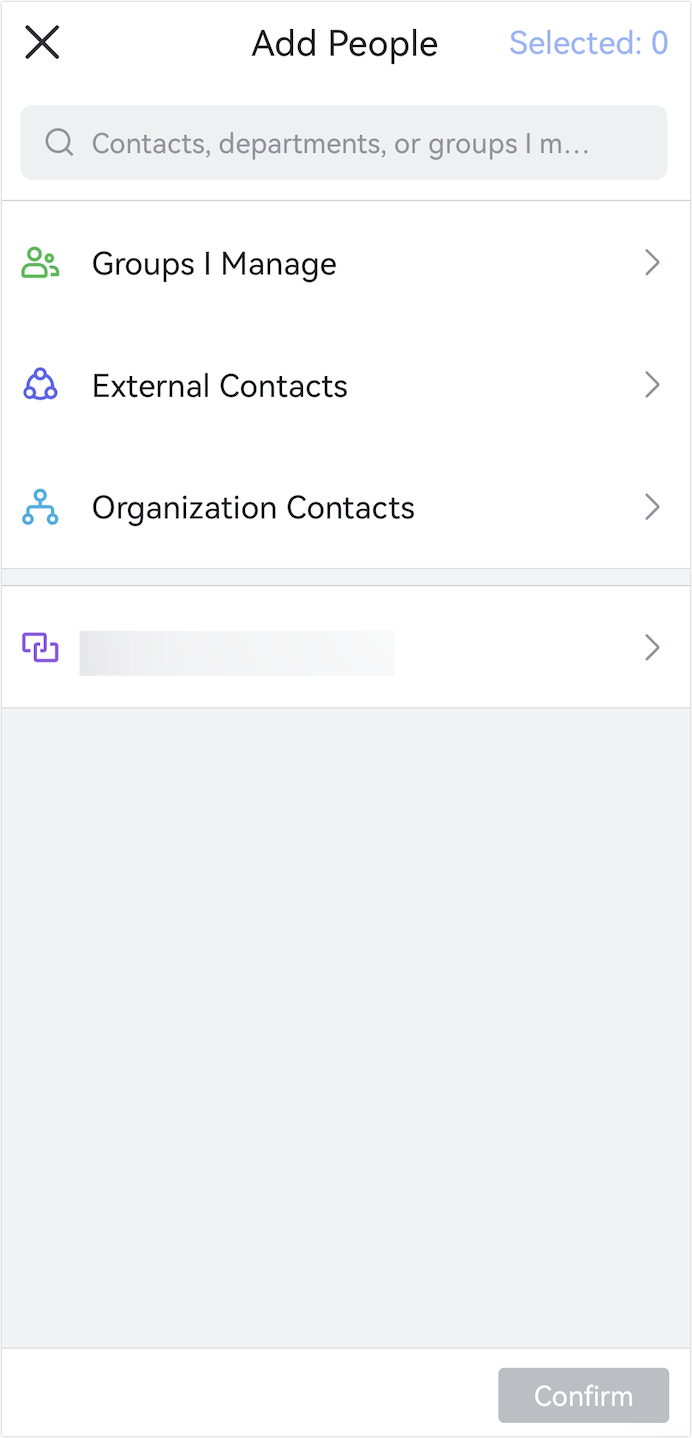
- Add group members in any of the following ways.
- Search for the names of contacts, departments, or groups and select the relevant members. In this way, you can create an internal or external group. If the group members include one or more external contacts, the group will become an external group.
- Click Organization Contacts to select all members of a department based on the organizational structure. To view and select specific members, click Expand on the right side of the department name to display the full list of department members. The group created in this way is an internal group.
- Click Groups I Manage, then select a group from the list to add all its members to the new group that you are creating. The group created in this way is an internal group.
- Click External Contacts and select the relevant external contacts. The group created in this way is an external group.
Note: Adding all members of a department based on the instructions above creates a regular non-department group. Only department supervisors and organization administrators can create department groups. For more information, see Create department groups.
250px|700px|reset
250px|700px|reset
- Optionally, you can set a group name (up to 60 characters). If no name is set, the group will be named using the names of up to four group members.
- Decide whether you need to sync the chat history from the private chat to the new group. By default, Select messages to sync is selected. If you do not need to sync, deselect it.
- Click Create.
Join a nearby group
Notice:
- The Join Nearby Group feature is only supported on the mobile app. Groups created this way are external groups.
- To use the Join Nearby Group feature, ensure that location services are enabled on all mobile devices, and Lark has permission to access location information.
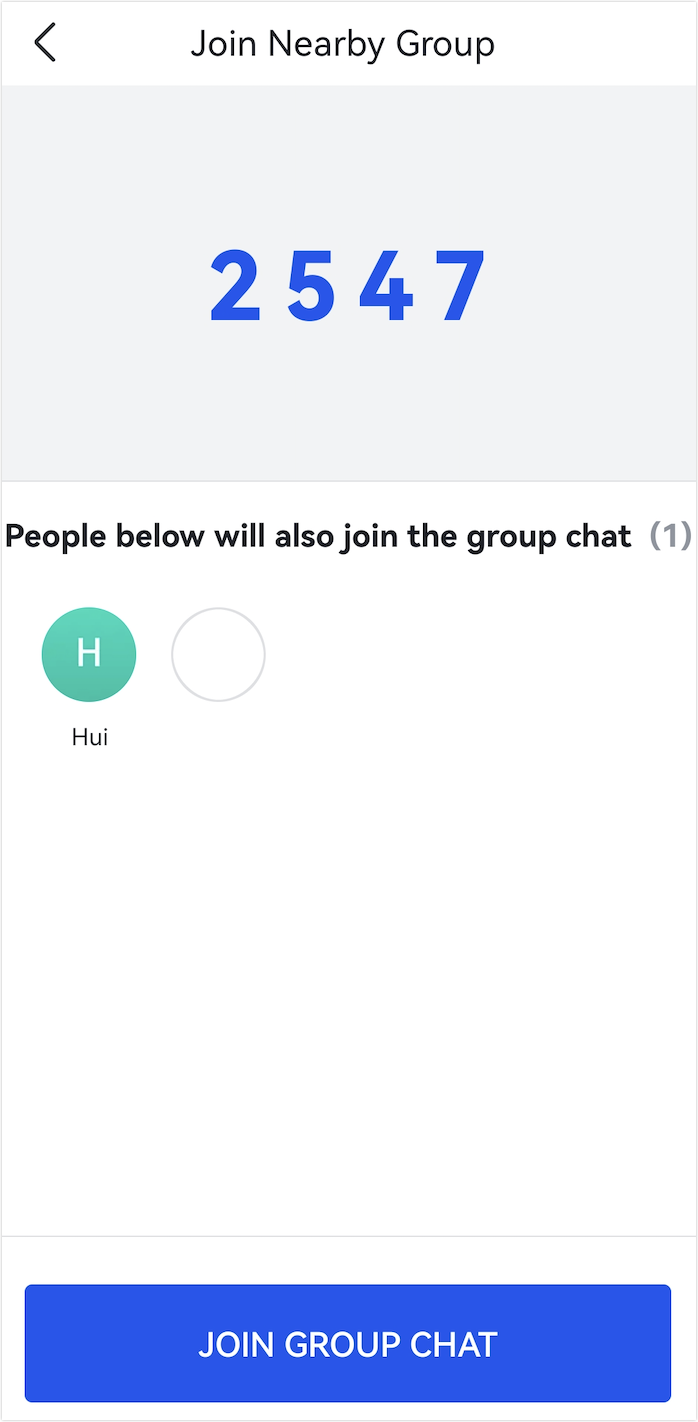
- On the Lark mobile app, find your profile photo. Tap the New icon to the right of your profile photo. Select New Group > Join Nearby Group.
250px|700px|reset
250px|700px|reset
- Enter the same 4-digit number, and then tap Join Group Chat. All members who perform this action will join the same group chat.
- Note: The first member to join the group automatically becomes the group owner.
250px|700px|reset
III. FAQs