

I. Intro
If your enterprise or organization has collaboration needs, and you want members to collaborate on Lark, you can create an organization on Lark. After creating an organization, add members to the organization, and then the members can communicate and collaborate on Lark.
As the creator of the organization, you will automatically become the first primary administrator. This allows you to manage organization settings and perform administrative tasks through the Lark Admin Console.
If you haven't registered for Lark yet, refer to the following steps to create an organization. If you have already registered for Lark, refer to the steps in Existing Lark user to create an organization.
II. Steps
Mobile
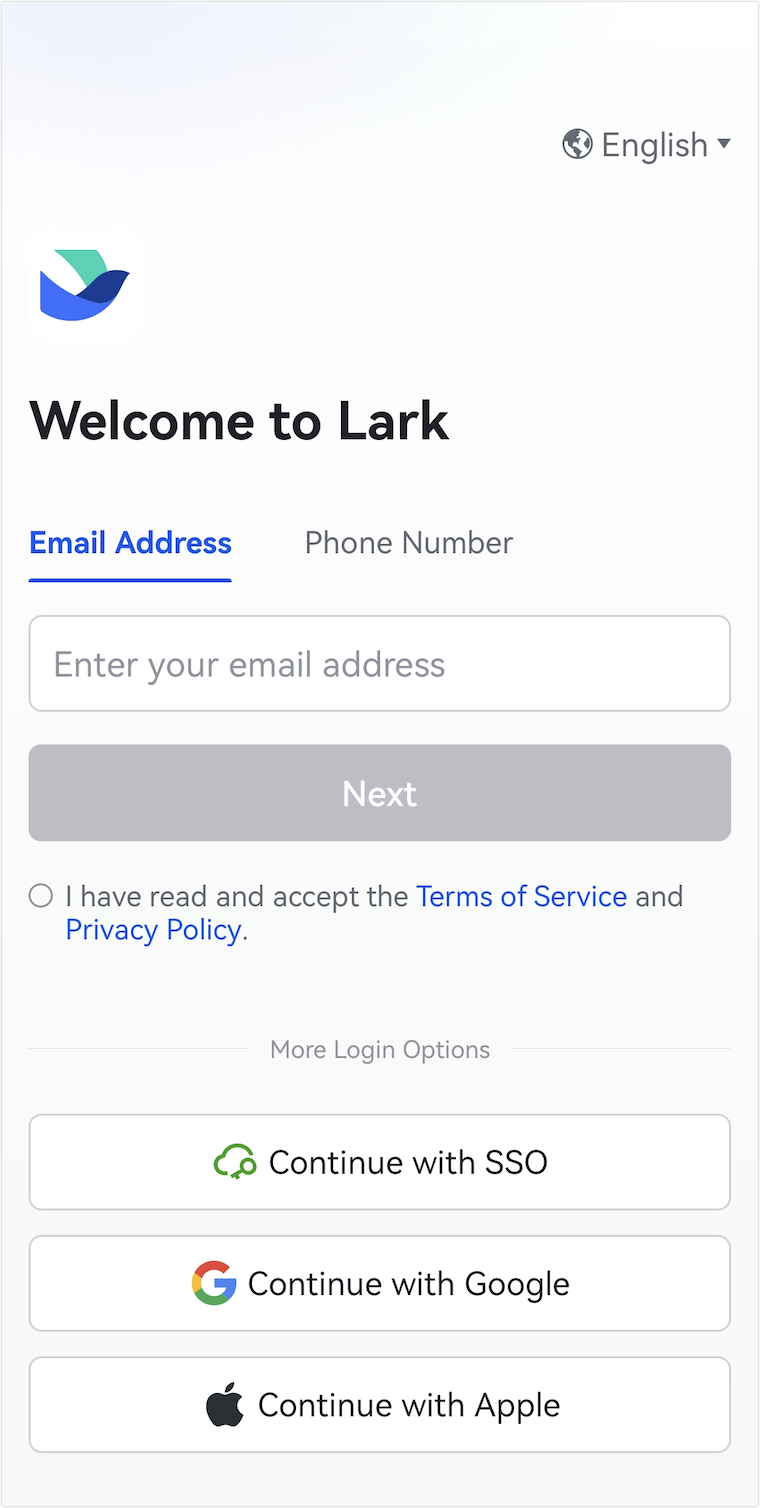
- Open the Lark app, tap Get Started. Enter your email address or phone number, select I have read and accept the Terms of Service and Privacy Policy, and tap Next. Enter the verification code to complete the verification.
- Note:
- If it is not your first time opening the Lark app, you can directly enter your email address or phone number to start creating an organization.
- Lark does not support phone numbers starting with the international area code of Chinese Mainland (+86) for creating an organization.


250px|700px|reset
250px|700px|reset
250px|700px|reset
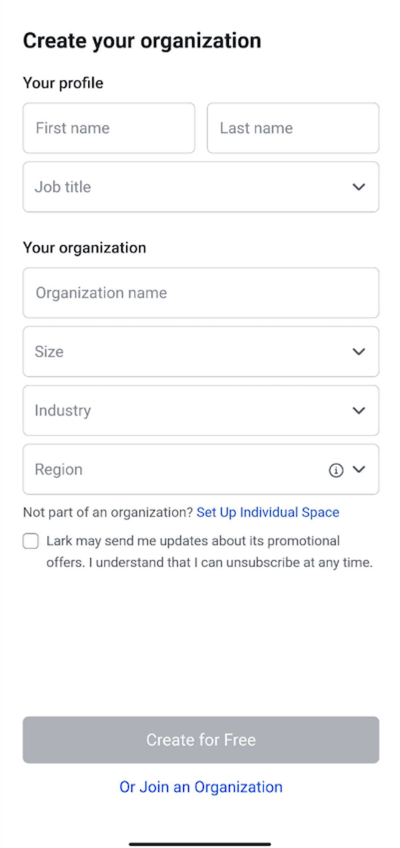
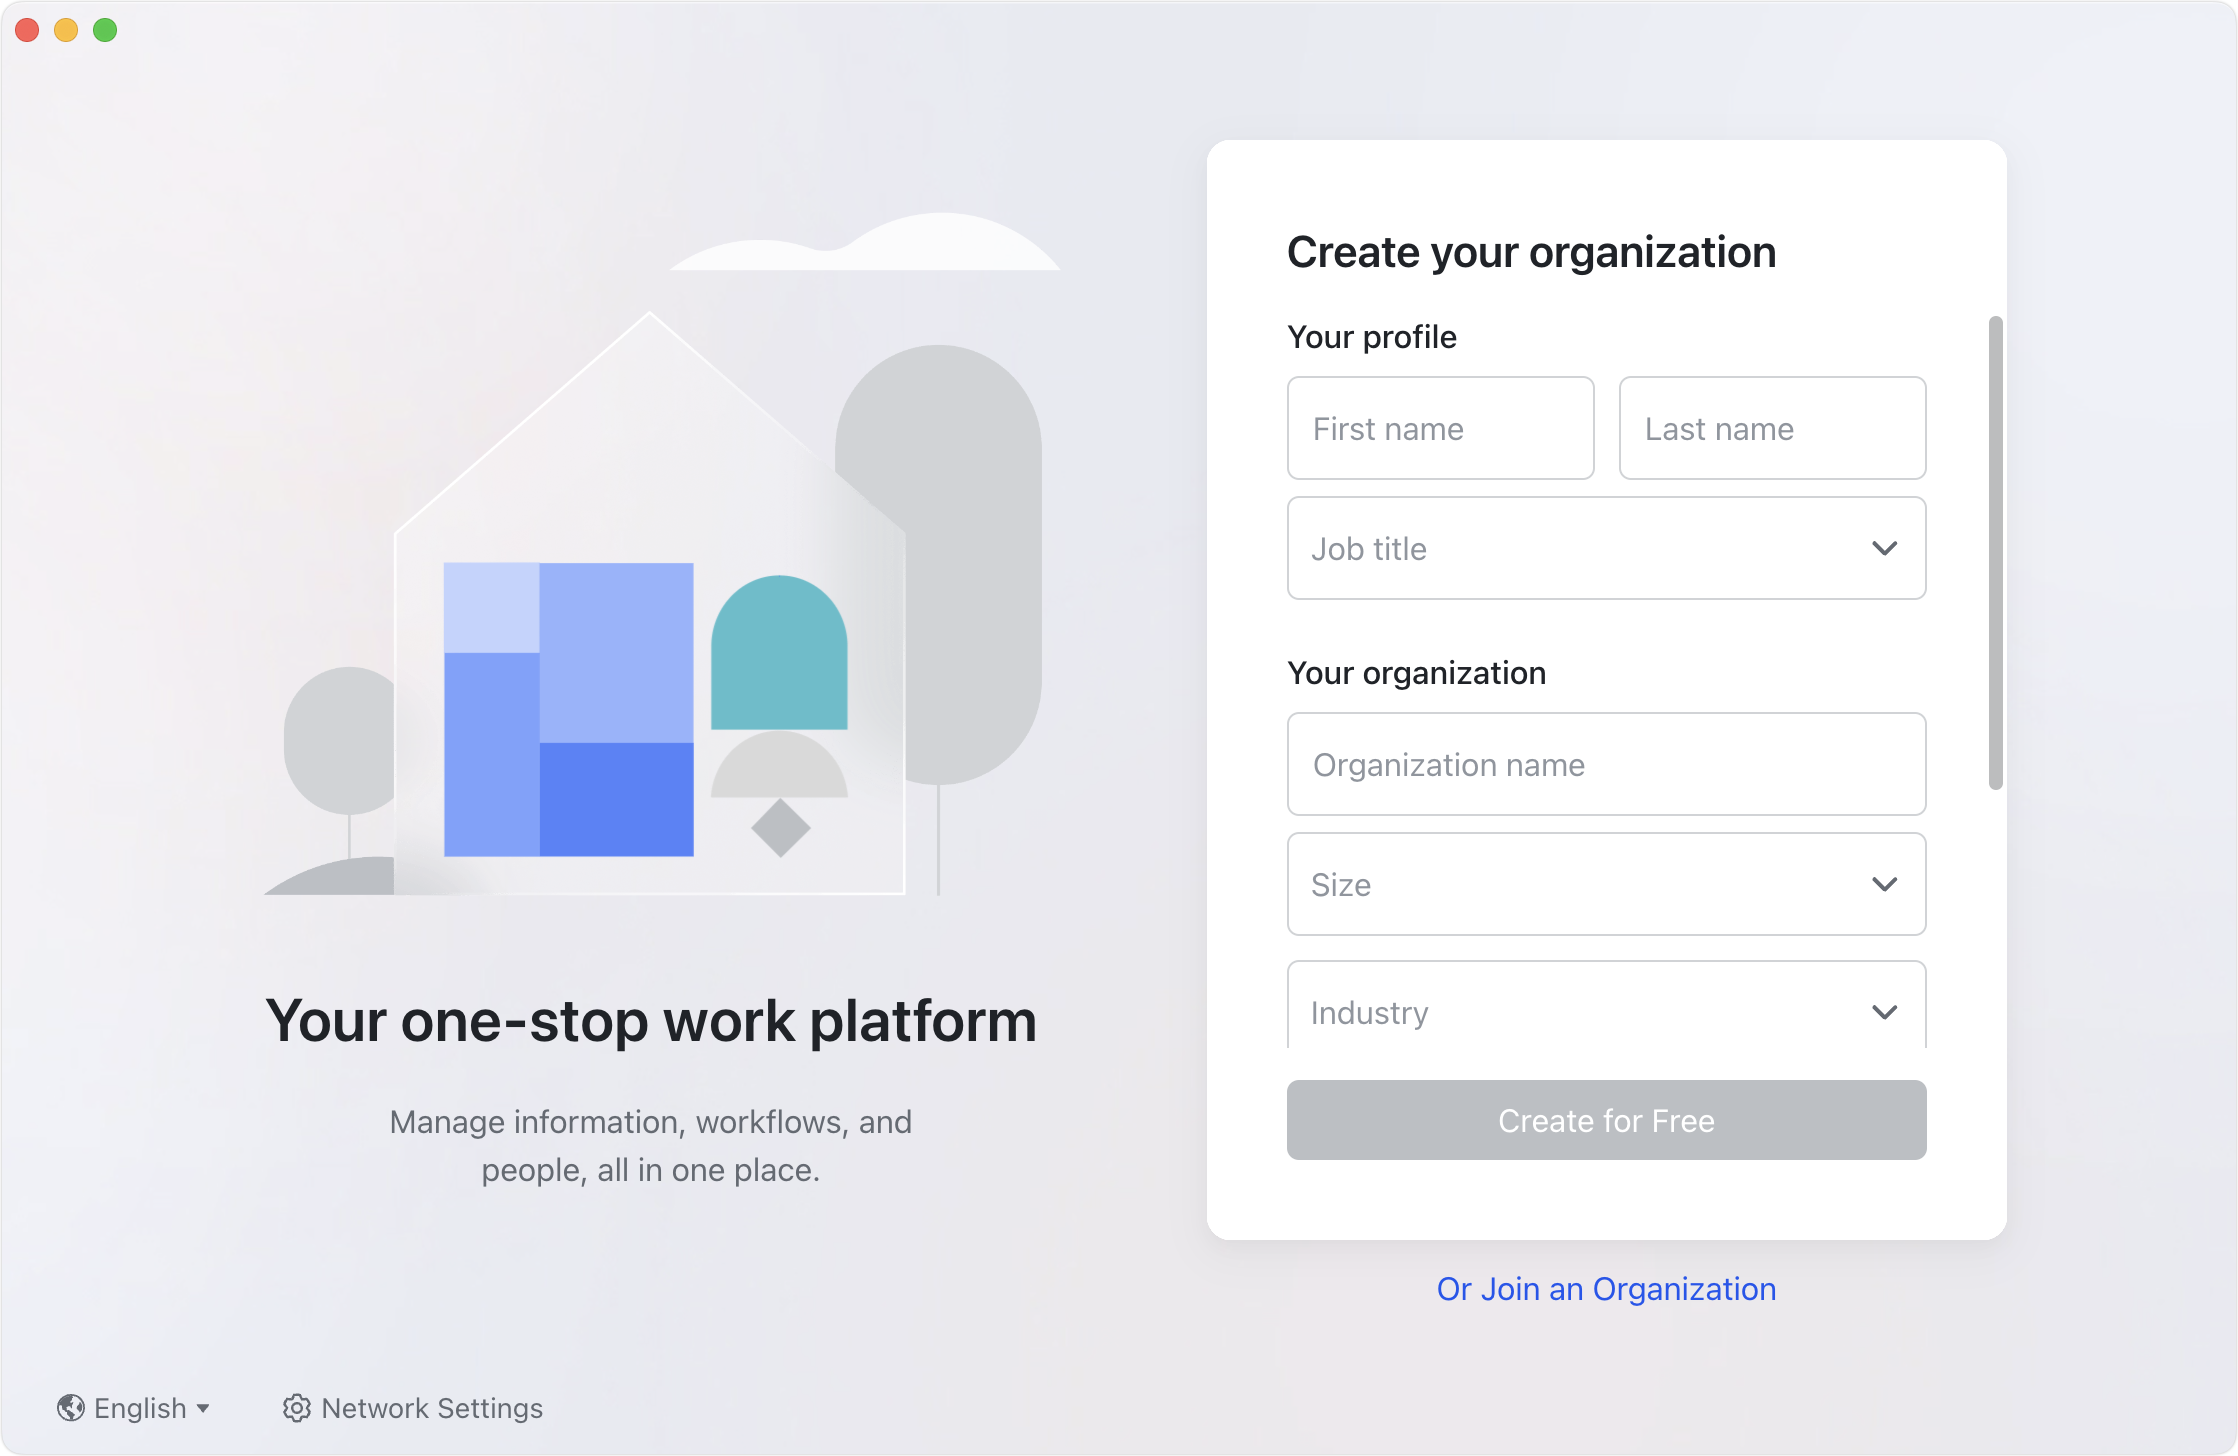
- Fill in your information (including first name, last name, and job title), and organization information (including organization name, size, industry, and region). Then tap Create for Free.
Warning: The selected country or region will determine the storage location of the organization's data, and it cannot be changed once selected.
250px|700px|reset
- Set your account password. Tap Next, and the organization is created.

250px|700px|reset
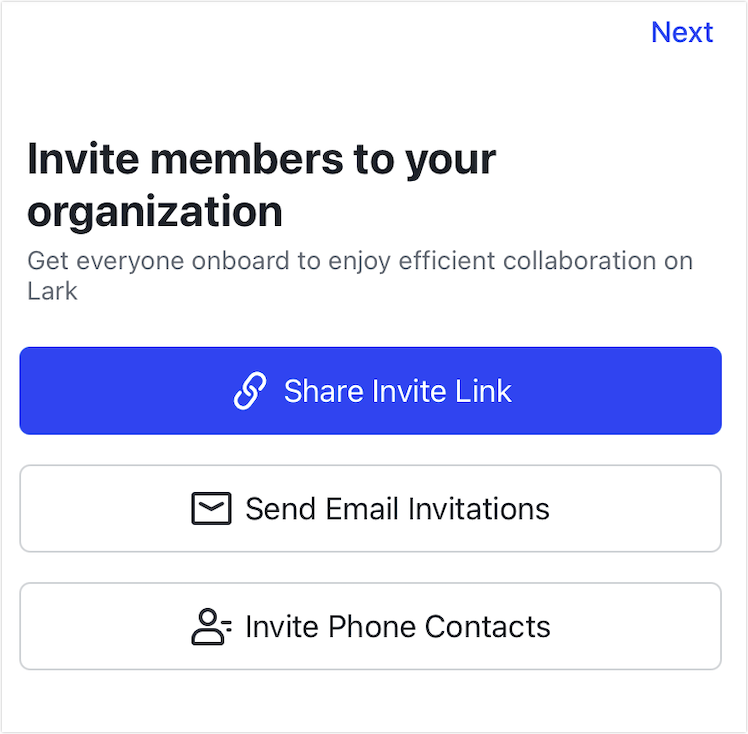
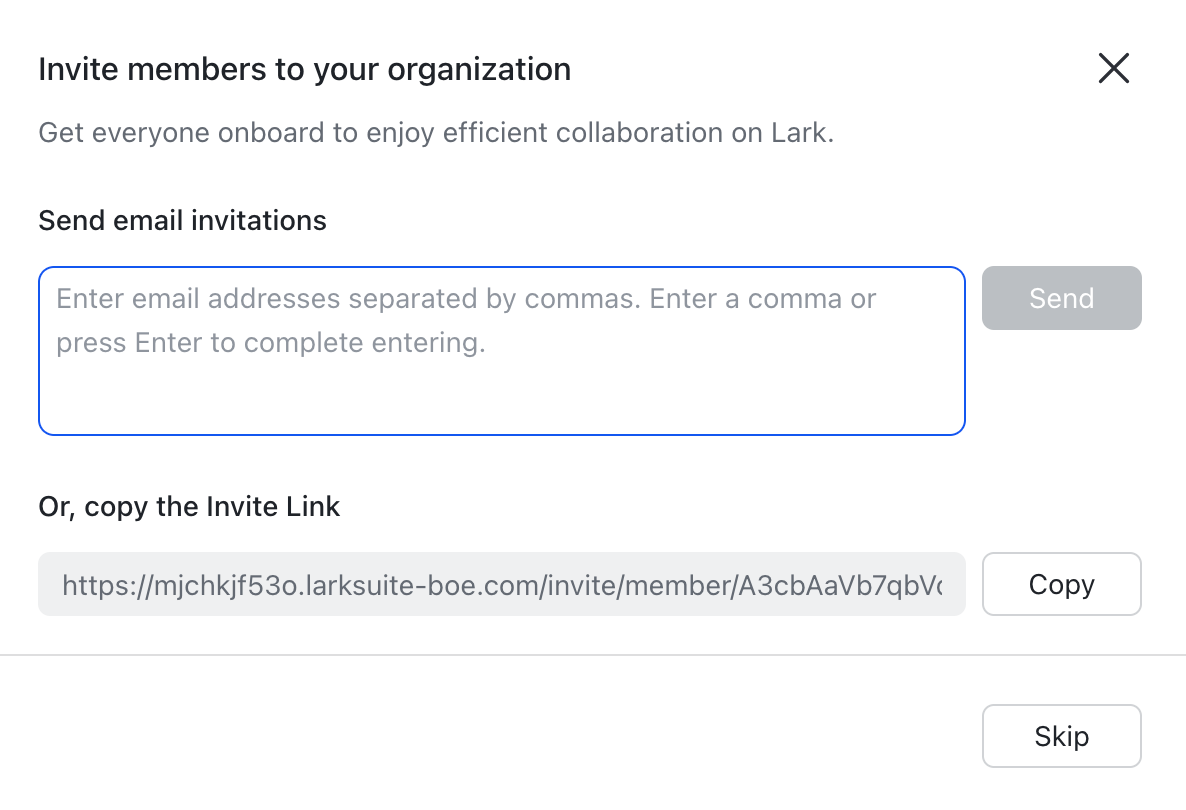
- You can invite members to join the organization by sharing the invite link, sending email invitations, or inviting phone contacts. If you don't want to invite members for now, you can tap Next to skip this step. To invite members later, see Admin | Invite or add members to your organization.
- By default, the creator of the organization will be the primary administrator of the organization and can perform various organization management actions in the Admin Console. For specific information, see Day 1: Create your organization and learn what admin can do.
250px|700px|reset
Desktop
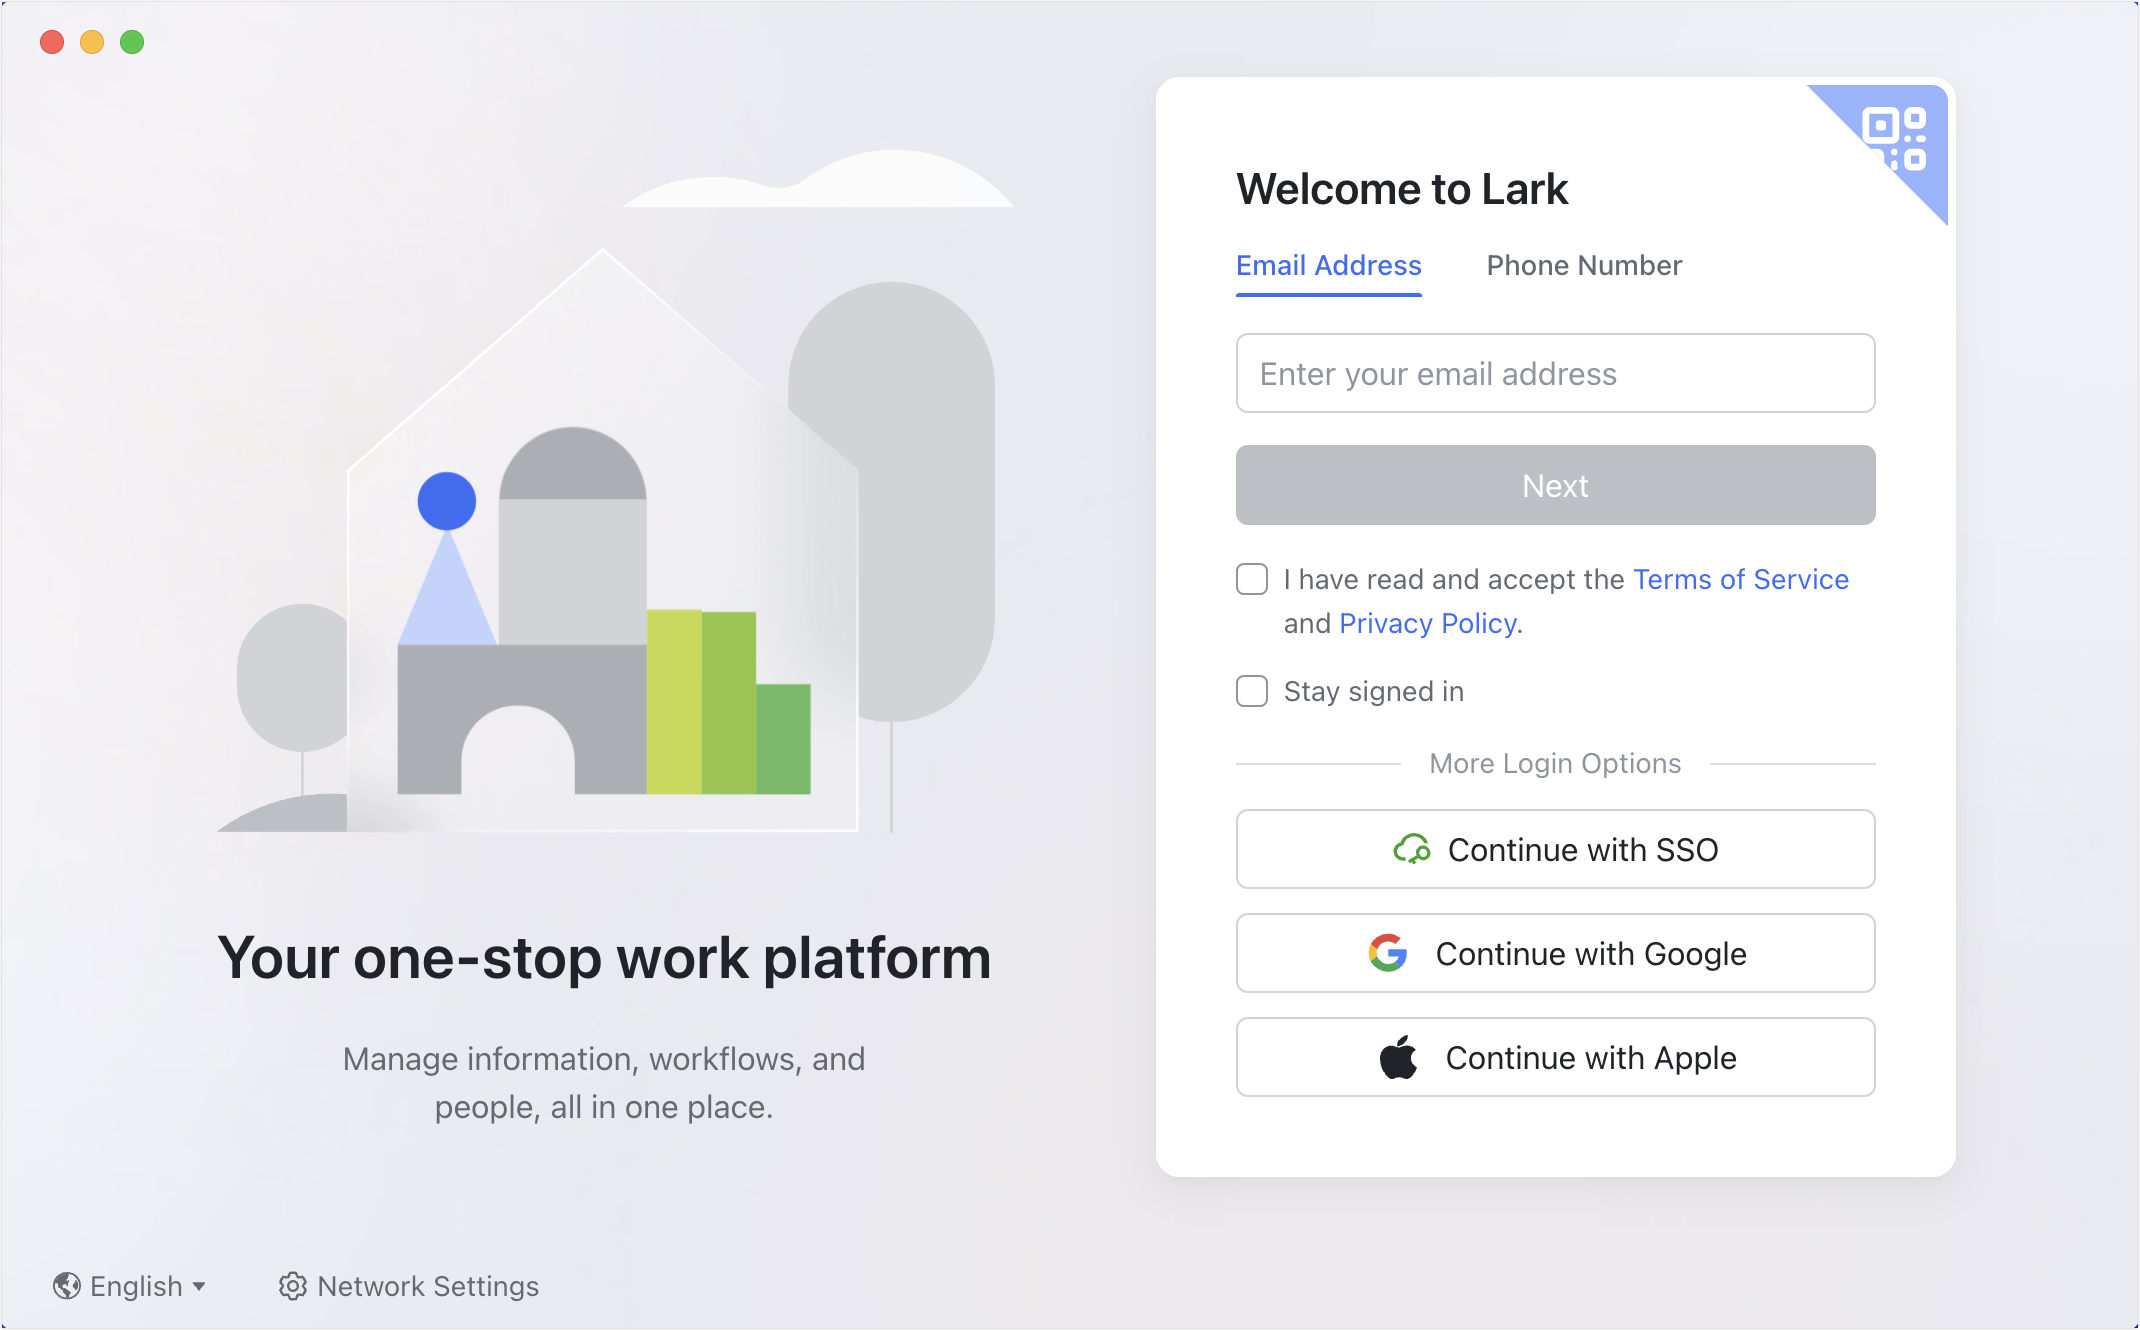
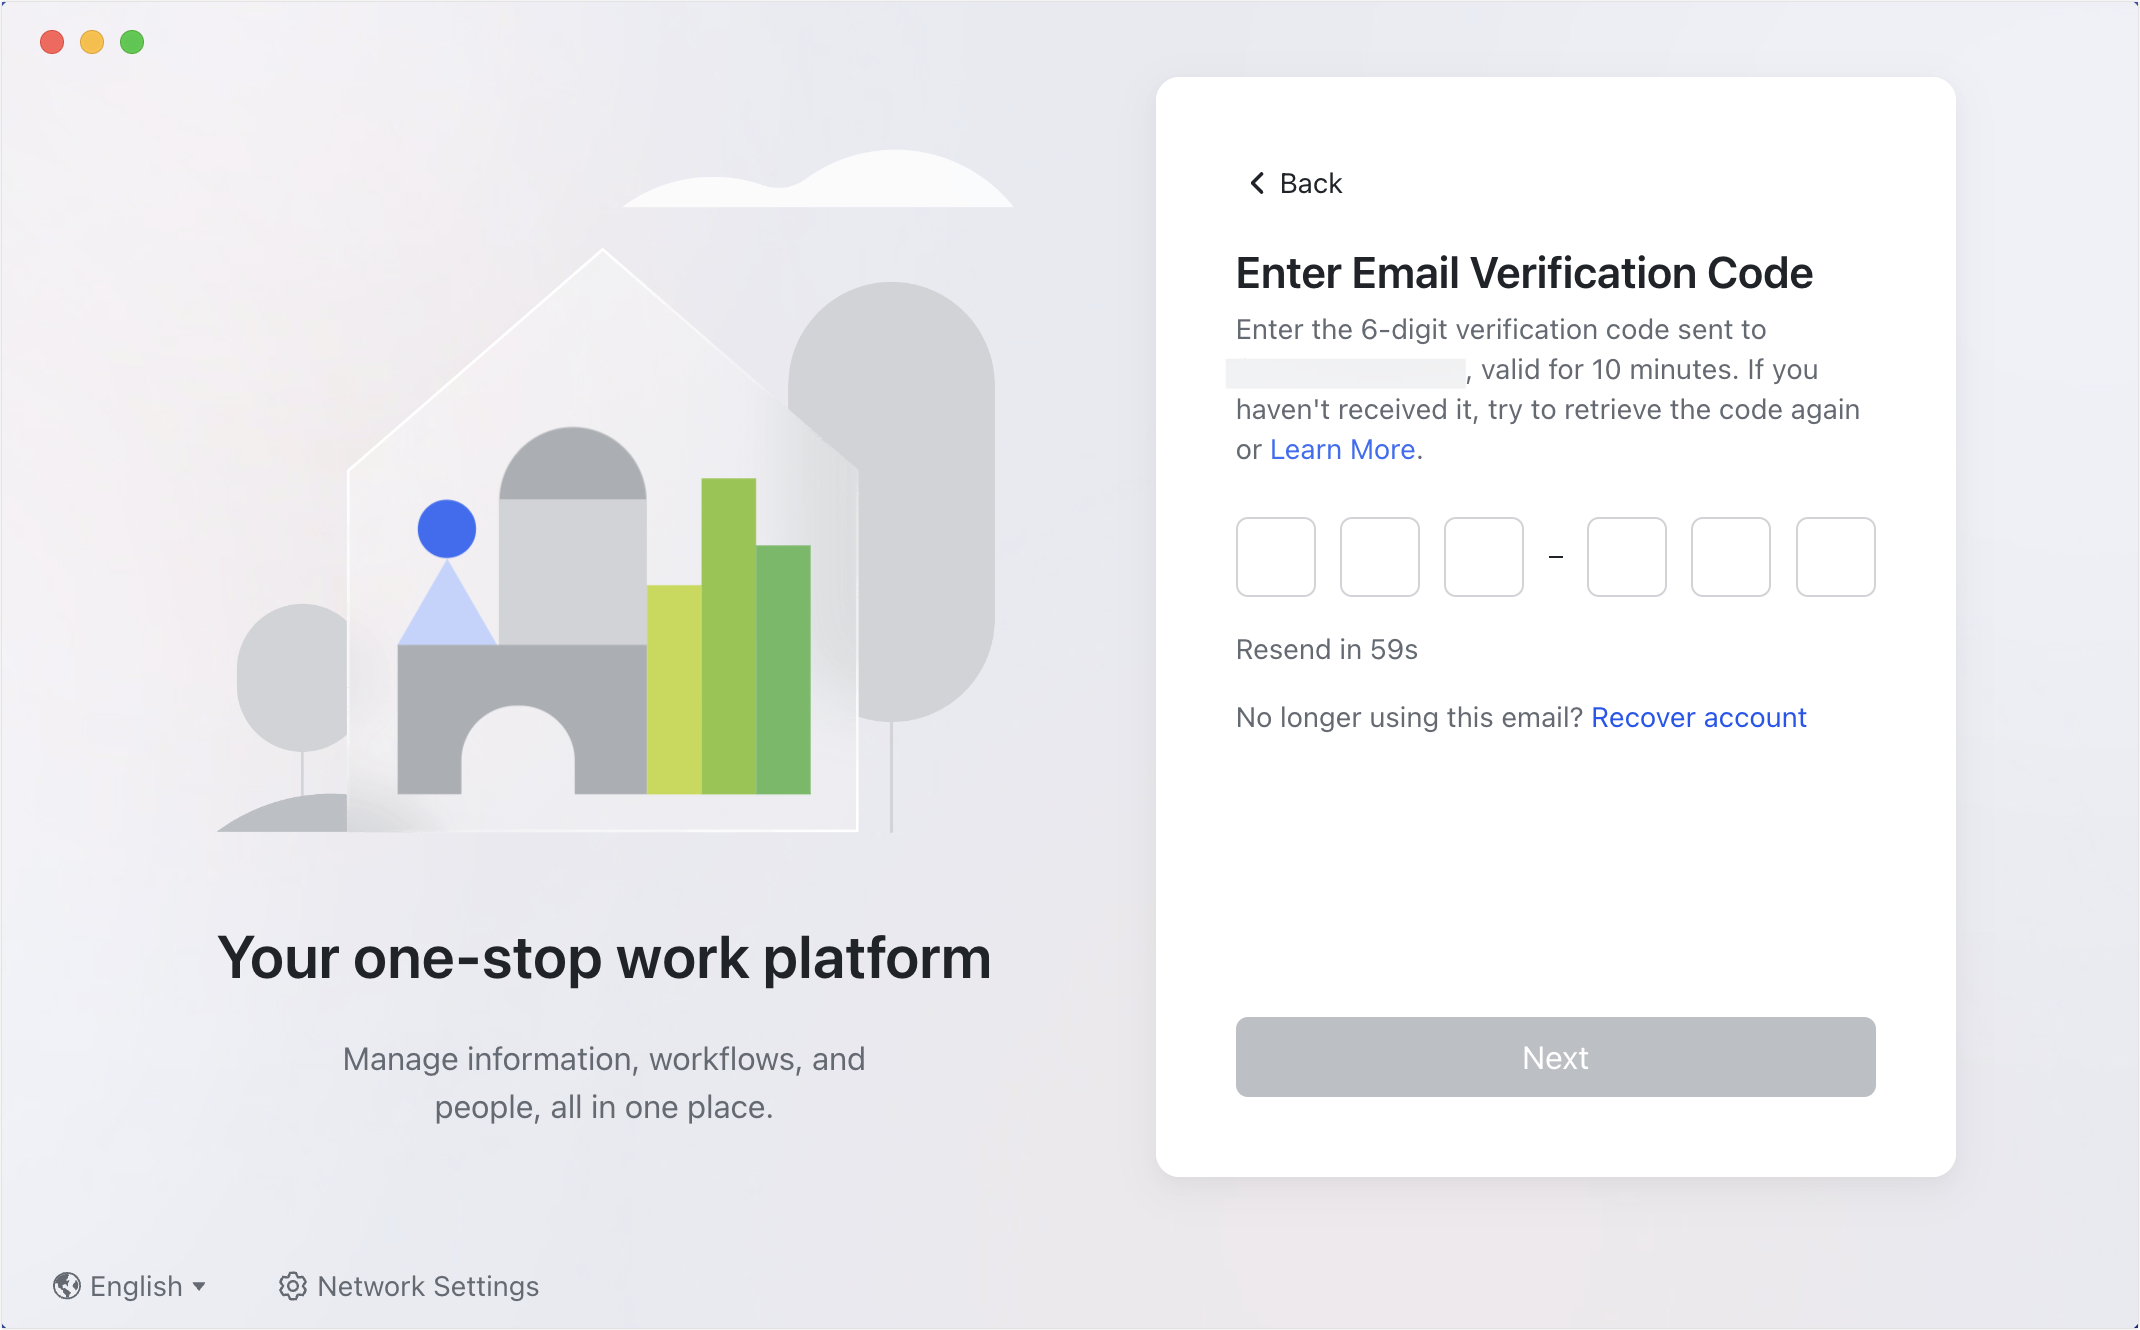
- Open the Lark desktop app, enter your email or phone number, select I have read and accept the Terms of Service and Privacy Policy, and click Next. Then, enter the verification code and click Next.
- Note: Lark does not support phone numbers with the international area code of Chinese Mainland (+86) for creating an organization.
250px|700px|reset
250px|700px|reset
- Fill in your information (including first name, last name, and job title), and organization information (including organization name, size, industry, and region). Then click Create for Free.
Warning: The selected country or region will determine the storage location of the organization's data, and it cannot be changed once selected.
250px|700px|reset
- Set your account password. Click Next, and the organization is created.

250px|700px|reset
- You can invite members to join the organization by sharing the invite link, sending email invitations, or inviting phone contacts. If you don't want to invite members for now, you can click Next to skip this step. To invite members later, see Admin | Invite or add members to your organization.
- By default, the creator of the organization will be the primary administrator of the organization and can perform various organization management actions in the Admin Console. For specific information, see Day 1: Create your organization and learn what admin can do.
250px|700px|reset
Web
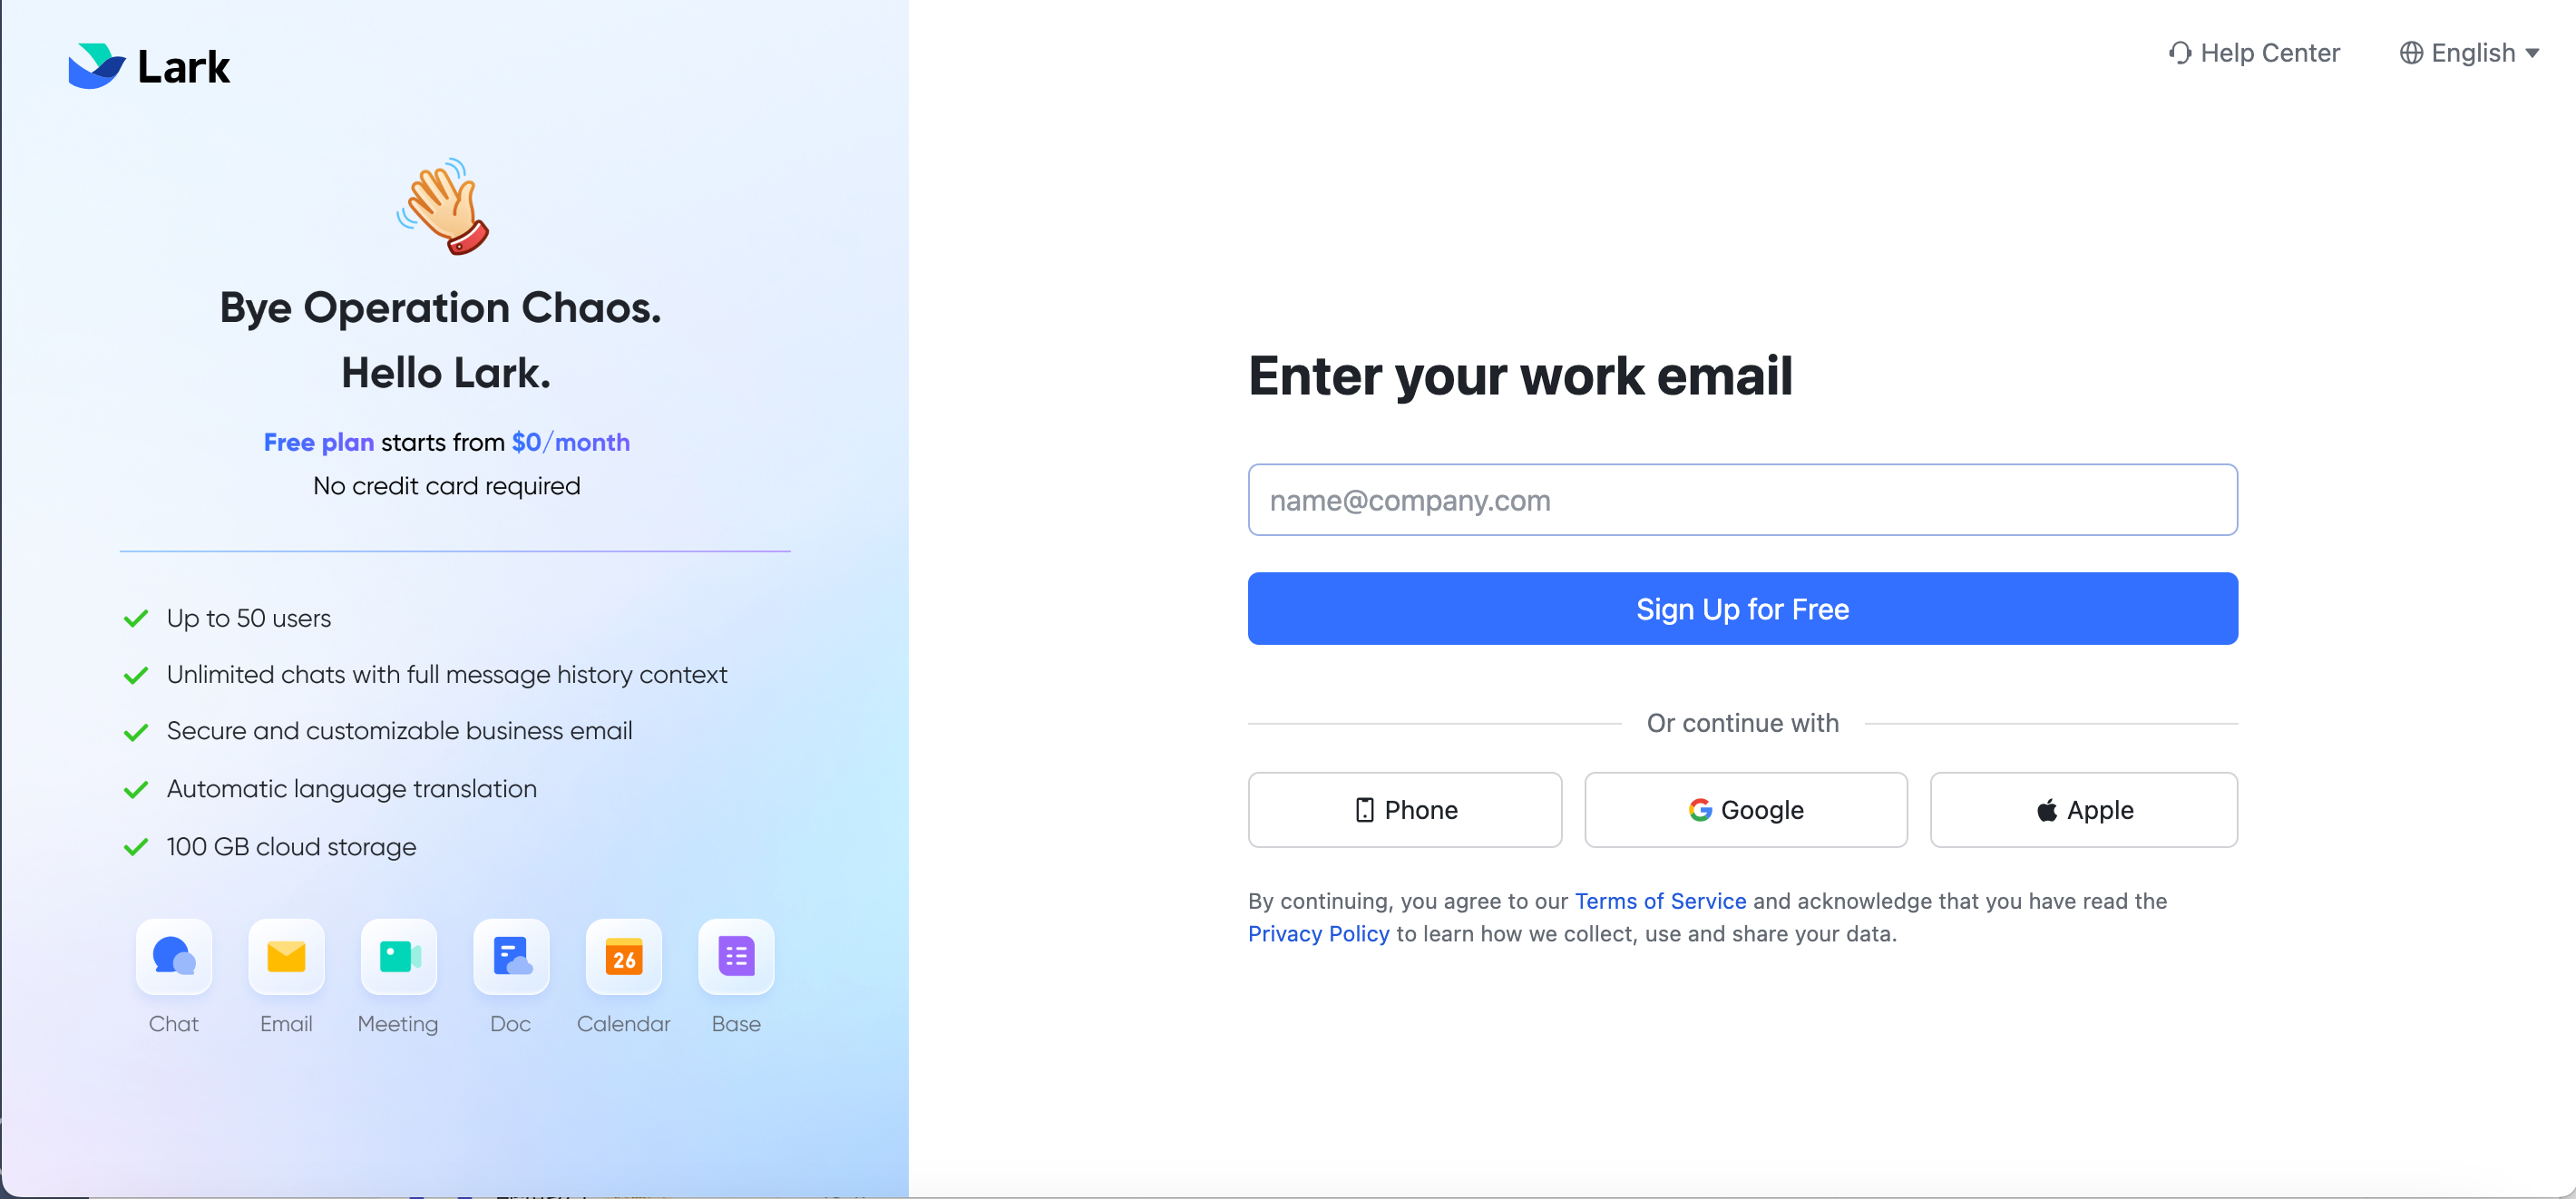
- Open the Lark official website and click Try for free. Select the registration method, enter the corresponding information, and click Sign Up for Free.
- Note: Lark does not support phone numbers starting with the international area code of Chinese Mainland (+86) for registration.
250px|700px|reset
- Enter the verification code and click Next.
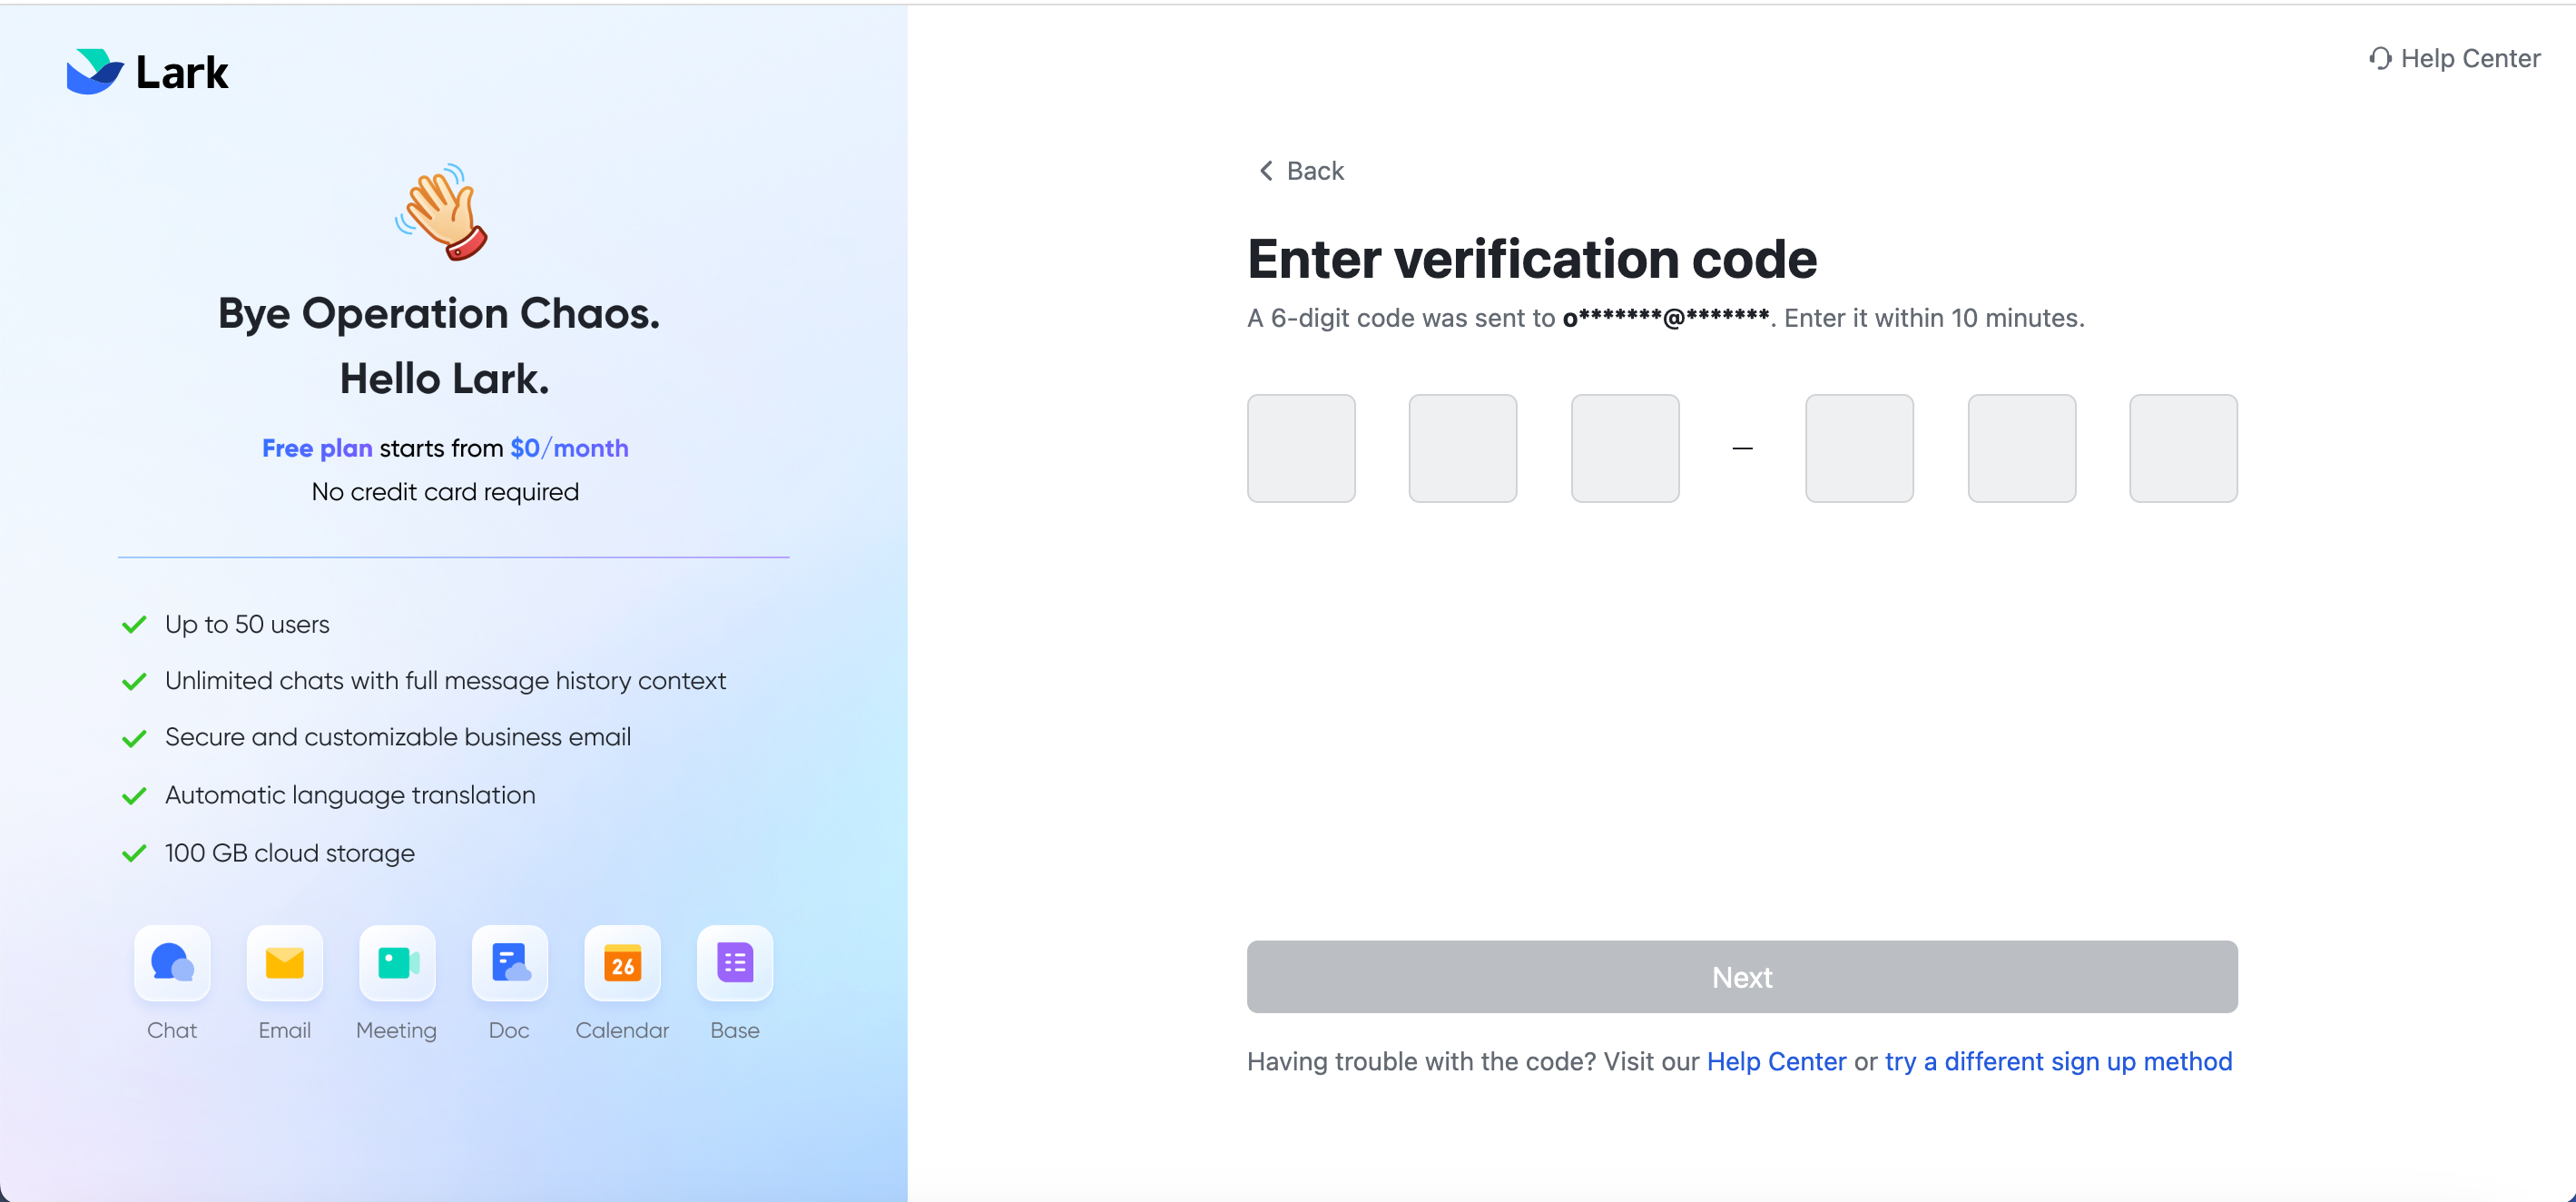
250px|700px|reset
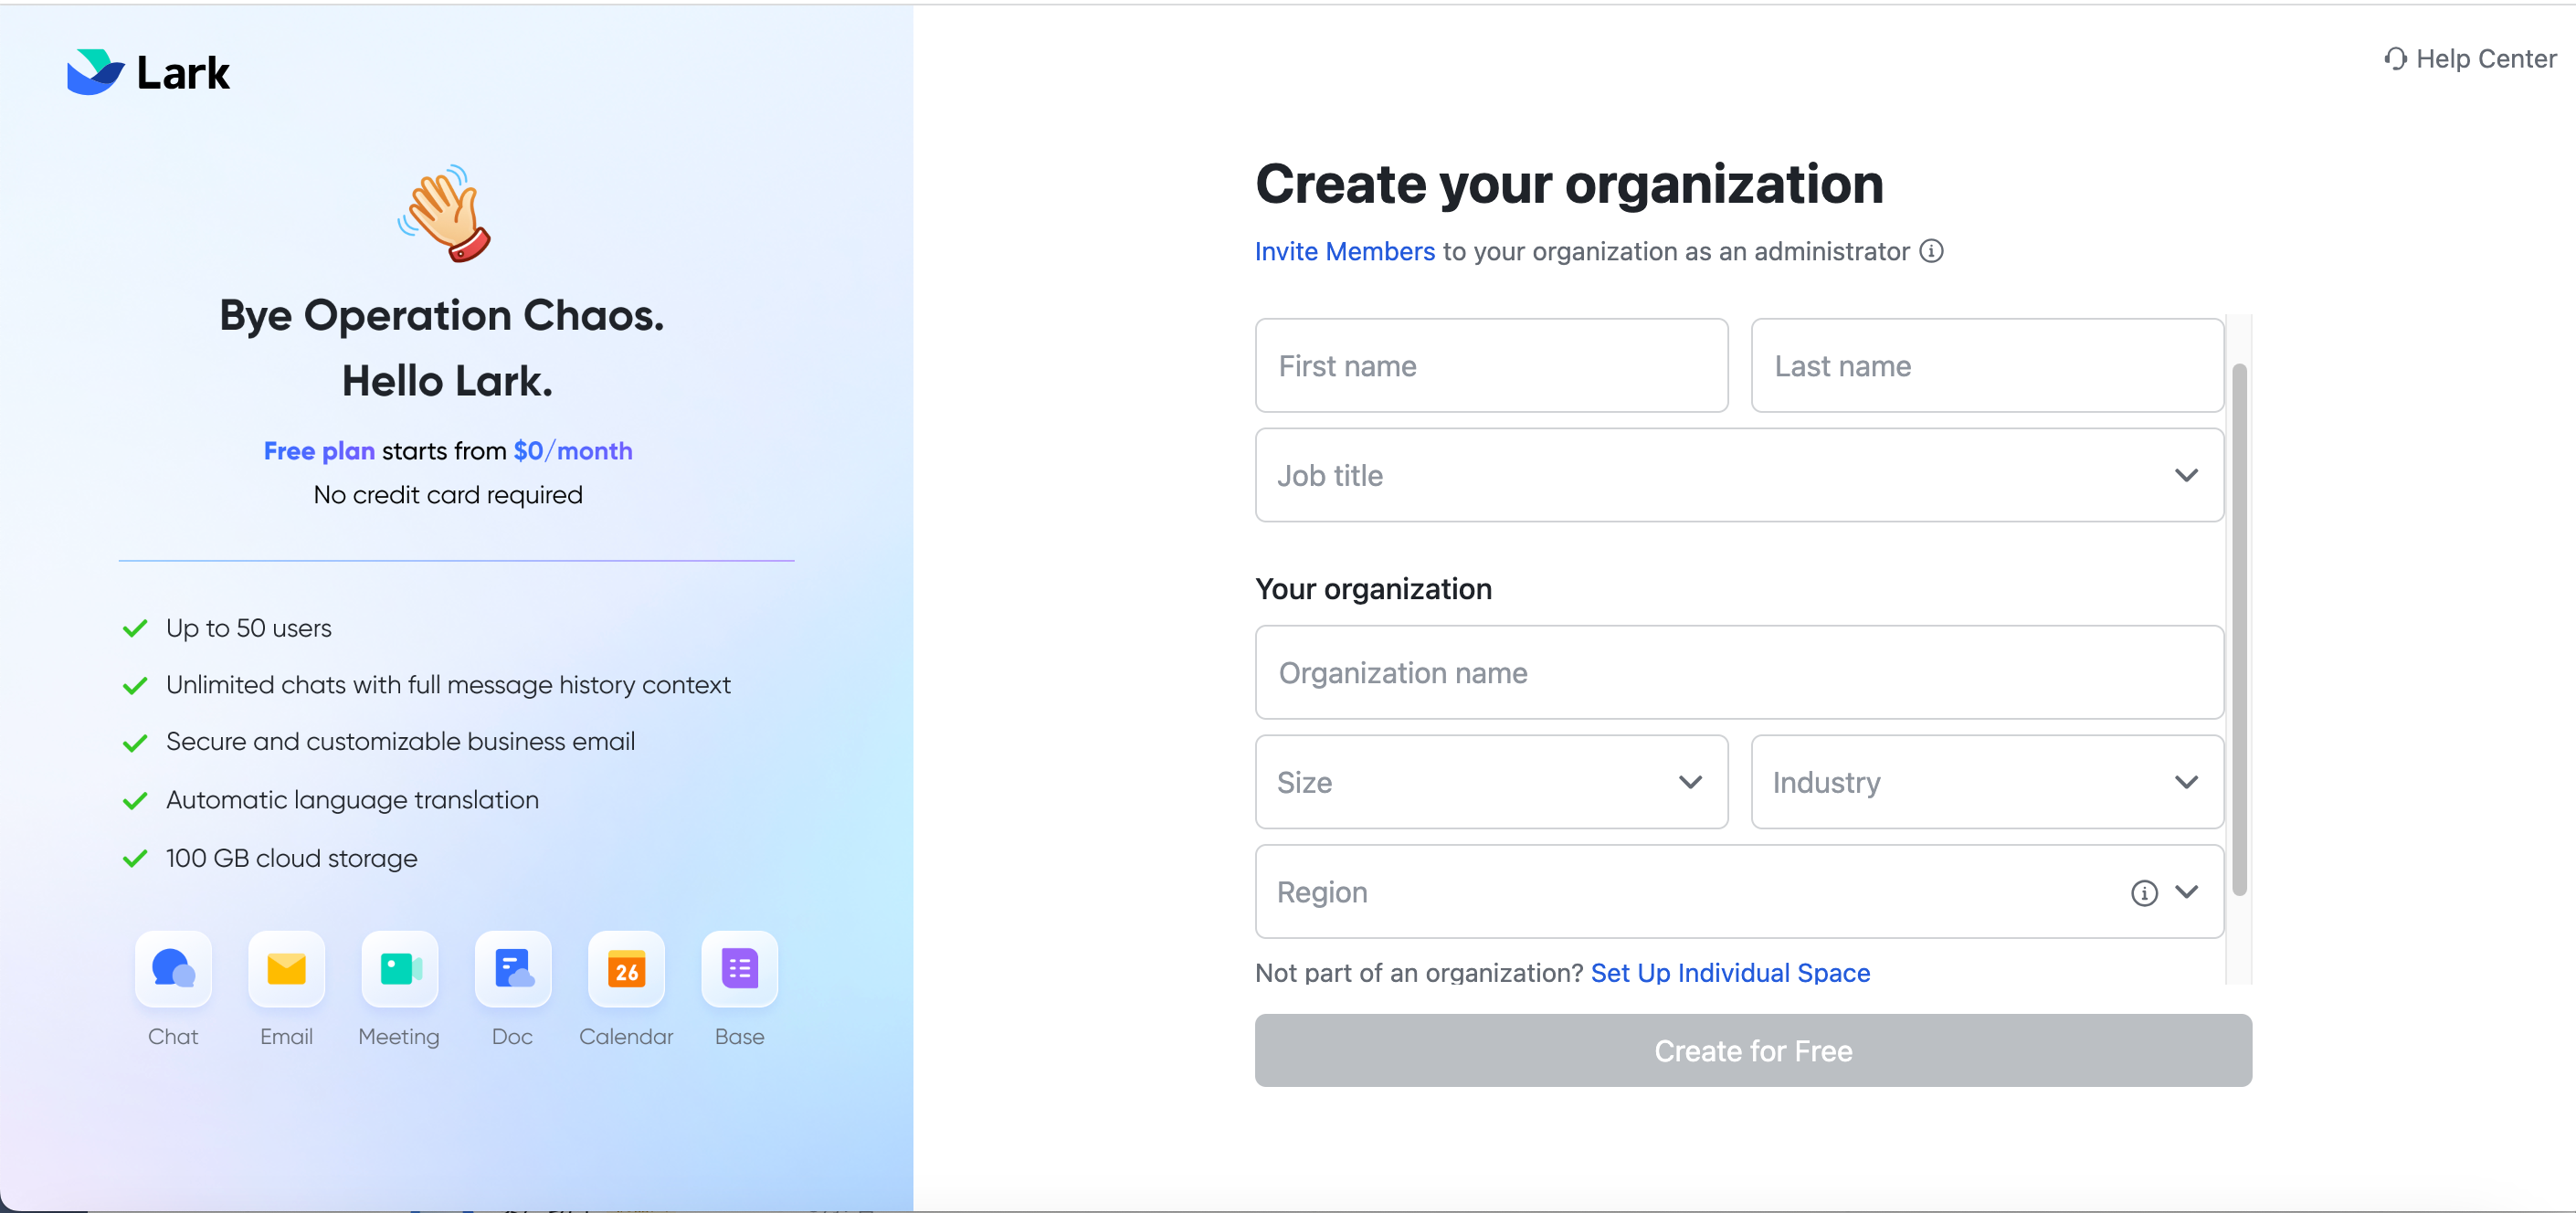
- Fill in your information (including first name, last name, and job title), and organization information (including organization name, size, industry, and region). Then click Create for Free.
Warning: The selected country or region will determine the storage location of the organization's data, and it cannot be changed once selected.
250px|700px|reset
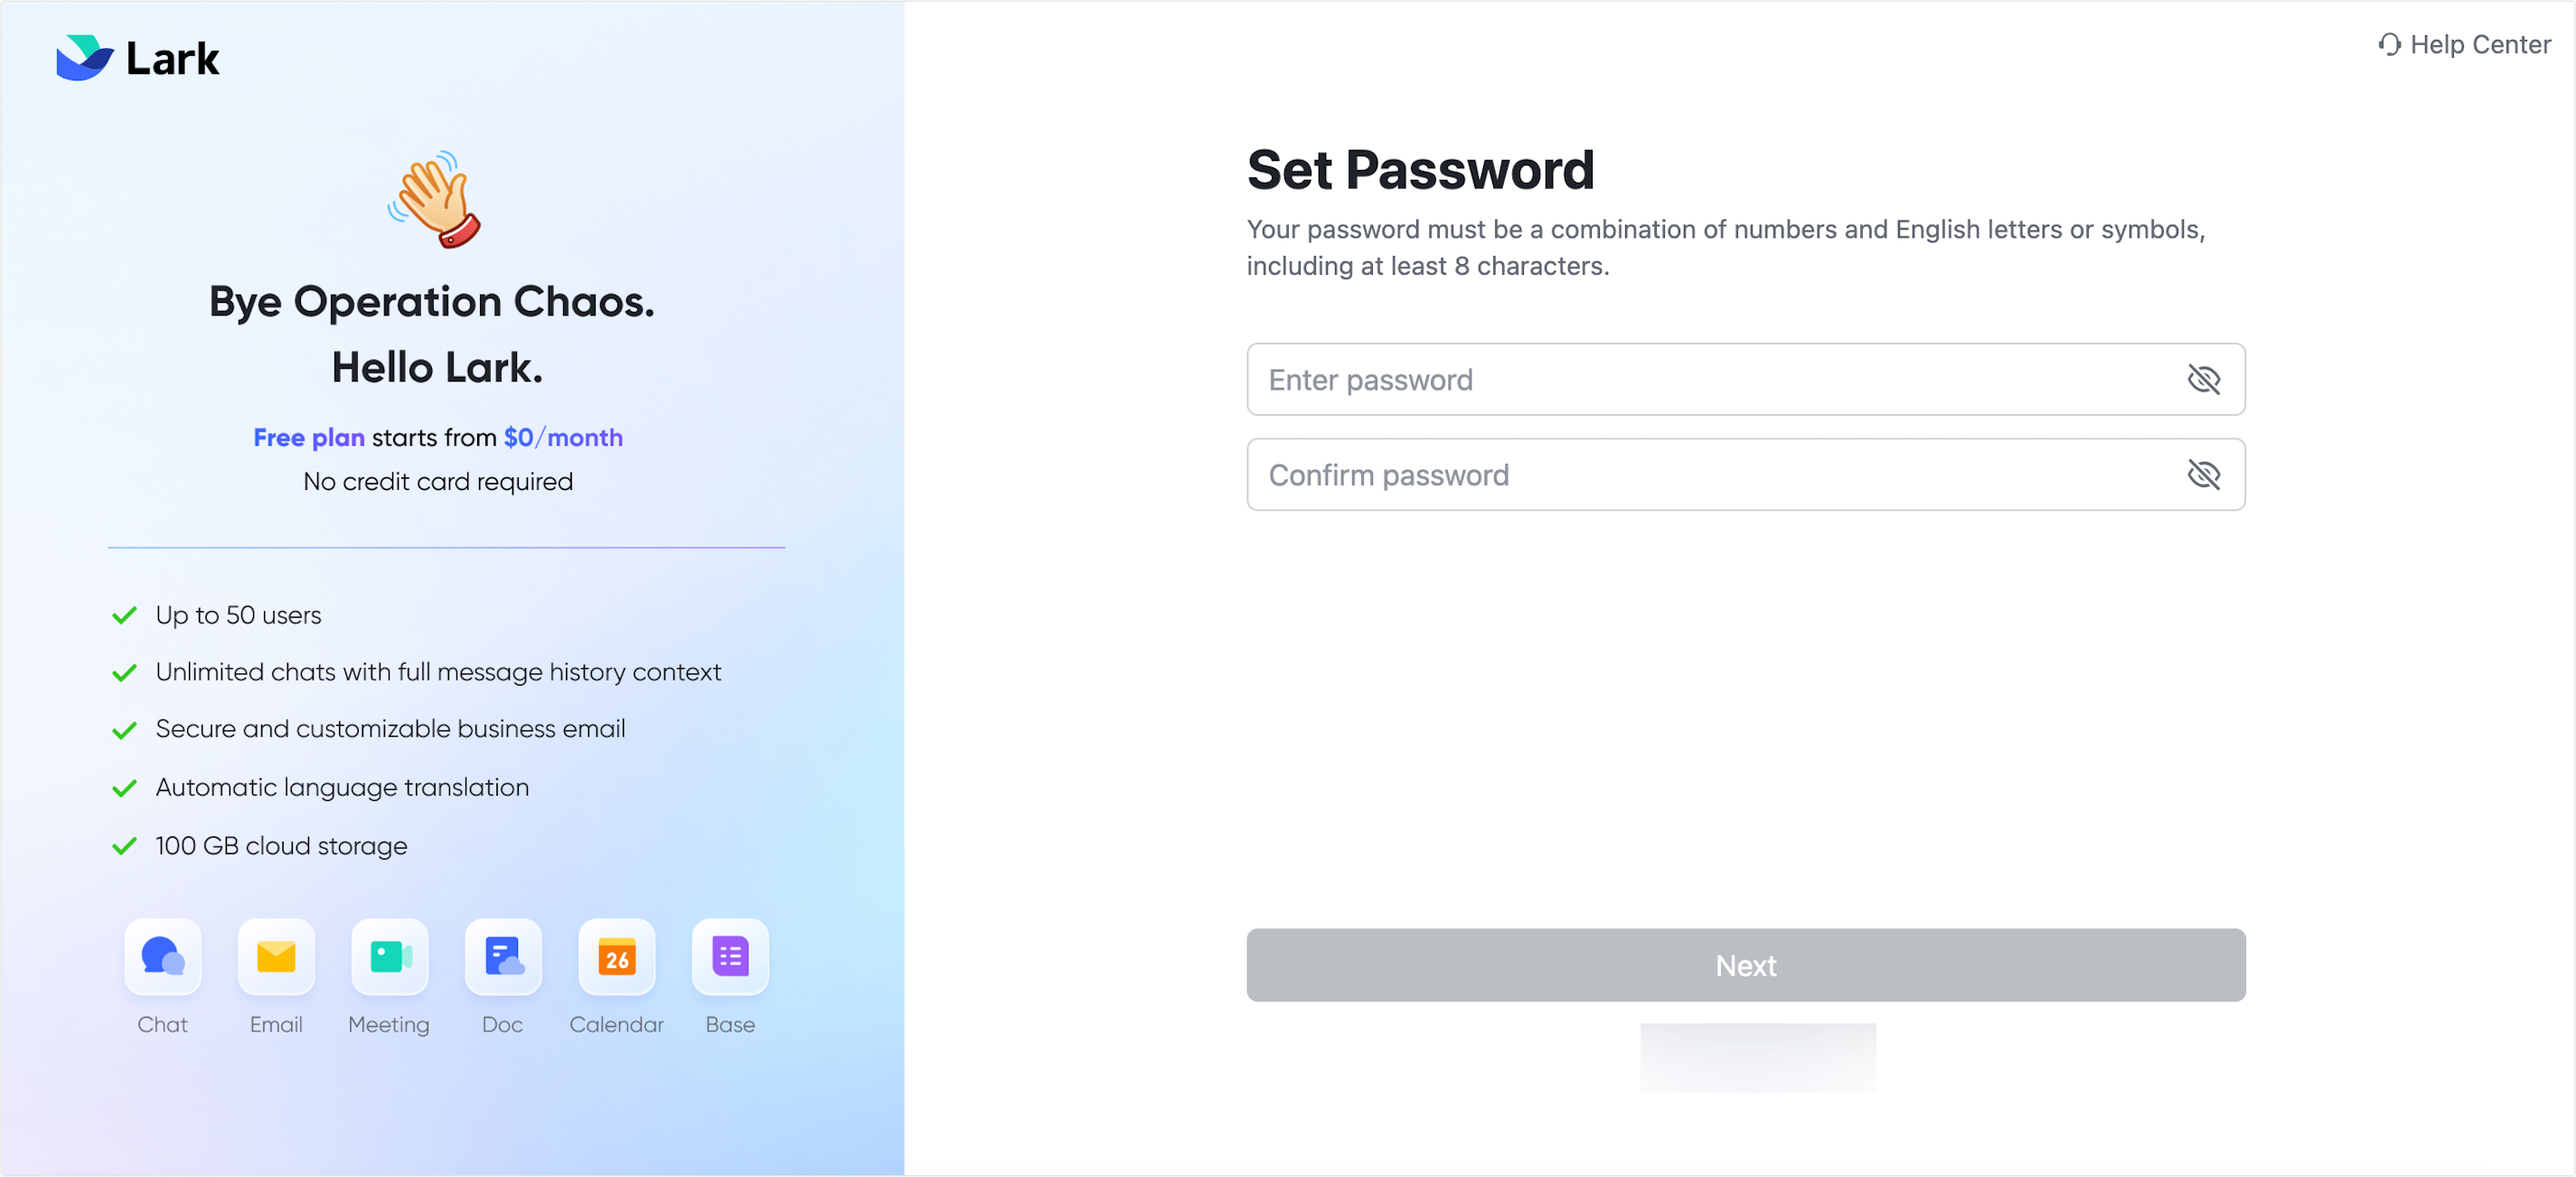
- Set your account password. Click Next, and the organization is created.
250px|700px|reset
- If you need to invite members to join the organization, see Admin | Invite or add members to your organization for steps.
- By default, the creator of the organization will be the primary administrator of the organization and can perform various organization management actions in the Admin Console. For specific information, see Day 1: Create your organization and learn what admin can do.
III. FAQs