
I. Intro
Who can perform these steps: Primary administrators or administrators with Approval management permissions.
Adding cascading dropdown relationship to an approval form means that the options displayed in one or more single-choice widgets can change depending on the options chosen in an earlier single-choice widget. This can make your forms easier to fill in.
Note: This function can't be applied to third-party approvals.
II. Steps
- Enter the Approval admin console, and click Create Approval to create a new approval or click the Edit icon on the right of an existing approval to go to the details page.
- 250px|700px|reset
- Go to the Form Design page and click a Single select widget in the left pane or drag it to the form,
- Fill in its Title and Options accordingly.
- Add another or more Single select widgets. You need at least two Single select widgets to build a cascading dropdown relationship.
- 250px|700px|reset
- Click Create under Cascading dropdown.
- This option only appears for the Single select widgets which have at least one Single select widget below them on the form. Therefore, in the example shown below, only Single select 1 can have a cascading dropdown relationship, not Single select 2.
- 250px|700px|reset
- In the pop-up, select the widget you want to connect with under Child widget.
- Choose which Child widget options will appear when specific Parent widget options are shown.
- By default, all of the Parent widget options will be included in the cascading dropdown relationship. If you'd like to remove one or more options, click the icon on the right of the row.
- Note: If a member chooses a Parent widget option which isn't included in the cascading dropdown relationship, all of the Child widget options will be displayed.
- 250px|700px|reset
- Click Confirm to complete the process.
You can click Create again to add another cascading dropdown relationship if there are multiple Single select widgets below the current widget.
III. Example
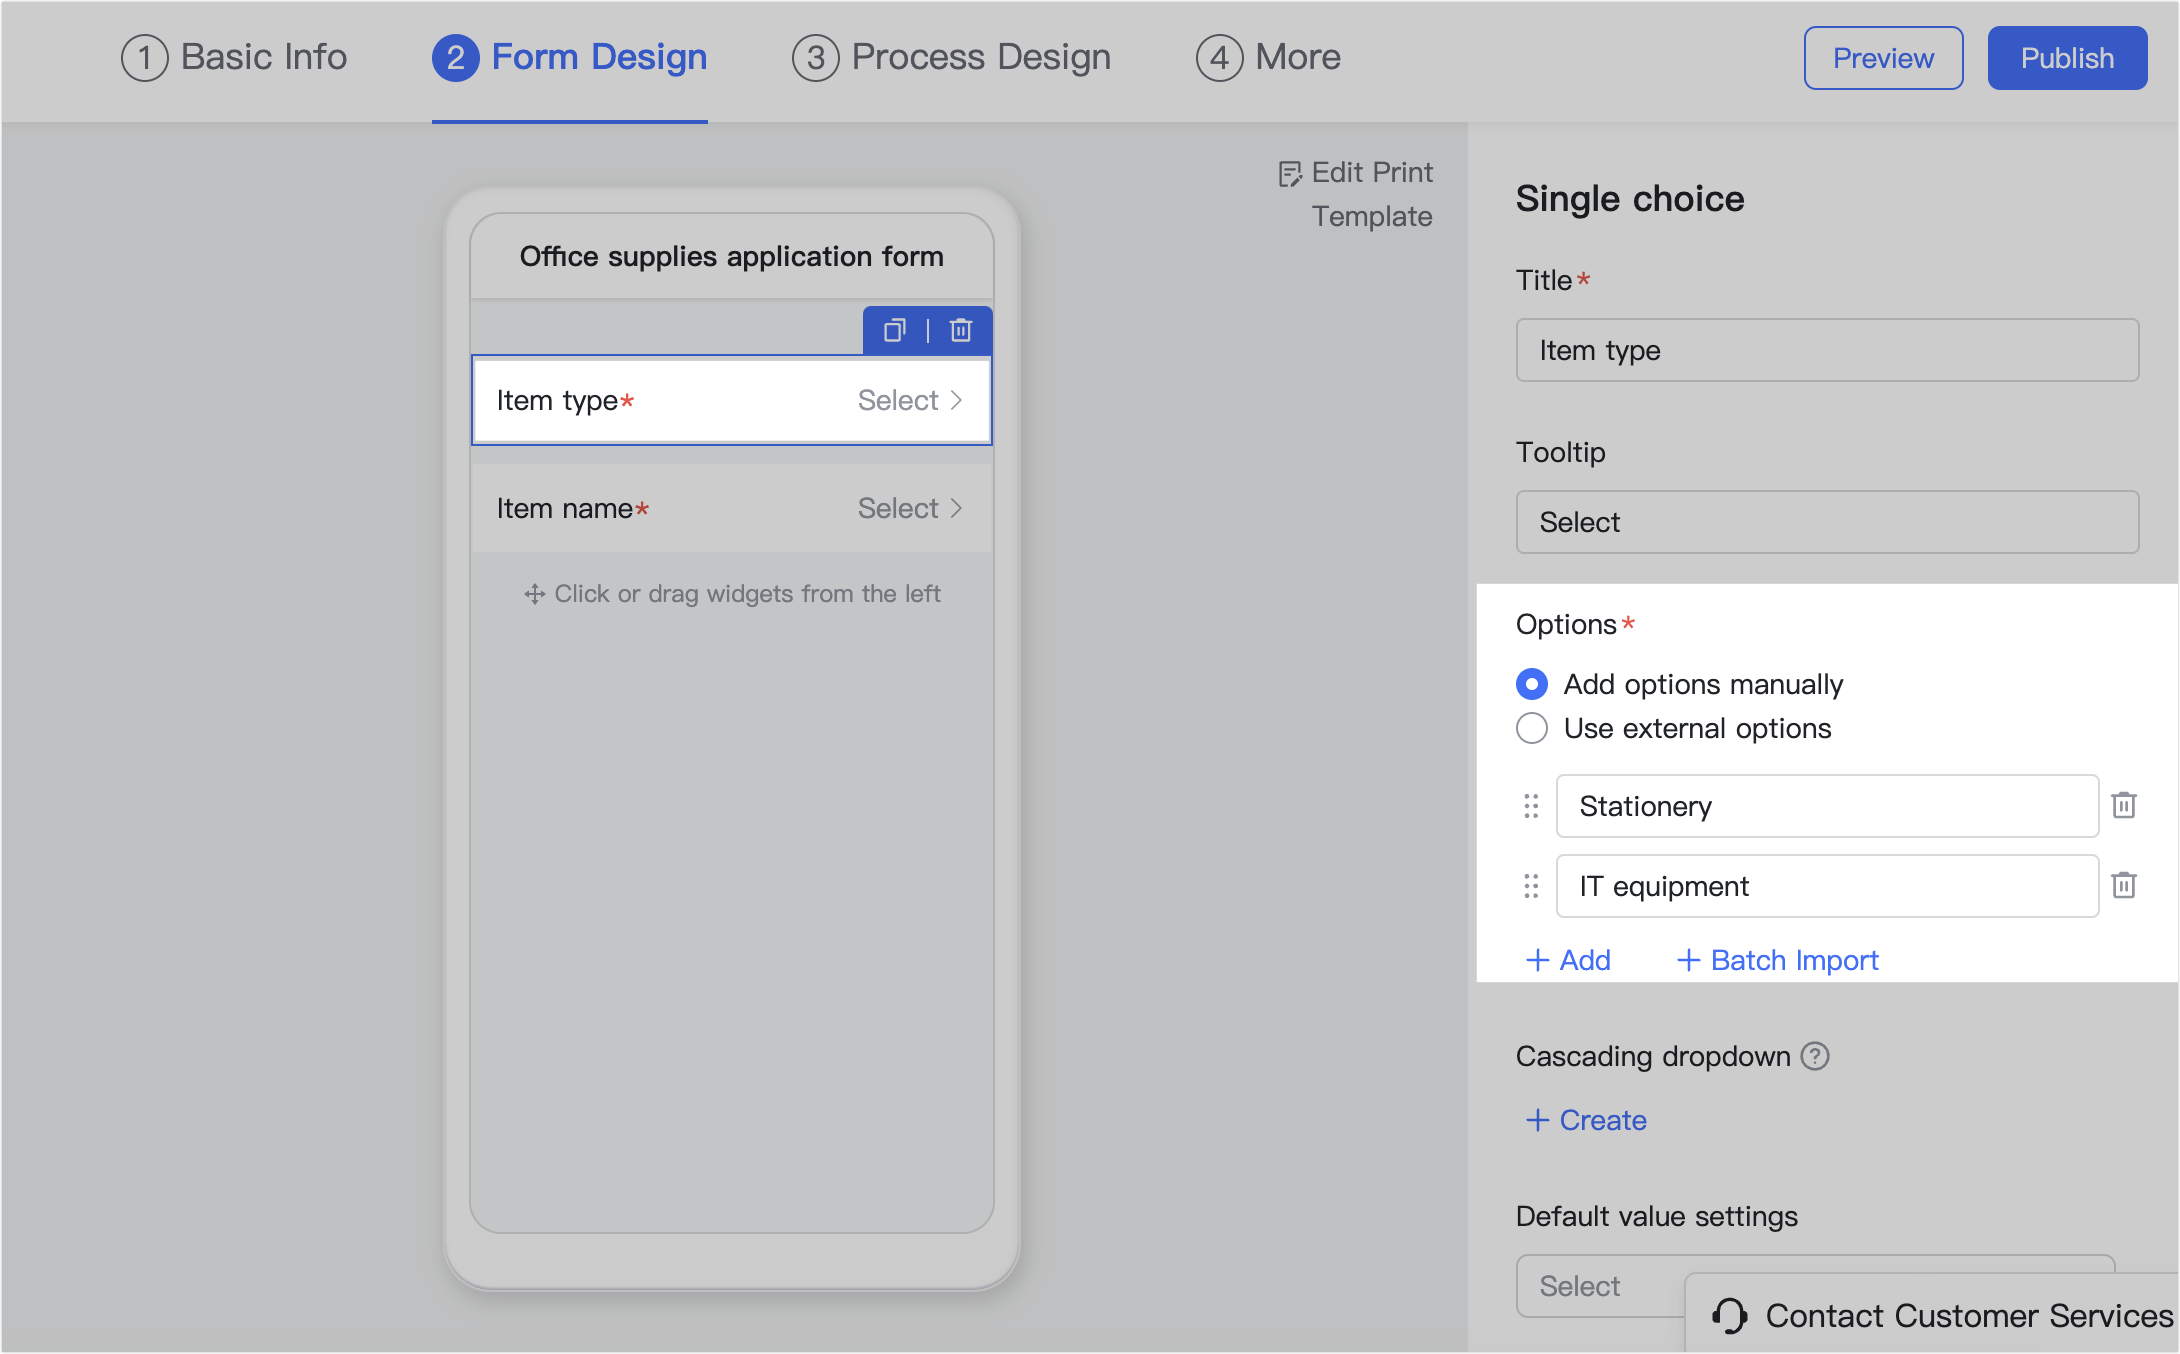
This example describes the creation of an Office supplies application form.
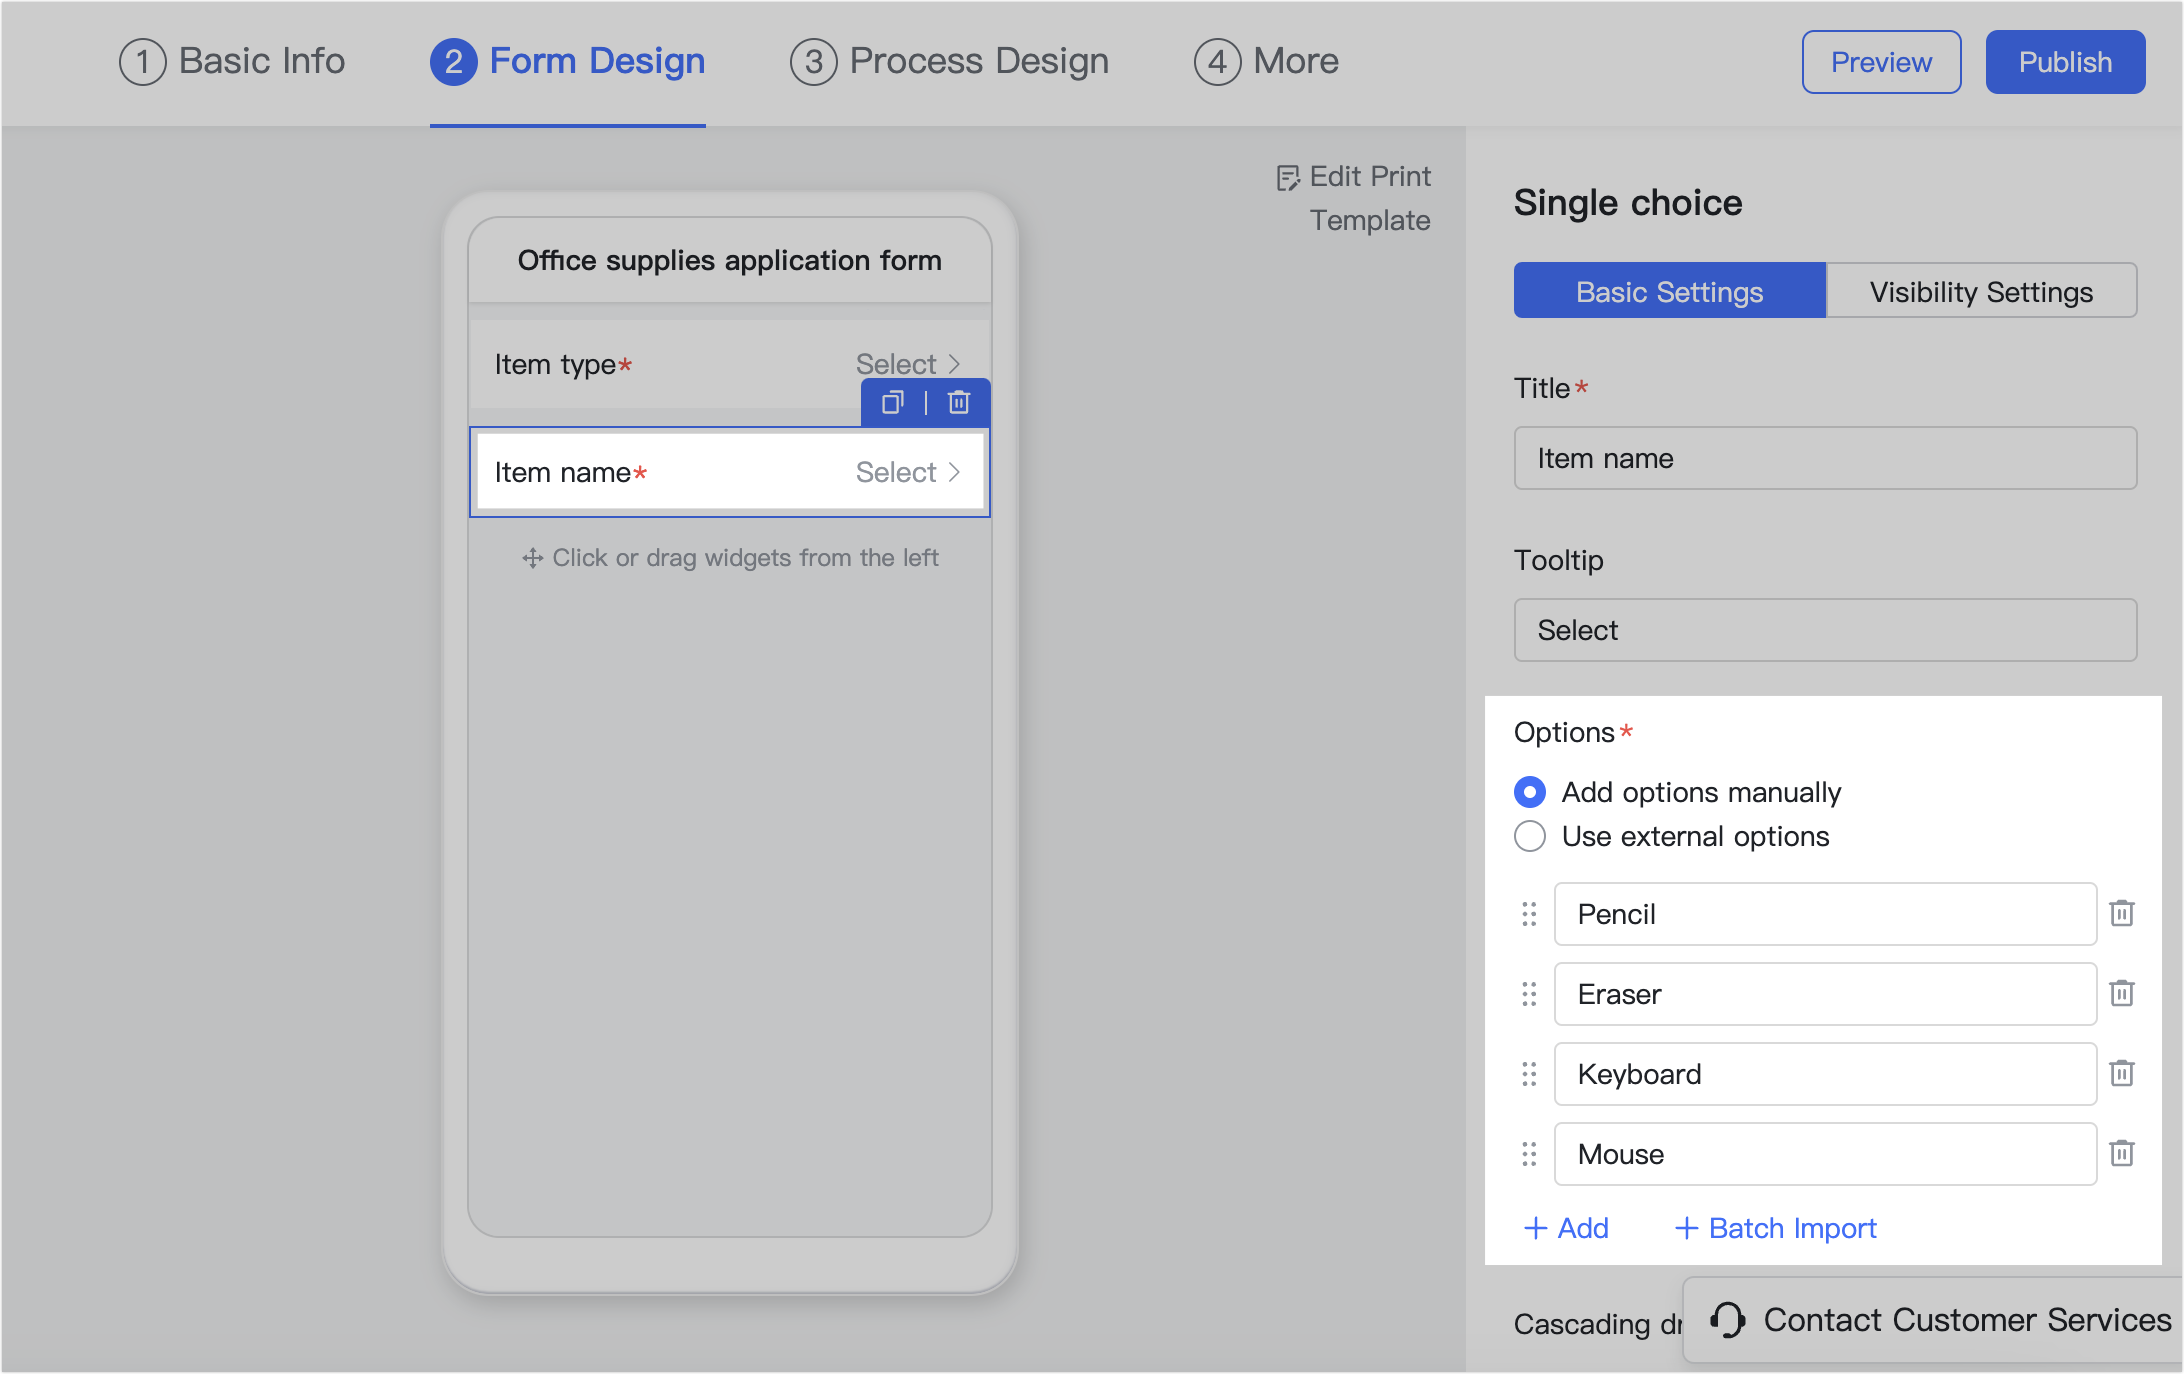
- On the Form Design page, add one single-choice widget for Item type and another single-choice widget for Item name. Add the options for each widget.
250px|700px|reset
250px|700px|reset
- In the details pane for the Item type, click Create under Cascading dropdown. Under Child widget, add the Item name widget.
- 250px|700px|reset
- Choose the correlating options for the parent and child widget.
- 250px|700px|reset
The example below shows the user experience. When Stationery is chosen under Item type, the options in Item name are Pencil and Eraser. When IT equipment is chosen under Item type, the options in Item name are Keyboard and Mouse.
250px|700px|reset
IV. FAQs