
I. Intro
Who can perform these steps: Primary administrators and administrators with Role permissions.
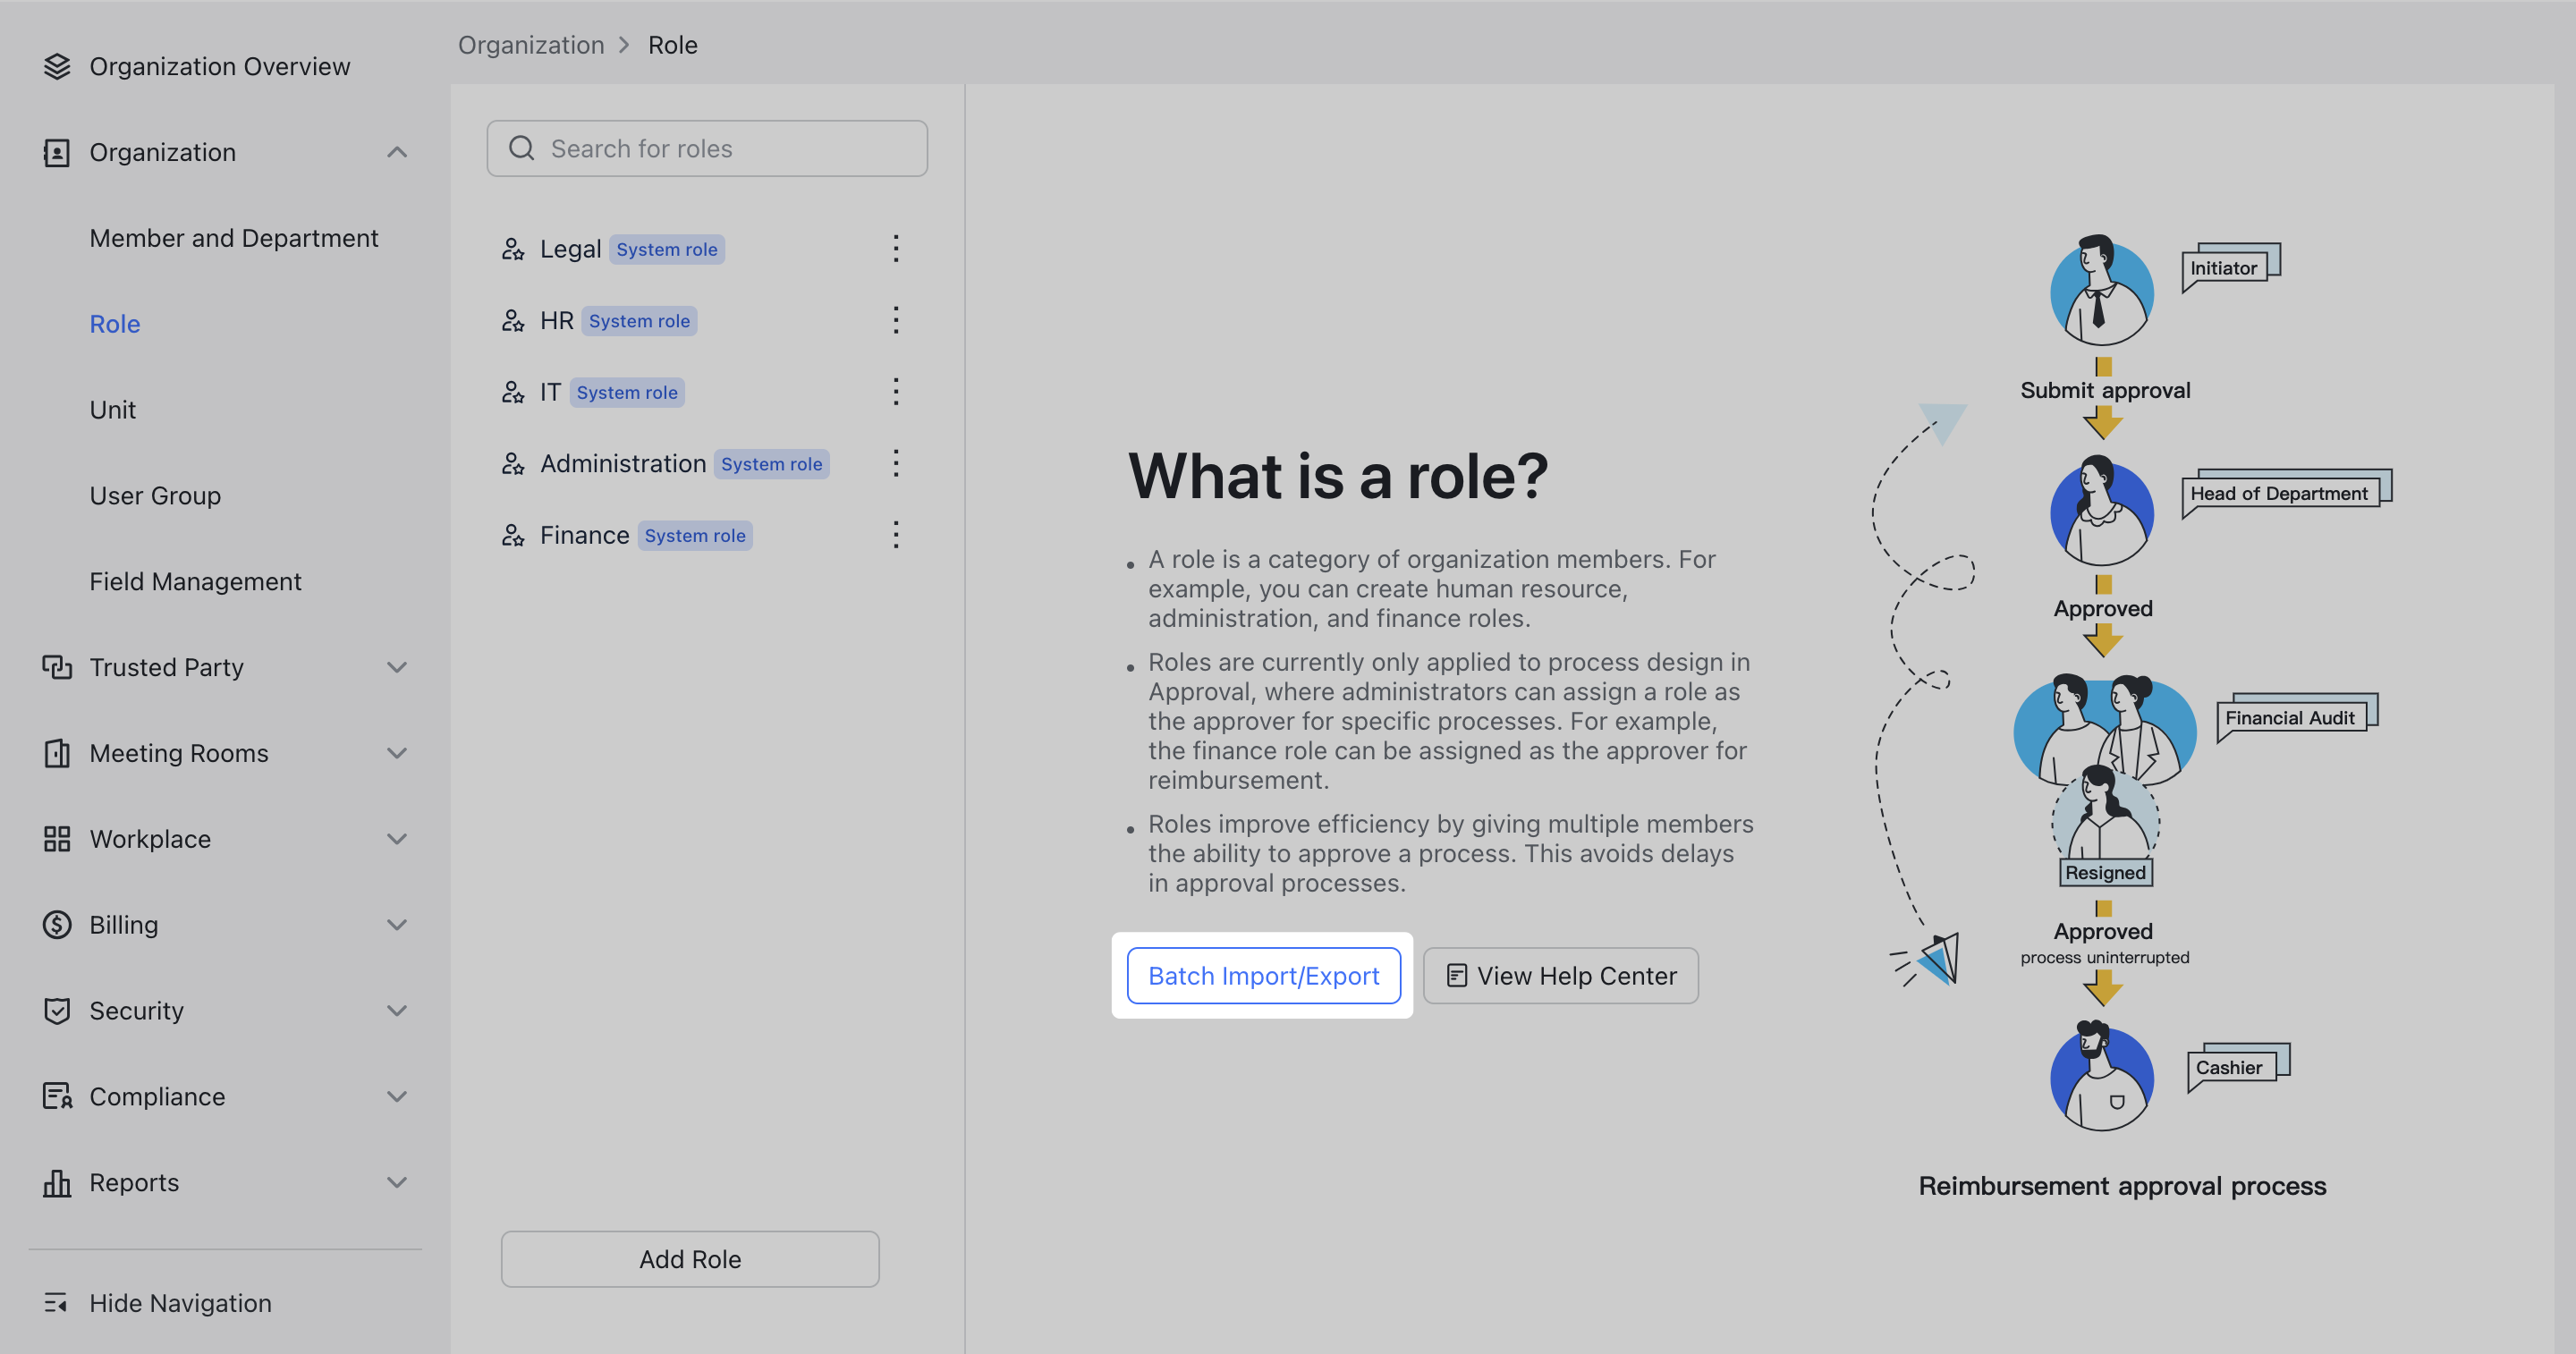
Roles refer to the categories of different responsibilities for members within the organization. A role can involve one or more members, such as HR, finance, legal, IT, and so on.
Roles are utilized in the process design of Lark Approval. In the Approval admin console, an administrator can choose a certain role as the approver, for example, choosing "Finance" as the approver of the reimbursement approvals. For more information, see Admin | Set up an approver step.
As an administrator, you can assign members to system and custom roles in the Lark Admin Console. Assigning roles as the approver avoids situations where an approval process becomes invalid due to members leaving the organization. The other members of this role can continue with the approval process, thereby improving the efficiency of approvals.
II. Steps
Create a role and assign members
Lark comes with default system roles such as HR, Administration, Finance, Legal, and IT. You can also create custom roles and assign members to the role.
- Go to the Lark Admin Console and click Organization > Role.
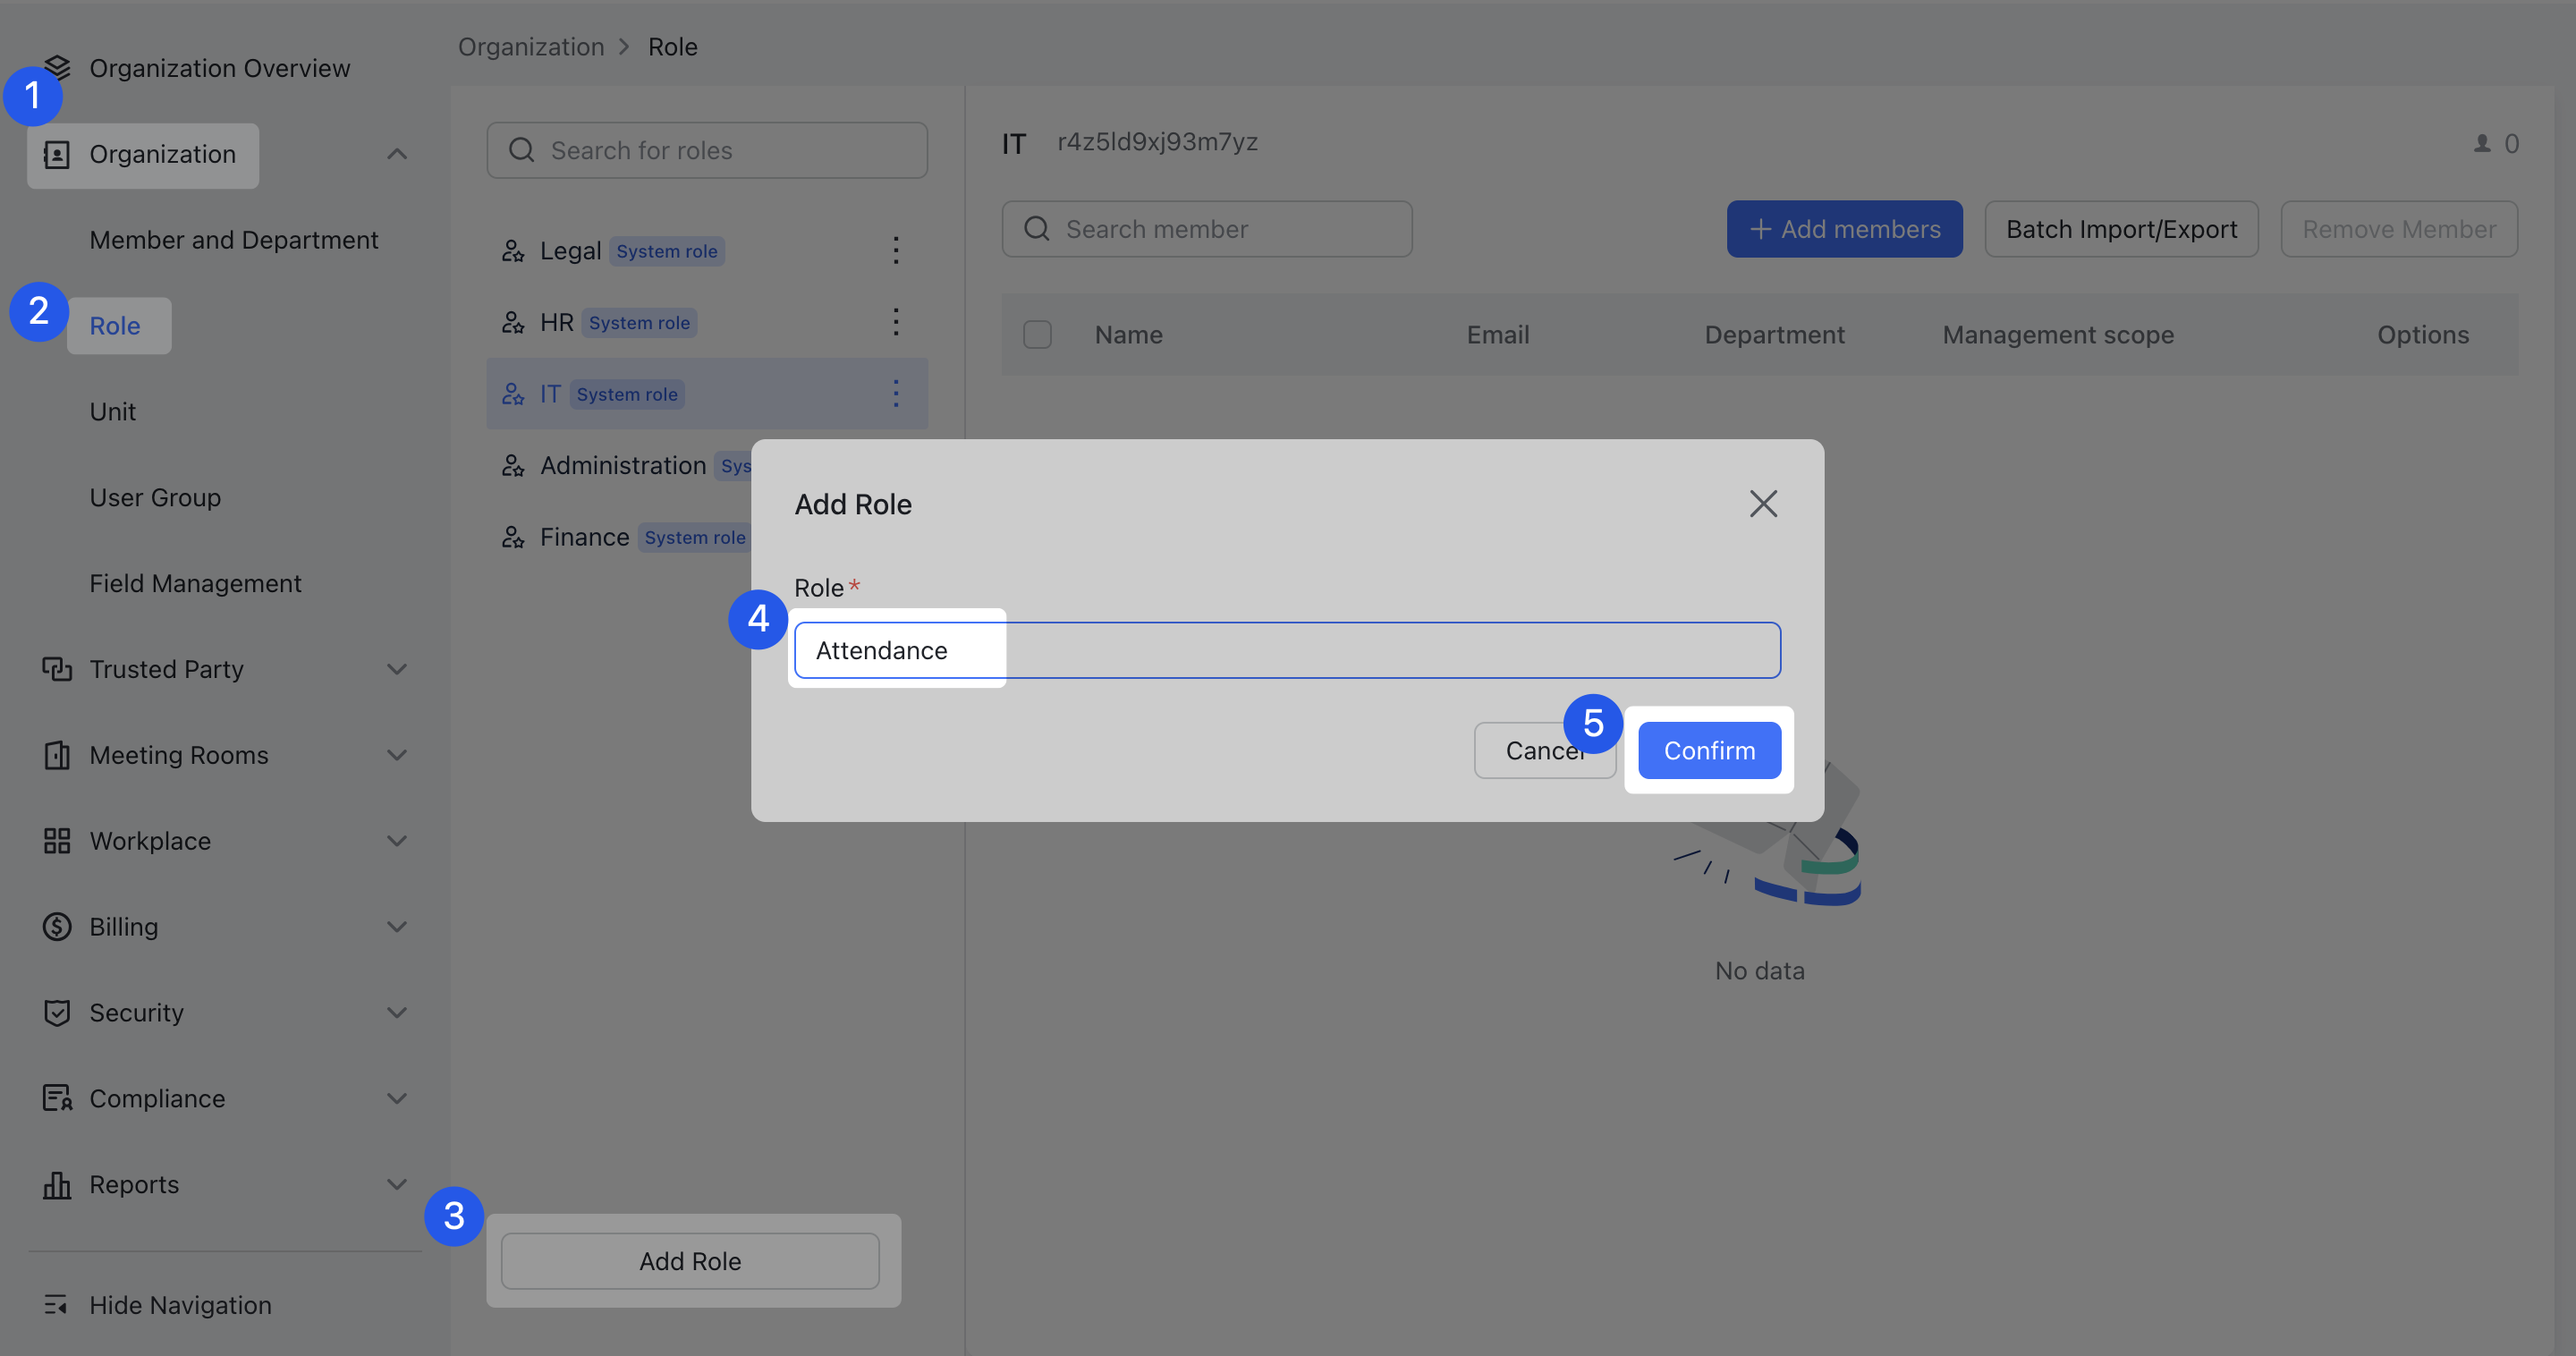
- Click Add Role at the bottom of the role list.
- Fill in the role name in the pop-up window. For example, "Attendance".
- Click Confirm to create the new role, which will appear in the role list.
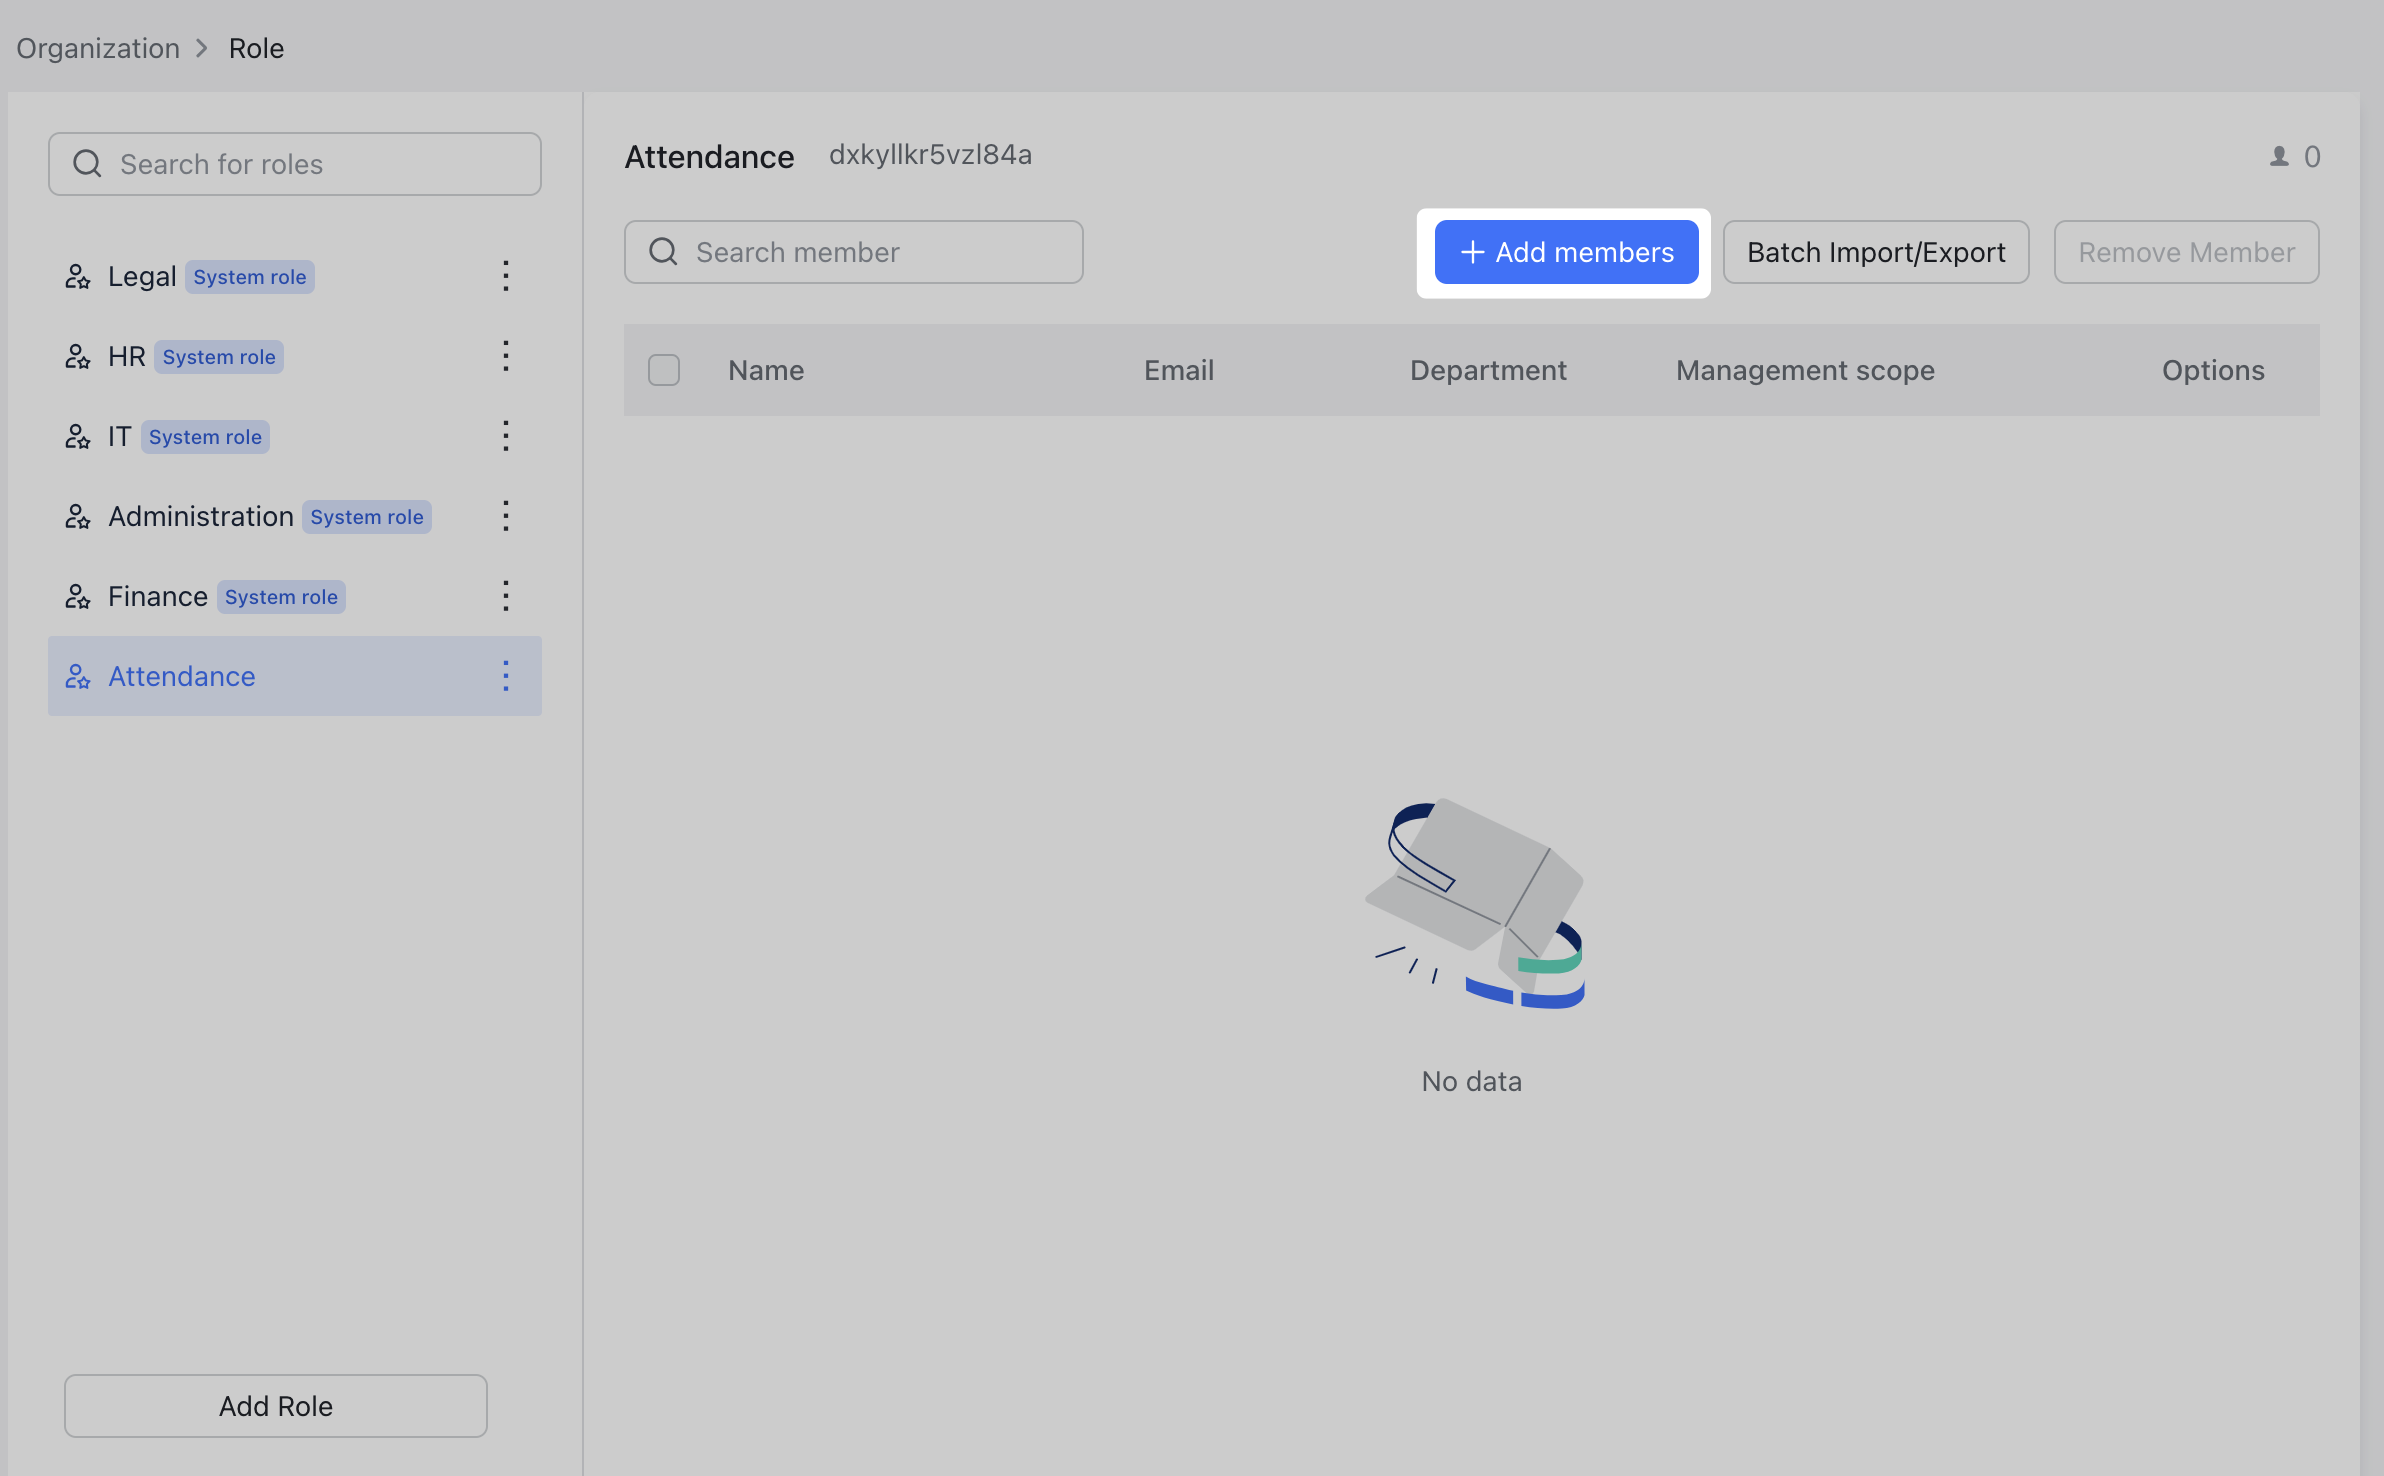
- Click the role from the role list, then click Add members.
250px|700px|reset
250px|700px|reset
- In the pop-up window, select members who you want to add to the role, then click Confirm.
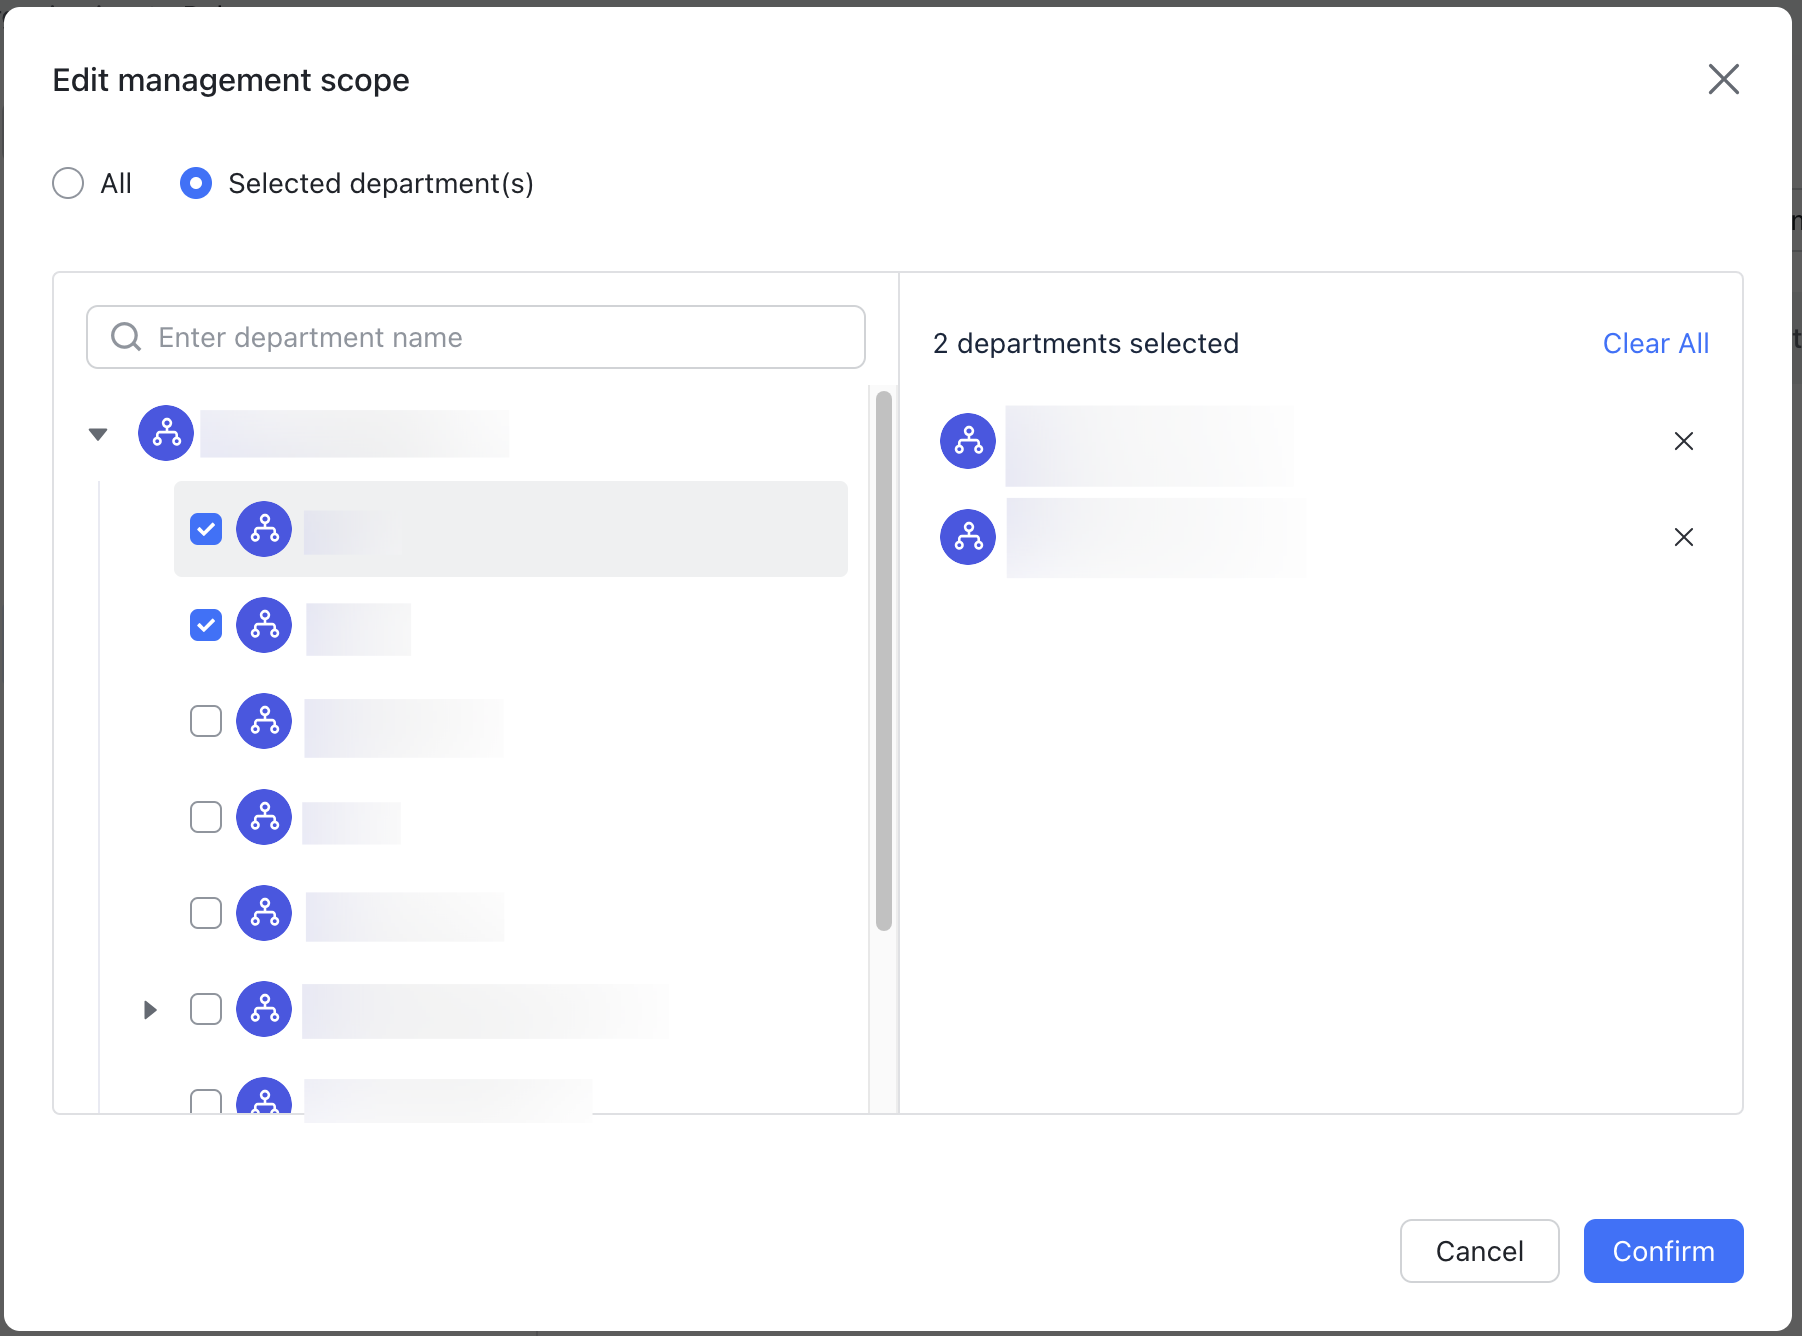
- In the pop-up window, select the management scope of this member. You can choose All or Selected department(s).
- For example, if the role is set as the approver in the reimbursement approval process:
- All: This member will be able to approve the reimbursement approvals from all organization members.
- Selected department(s): This member will only be able to approve the reimbursement approvals of the selected department(s).
- Click Confirm.
Once a role is created, administrators with the Approval permission can configure corresponding settings in the Approval admin console. Then relevant requests in the organization will go to the corresponding members for approval.
250px|700px|reset
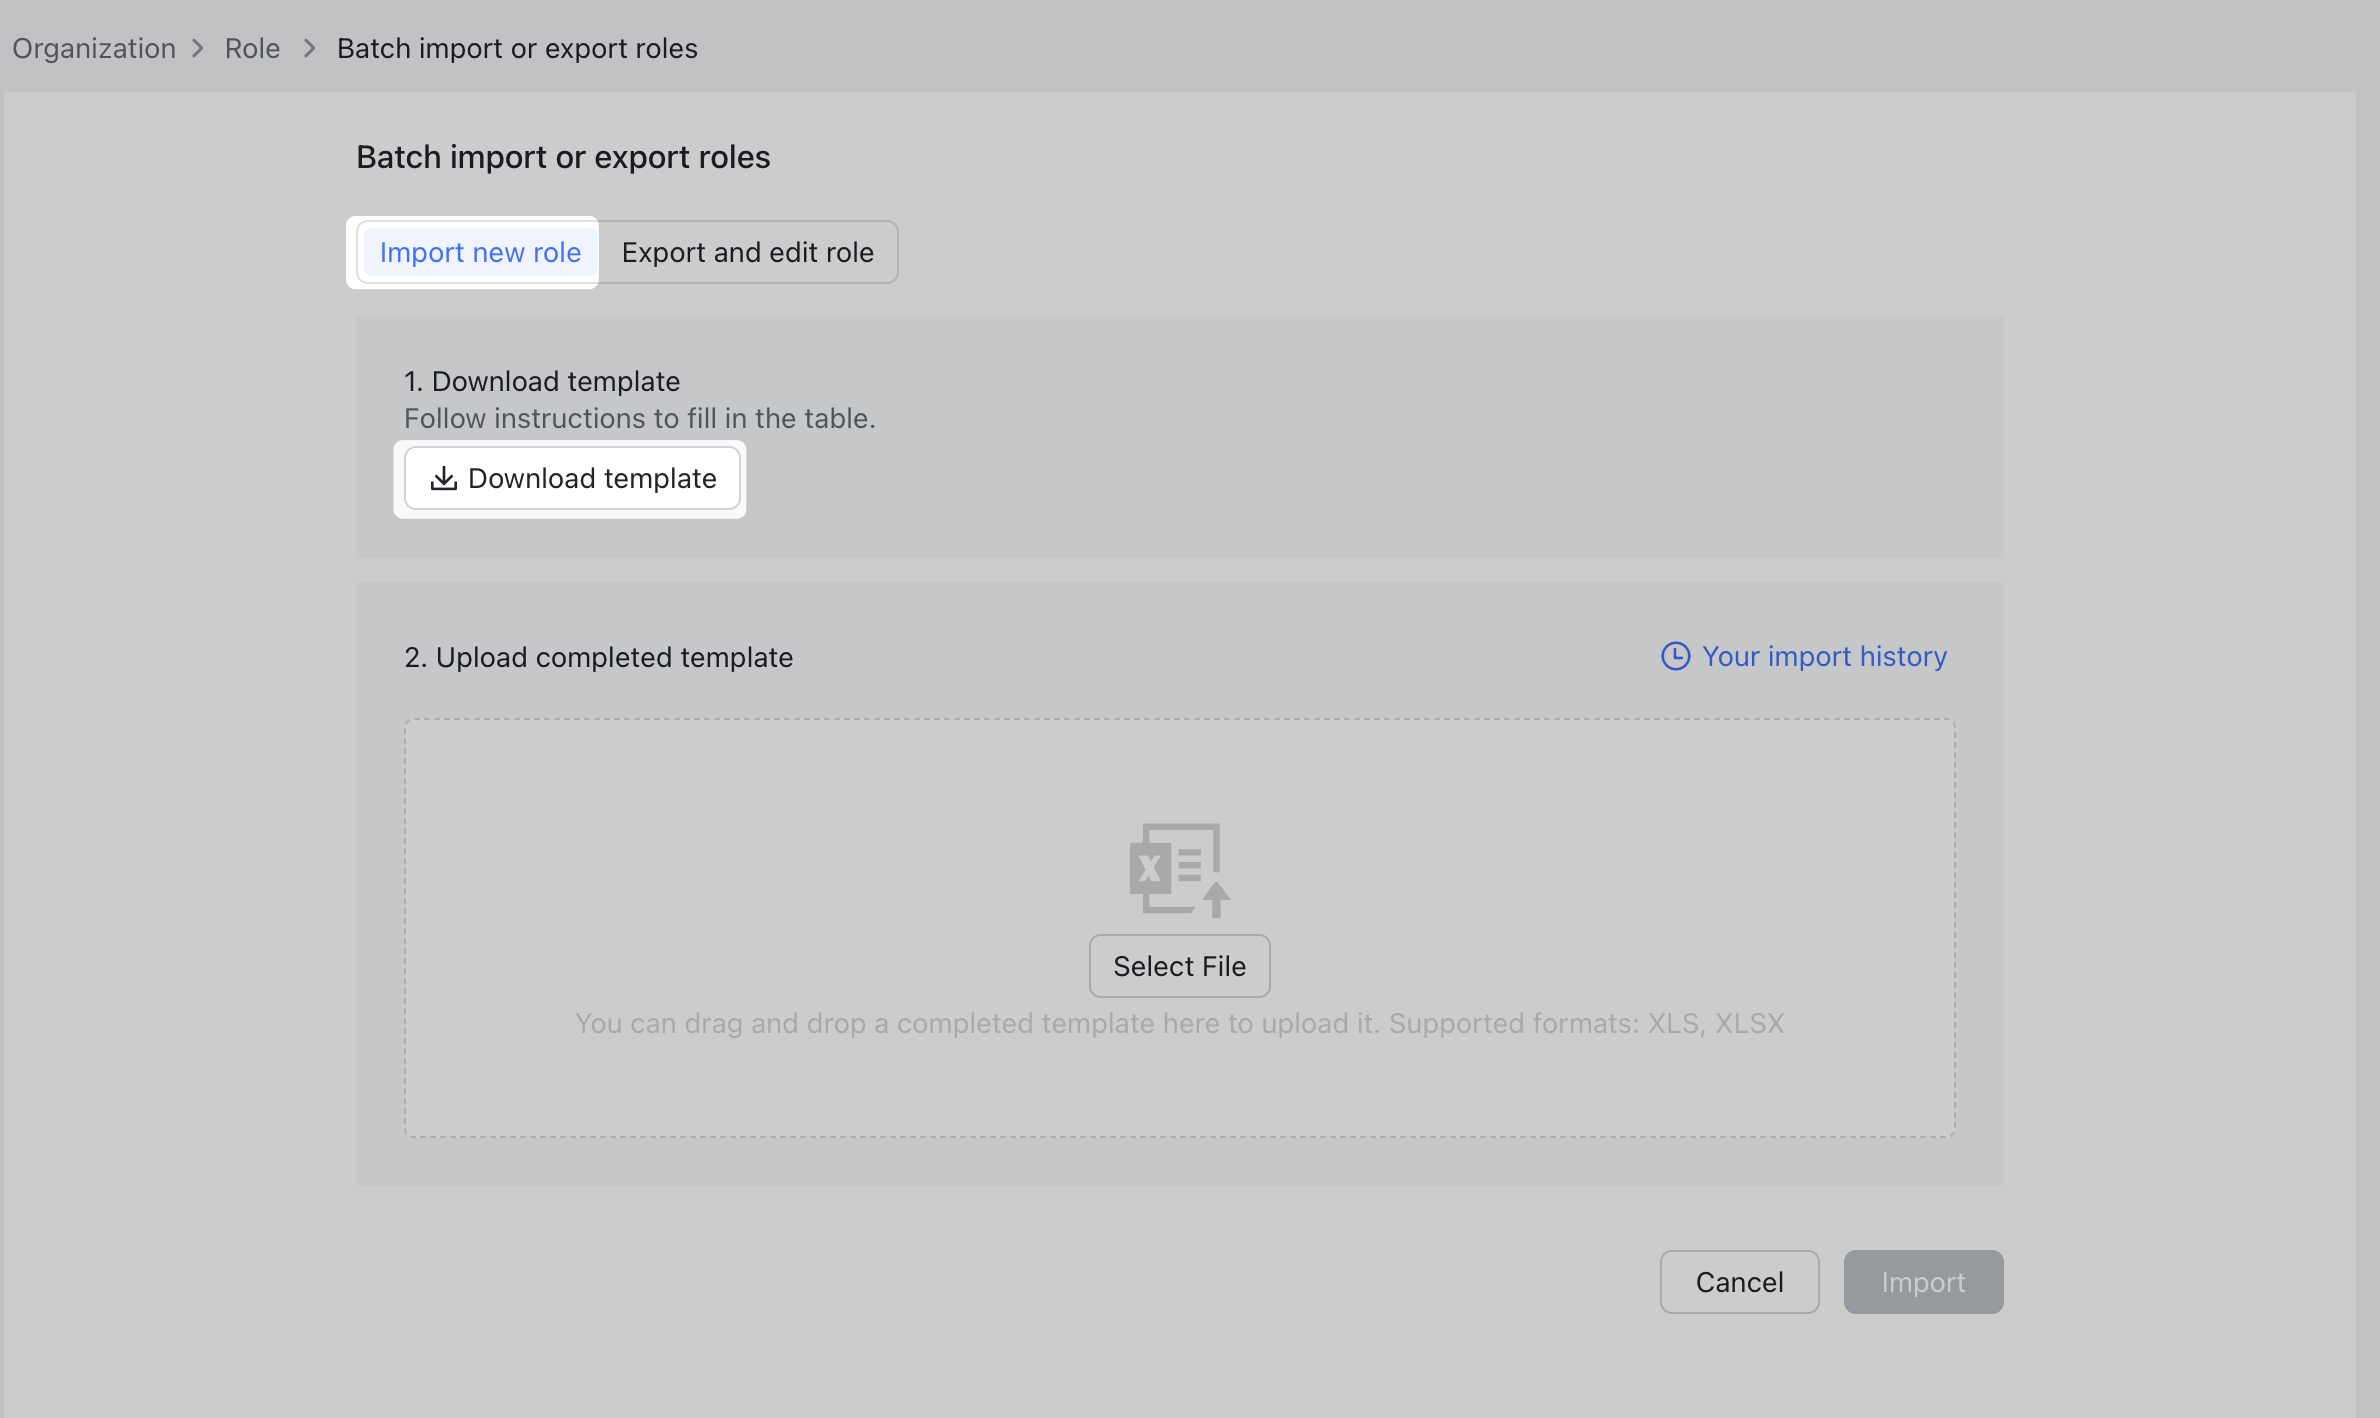
Batch import new roles
- On the Role page, click Batch Import/Export.
- On the Import new role tab, click Download template.
- Fill in the role names as needed in the downloaded file. Save the file and select or drag the file to the upload area, then click Import.
250px|700px|reset
250px|700px|reset
Batch export and modify role information
You can modify existing roles and related member information in batches.
- On the Role page, click Batch Import/Export.
- Go to the Export and edit role tab then click Export.
- 250px|700px|reset
- Select the roles that you need. You can choose to export all roles or some roles. Click Confirm.
- Modify the file name as needed, then click Export. Enter the verification code you receive to get the file.
- Follow the instructions to modify the role information, save the file and select or drag the file to the upload area, then click Import.
Manage roles
After creating an approval role and adding members to it, you can modify the role name, delete the role, and adjust its management scope.
- Rename a role: In the role list, click the ⋮ icon to the right of a role > Edit name. You can't rename system roles.
- Delete a role: In the role list, click the ⋮ icon to the right of a role > Delete. You need to remove the members associated with the role before you delete the role.
- Modify management scope: Click a role name to show its member list, then click Edit to the right of a member.
- Remove a member: Click a role name to show its member list, then select a member. Click Remove Member in the upper-right corner.

250px|700px|reset
III. FAQs